

D
Diane MillerAug 13, 2025
What to do if the dymax Medical Equipment system has low output intensity?
- SSierra ReeseAug 13, 2025
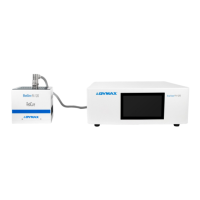
If your dymax Medical Equipment system has low output intensity, it could be due to several reasons. The bulb may be beyond its useful life (typically 2,000 hours), in which case you should replace the Bulb/Reflector Assembly. Another cause could be excessive transmission loss in the Lightguide, which would require replacing the Lightguide. Contaminants on the Lightguide can also reduce intensity; clean it with isopropyl alcohol (or equivalent), using a razor blade for heavy deposits. If cleaning isn't effective, replace the Lightguide. Finally, ensure the Bulb/Reflector Assembly is properly installed.