Creating Your Own Label
5
Notice that all templates are listed with the label type first,
then any important objects on the template, and finally the
part number of the label.
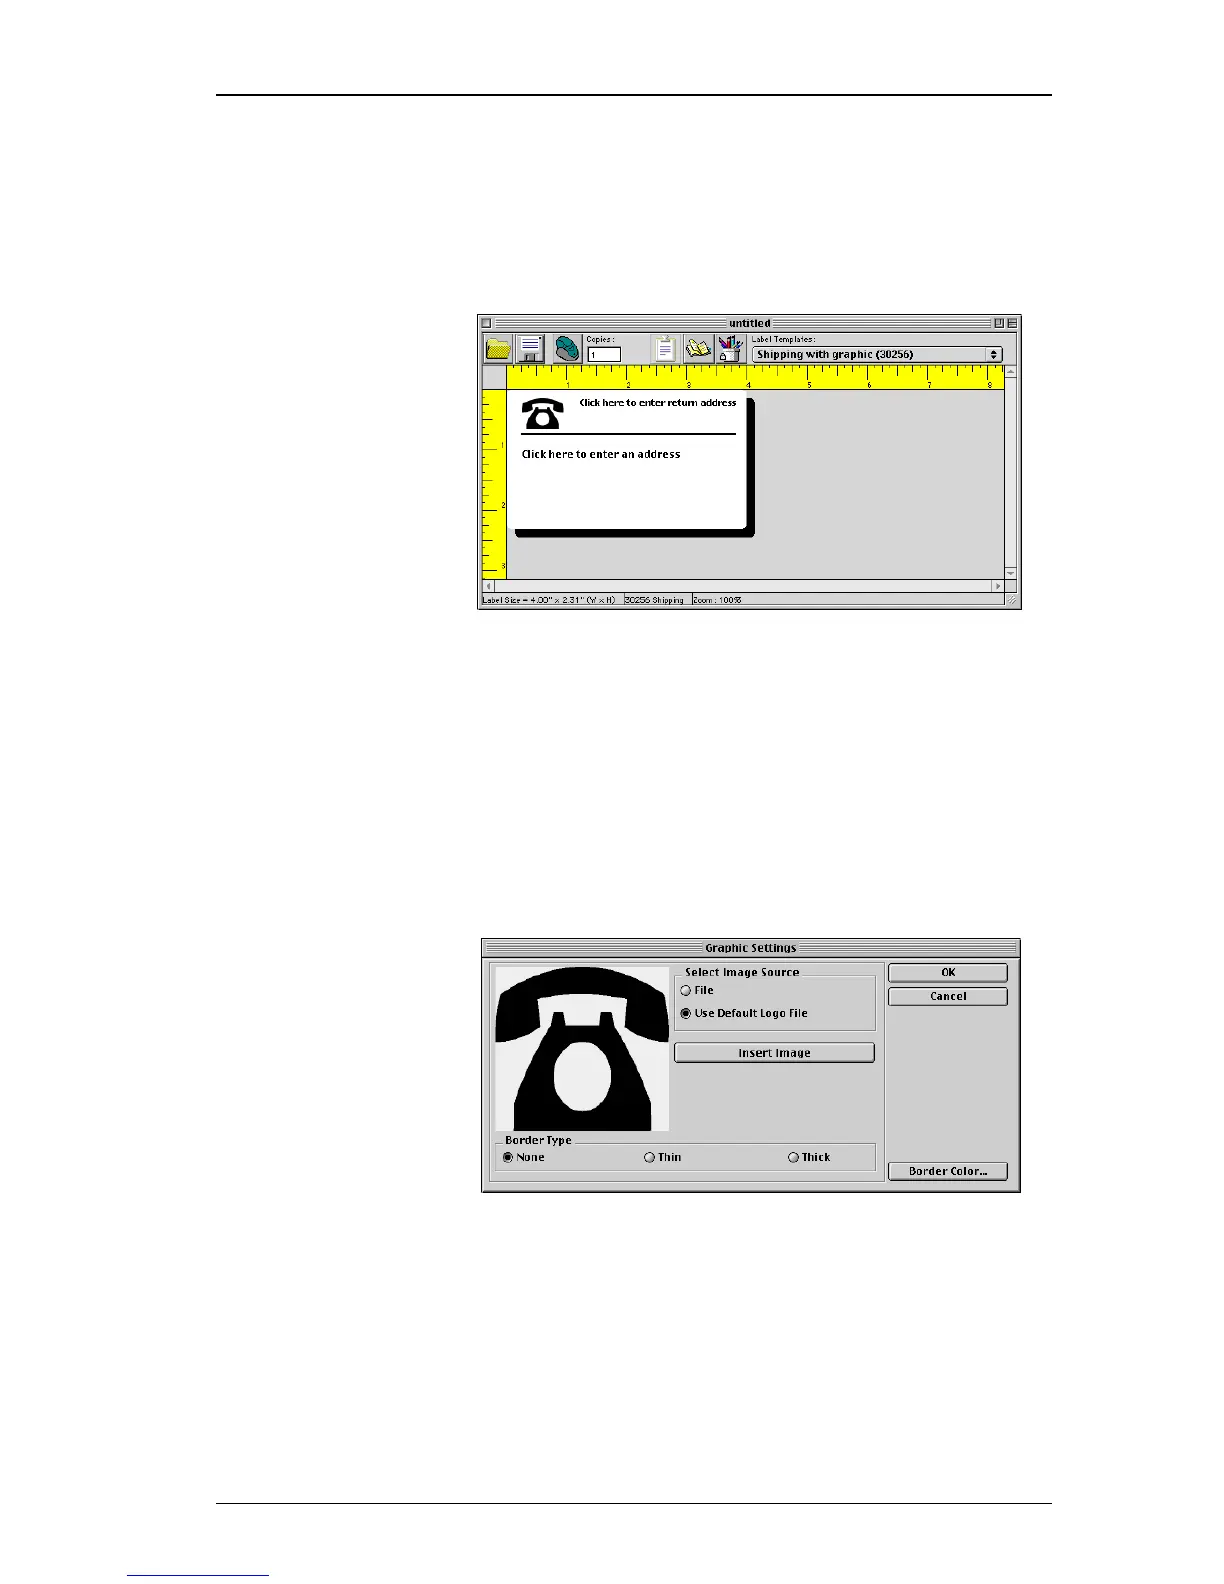
The
Shipping with graphic (30256)
template is
displayed.
Changing the
Graphic
The next step in this tutorial is to customize the graphic.
As you will see, to modify an object’s attributes, you
simply
click the object. A dialog box appears that you can
use to change the object’s attributes.
To change the logo:
1.
Click the telephone graphic that appears on the label.
The
Graphic Settings
dialog box appears.
2.
Click the
File
option under
Select Image Source
.
The
Insert Image
button changes to read
Select File
.
3. Click Select File.
The Open dialog box is displayed listing the contents of
the default clipart directory which contains the Business,
Miscellaneous, and Sign folders.
4. Select the Miscellaneous folder and click Open.