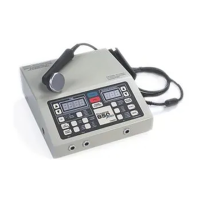
INTRODUCTION TO THE DYNATRON SOLARIS® PLUS SERIES
DYNATRON SOLARIS
®
PLUS SERIES | SERVICE MANUAL REV. 6 | AUGUST 29, 2017 2
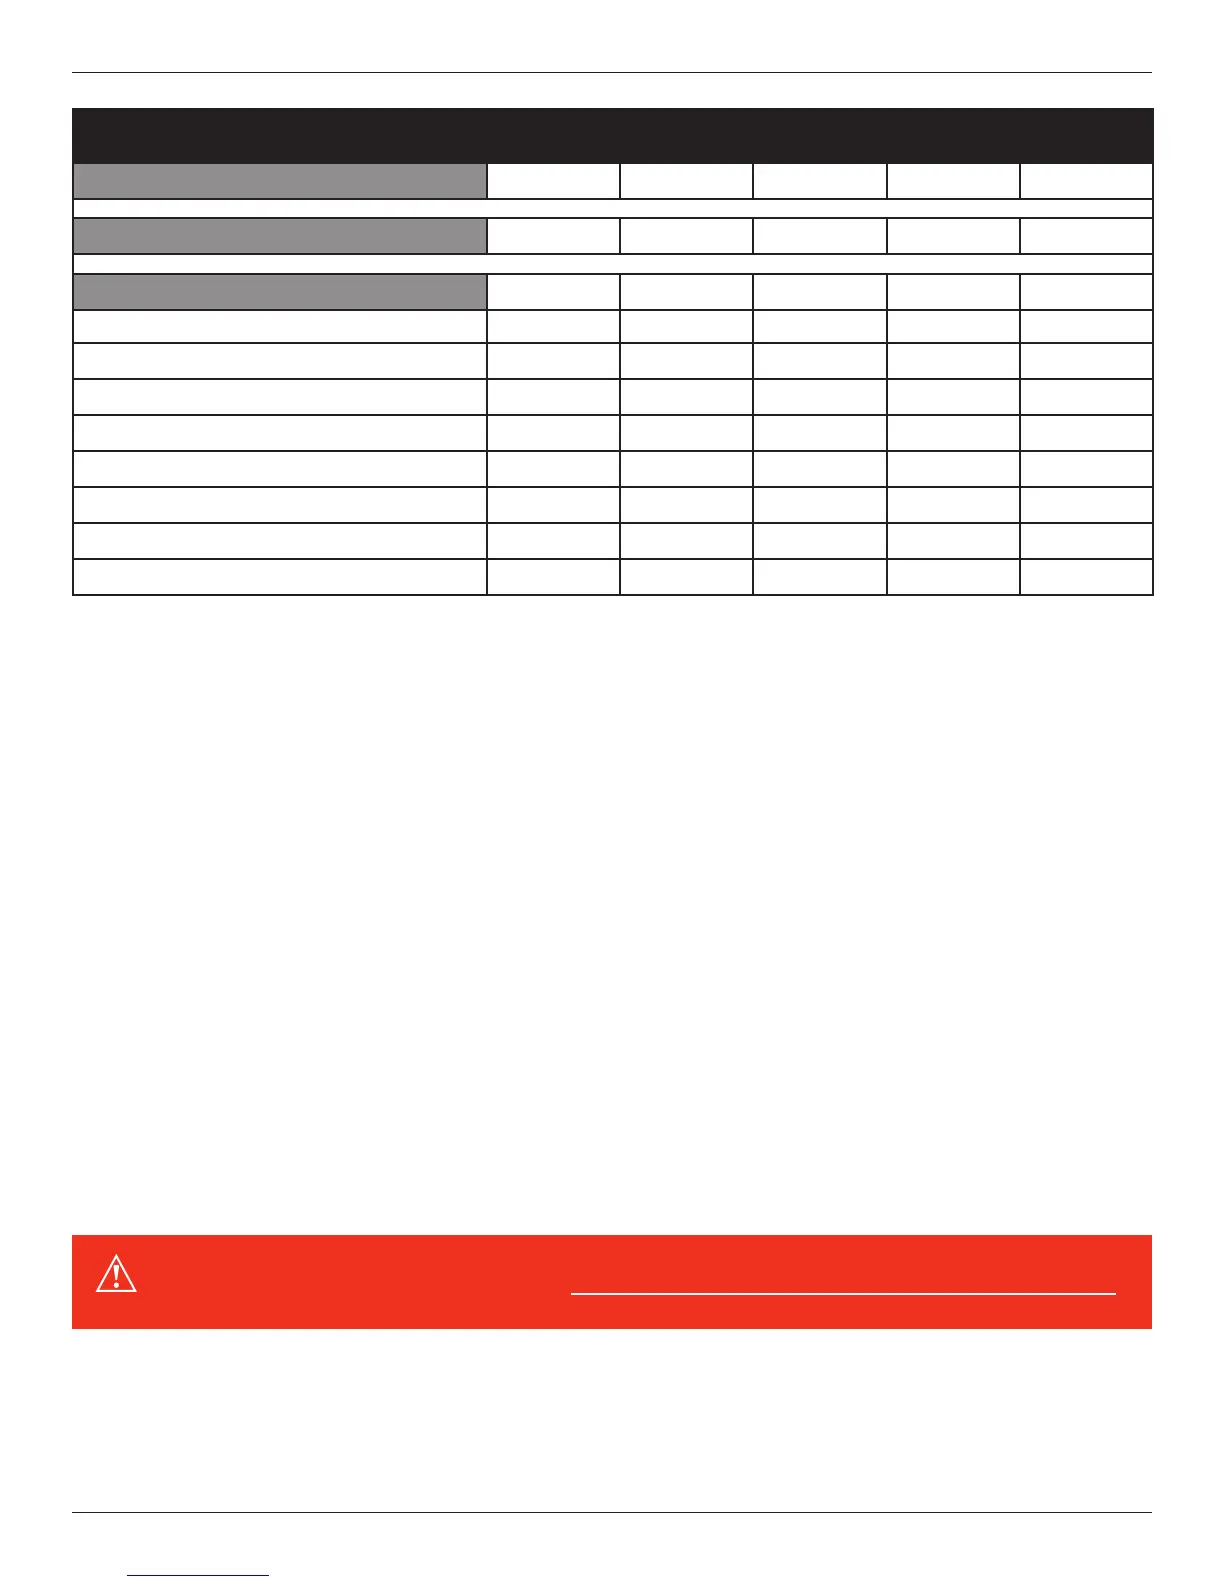
Feature 709 708 707 706 705
Tri-Wave Light Therapy
X X X X X
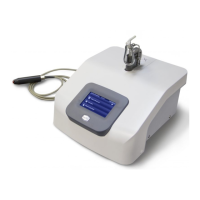
Ultrasound
X X
Available Channels
Electrotherapy Channels 4 2 4 4 2
High Volt Channel 1 1 1 1 1
MultiStim Probe Channel 1 1 1 1
Ultrasound Channel 1 1
Combo Channel 1 1
Tri-Wave Light Probe Channels 1 1 2 1 1
Tri-Wave Light Pad Channels 1 1 2 1 1
ThermoStim Channels 1 1 2 1 1
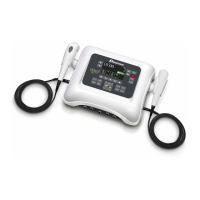
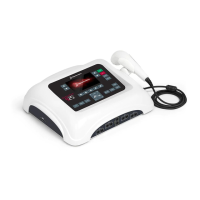
e Solaris Plus Series includes the standard advantages of Dynatronics’ engineering, such as customizable treatments, electrode
conductance meters, and the popular Target touchpad to move the center of interference directly to the site of the patient’s pain.
In addition all units oer the option of battery operation, making the devices truly portable. e manufacturer’s warranty for these
devices is two years (see full warranty details at the back of this manual).
is manual provides operator information and instructions for ve Solaris Plus models: the 705, 706, 707, 708, and 709.
e section that discusses Ultrasound and Combo treatments applies only to the Dynatron 708 and 709 Solaris Plus models.
All other sections of this manual apply to all Dynatron Solaris Plus devices excluding the 707 where special instructions
may apply.
Simplied Setup
e unique design of the Solaris Plus front panel means treatment setup has never been easier. A few simple key presses are
all you need to fully set up a treatment. e User Interface intuitively groups and displays all the options for a modality setup
on the large LCD screen to ensure that treatment parameters can easily be selected and adjusted.
Each modality oers default settings which are automatically preset when the modality is selected—saving time in the treatment
setup. You can change these defaults to match your own most common treatment setups reducing setup time to a matter of seconds.
WARNING: Power-on the device before attaching electrodes to the patient.