HIGH VOLT INSTRUCTIONS
DYNATRON SOLARIS
®
PLUS SERIES | SERVICE MANUAL REV. 6 | AUGUST 29, 2017 45
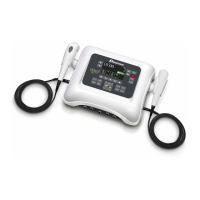
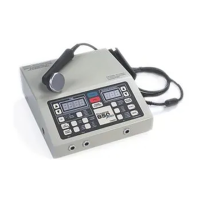
High Volt Probe, insert the optional MultiStim probe into the STIM PROBE output jack on the right-side of the
device. Attach the dispersive electrode. Press the DELIVERY toggle key until PROBE is illuminated GREEN.
Default Setting
Treatment ........High Volt Pads Treatment
Duty Cycle .............................. Continuous
Time Electrodes .......................10 minutes
Time Probe ...........................................0.00
Polarity ..........................................Negative
Pulse Rate................................ High Range
Range: ...............................High 80-120 Hz
If you wish to use the default settings, increase the intensity to the desired level, and press START. For a probe
treatment, use the intensity arrows located on the handle of the probe. Press START on the device faceplate rst, next
press START on the probe handle to activate the treatment. To customize the settings, follow steps 2-8.
ELECTRODE PADS TREATMENTS are timed, and a treatment time in MINUTES is entered at the start of the
treatment. e timer counts DOWN for electrode treatments.
All PROBE TREATMENTS are manual, and a treatment time is not set. During the probe treatment, the timer will
start at zero and count up in seconds when current is ON, and will return to zero when current is stopped. To begin
a probe treatment, press START on the device face plate, next press the ON/OFF button on the probe. Pressing the
ON/OFF button on the probe will also stop the treatment and return the time to zero. If you press STOP on the
device, all therapies currently running will be terminated. If you press Function-Stop, only the High Volt treatment
or treatment in focus will stop.
2. Choose the POLARITY
Press the Polarity toggle key to choose Polarity. Polarity options are Negative, Positive, and Bipolar.
3. Change the treatment TIME, if desired.
Electrode Pads. Use the TIME UP/DOWN ARROW keys to change the TIME for an Electrode treatment. Using
the MODE toggle key, be sure TIME is illuminated in the MODE window when entering TIME.
Probe. e TIME display shows zero until the START key on the faceplate of the device is pressed, followed by
pressing the ON/OFF button on the probe, initiating the ow of current. e timer counts up from zero (in seconds)
NOTE: e Bipolar option is not available for probe treatments. When both Bipolar (negative and positive) is
selected, the device alternates between the two, delivering each polarity for approximately 30 seconds. Some
discomfort may be felt by the patient when the polarities change. If the patient nds this setup too uncomfortable,
you may consider selecting a monopolar treatment and/or reducing the intensity.