ULTRASOUND CALIBRATION PROCEDURE
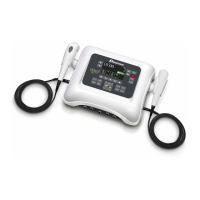
DYNATRON SOLARIS
®
PLUS SERIES | SERVICE MANUAL REV. 6 | AUGUST 29, 2017 132
Ultrasound
Calibration Procedure
1. Plug the soundhead into the ultrasound output jack and power on the device. As “Initializing” appears on the Display
Screen, take note of the soware version displayed in the bottom right corner. e soware version will be needed
to complete Step 7.
2. Center the soundhead over the cone located within the cup of water attached to the ultrasound power meter.
3. To enter the Dynatron Solaris Plus user calibration mode:
a. Press the ULTRASOUND modality key.
b. Hold down the FUNCTION key until the screen displays the temperature (about 15-20 seconds).
c. Using the MODE toggle key located under the MODE display window, toggle until “HEAD CAL” is highlighted.
4. Using the toggle key under the FREQUENCY display window, select the frequency to be calibrated: 1 MHz., 2 MHz.,
or 3 MHz.
5. Press the START key. e voltage, associated with the selected frequency, will automatically ramp up:
2 cm
2
1 MHz…..13 volts
2 MHz…..12 volts
3 MHz…...24 volts
5 cm
2
1 MHz…..10 volts
2 MHz…..17 volts
3 MHz…...23 volts
10 cm
2
1 MHz…..27 volts
2 MHz…..27 volts
3 MHz…...25 volts