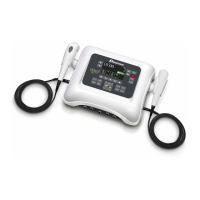
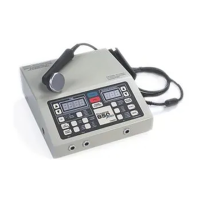
MICROCURRENT INSTRUCTIONS
DYNATRON SOLARIS
®
PLUS SERIES | SERVICE MANUAL REV. 6 | AUGUST 29, 2017 54
5. FREQUENCY
Press the MODE toggle key to select FREQ (Frequency). Using the Up/Down arrow keys located next to the
Frequency display, enter the desired frequency (0.1 - 200).
6. INTENSITY
INTENSITY is displayed in microamps (µA). Use the Up/Down arrow keys located next to the Intensity display to
set the intensity (10-990 µA).
7. CONDUCTANCE / AUDIBLE TONE
Both the Conductance Bar and the Audible Tone can be turned on and o by using the toggle key beneath their
respective display windows. Note: Turning the Audible Tone OFF in Probe mode will turn o the Conductance Bar.
When the Probe is PAUSED, sound and conductance are ON.
8. Press START
Electrode Treatments. Pressing START causes the treatment timer to begin counting down and Stim is delivered
through Channel 1.
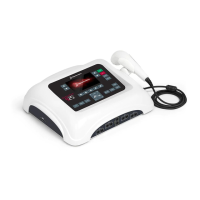
Probe Treatments. Begin by pressing START on the device faceplate, then press and release the 1/0 (On/O) button
on the probe to activate current through the probe. e device beeps once to signal that current delivery has started
(it is not necessary to hold the button down while treating). e treatment timer begins counting up in seconds from
zero to provide a convenient means of timing the delivery of current at a given point. Press and release the 1/0 button
again to stop the current through the probe. e treatment timer returns to zero and the device beeps twice to signal
that current delivery has stopped. Continue the treatment cycle in similar fashion for each treatment site. When
applying a Microcurrent Probe treatment, it is necessary to use a ground probe or ground electrode in conjunction
with the treatment.
9. STOP
When the treatment time has elapsed, the current to the patient stops and a tone sounds signaling the end of a
treatment. Treatments in progress may be stopped at any time using one of the following methods.
Stop One Treatment Only. Press and hold the FUNCTION key and press STOP. is stops only the treatment in focus.
Stop All. Press the STOP key. All treatments at all channels will stop.
Stop Time. Reduce the treatment time using the Time arrow key. e output at the selected channel is stopped, and
the device then displays the parameters for the next treatment that remains in progress (if there is an active treatment).
NOTE: While the treatment is in progress, treatment parameters can be modied. Separate default parameters may
be saved for both electrodes and probe treatments.
 Loading...