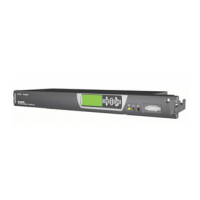
Enterprise Power Solutions Installation and Operation Guide
22
Copyright © 2008 Eaton Corporation. All Rights Reserved.
IPN 997-00012-56C September 2008
Step 2 - Select cable size
Select the required dc output cable size from the following table, according
to each circuit breaker rating:
Circuit breaker rating Maximum load current Cable size*
6A 4.8A
10A 8A
15A 12A
14AWG / 1.5mm
2
20A 16A 12AWG / 2.5mm
2
25A 20A
30A 24A
10AWG / 4mm
2
* These cable sizes are calculated to limit the voltage drop to 1.0V or less at
the maximum current for a distance of up to 12feet / 3.6m from the
EPS2/EPS5 to the load equipment. For greater distances increase the cable
size.
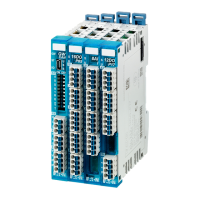
Step 3 - Connect dc output cables
1 Route the cables to the rear of the EPS2/EPS5.
2 Connect the first positive cable to the LOAD COMMON terminal 1.
3 Connect the first negative cable to the LOAD -VE terminal 1
(connected to load circuit breaker 1).
4 Repeat for all other cables.
5 Tighten all terminals to 9 in-lb / 1Nm.
"
Negative (live) output terminals (terminal
numbers correspond to the load circuit
breaker numbers)
#
Positive (Common) output terminals
$
Positive and negative cables to load
equipment
Step 4 - Check terminations, secure cables and test insulation
1 Check all terminations are correct and are tightened.
2 Secure the cables with cable ties to ensure there will be no strain on the
terminals.
3 Test the insulation resistance of the cables.
 Loading...