GB
52
52
DESCRIPTION
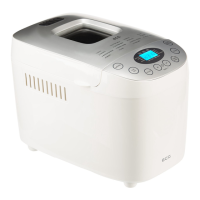
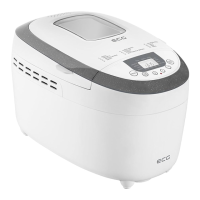
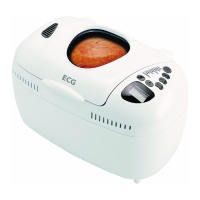
A Bread make parts
1. Observation window
2. Lid
3. Two kneading paddles
4. Removable baking pan
5. Control panel B
6. Body of the bread maker
7. Measuring cup
8. Spoon
9. Hook
B Control panel
START/STOP button
• Press START/STOP to start aprogram. The indicator lights up and the colon starts ashing. After starting aprogram
all other buttons except for START/ STOP/PAUSE are inactive.
• Press the button START/STOP for half asecond to enter the pause mode. If you do not perform any action within
3 minutes, the program resumes and will continue until it is completed.
• When you press the button START/STOP for three seconds, you cancel an active program. When the program
stops it is indicated by abeep. This function (turning o by long press) is there to prevent accidental cancelling of
the program.
• If you want to remove the bread, press START/STOP to end the baking process.
MENU button
• Press MENU to select the required program. Each time you press abutton (accompanied by abeep) you switch to
the next program. The display shows the numbers of dierent programs in succession.
COLOR button
• Press COLOR to select the required browning setting: LIGHT (light), MEDIUM (medium), DARK (dark) or RAPID
(rapid). The button can be used in programs 1–8 and 14–15.
LOAF SIZE button
• Use this button to select the gross weight of the loaf (1125 g, 1350 g, 1600 g). You can use this button in modes 1–7.
TIMER +/- buttons
• You can use timer to postpone baking to alater time. Press (+) and (-) to delay the process by up to 15 hours. The
set time will appear on the display. The minimal delay time depends on the chosen program.
Notes:
• Set the timer only after selection of the program (MENU), weight (LOAF SIZE) and browning (COLOR).
• Do not use timer with recipes using eggs and milk products (milk, cream, cheese...).
• Press (+) (-) to select when the bread should be ready. Keep in mind that you have to add to the the delay
time the length of the program. After completing the program the appliance switches for 1 hour to keep warm
mode. Before you start baking bread, using the buttons MENU and COLOR select aprogram and the degree
of browning and then press (+) or (-) to extend or shorten the start of delay period (one step is 10 minutes).
Maximum timer delay is 15 hours.
HOME MADE button
Use this button to customize the program to suit your needs, see the description of individual programs.
OPERATING INSTRUCTIONS
STARTING
Before rst use
• Read all instructions and important information.
• Remove all packaging, including labels and stickers and wipe the surface with adamp dishwashing cloth. Make sure
that all the parts were supplied in good condition.