Section 3
Installation
Page 3 - 2 EchoStar International Corporation
© 2001 EchoStar International Corporation
All rights reserved
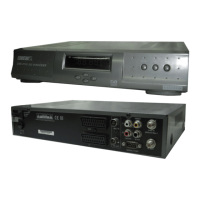
FOR SMATV INSTALLATIONS
2. TO SETUP YOUR RECEIVER FOR THE FIRST TIME
This procedure will guide you step-by-step through the initial setup of the receiver. After you
have finished the initial installation, these pages are accessible through the icons in the menu
bar which is in the initial setup not shown.
Languages
■ To set the language you want to use in the menus.
■ To set the language for programs with bi-lingual audio.
■ To set the language for bi-lingual subtitled programs.
TV System
■ To set the (UHF) TV channel to which the receiver is
connected.
■ To set the video format supported by your TV.
User Profile
■ To set the screen size of the TV.
■ To set the view time for the InfoBanner.
■ To tell the receiver that it is connected to a Dolby Digital
amplifier or not.
Local Time
■ To set the time zone where you are.
■ To set the actual date.
■ To set the actual time.
System Setup
■ To set the dish type you use (SMATV).
■ To select the distribution type
■ To set the symbol rates you want to scan.
Search Channels
■ Wait for the search to complete.
NOTE
Unless otherwise specified; This note explains the way you can navigate through
the pages of the EchoNAV initial setup menu.
1. Use the OK key to pull down the menu selection fields.
2. Use the arrow keys to go through the selectable menu items.
3. In a pull-down menu, use the OK key to confirm the selection.
4. Use thearrow keys to navigate between the left and right column of
selectable menu items.
5. Use the EXIT key to leave the menu and return to the live mode.
1. Switch on the TV.
2. On the receiver, press the on/standby button.
3. Make the required selections.
4. Read the available help text for information.
5. Go to the Continue field.
6. On the RCU, press the OK key to advance.
 Loading...