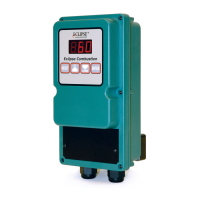
Eclipse Rotary Actuator Instruction Manual 904-7/24/06
14
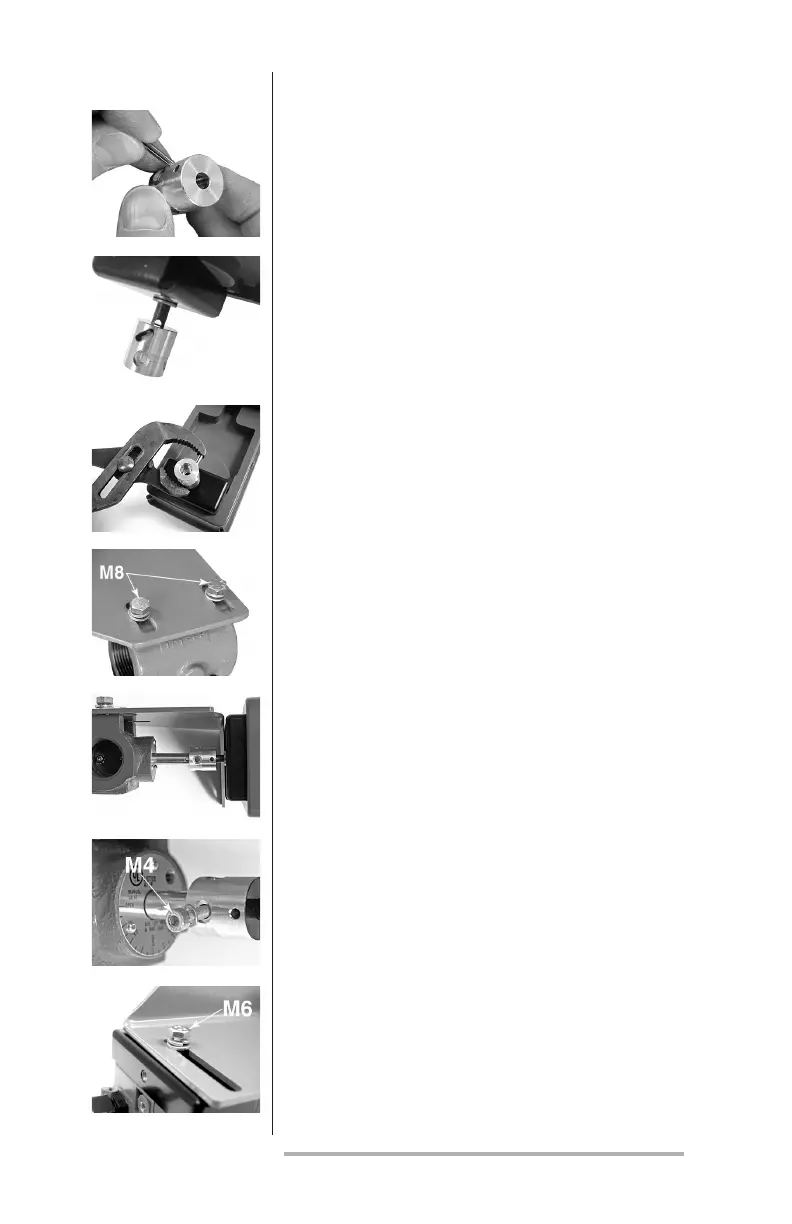
3. Install the coupling to the PRA shaft. For
the standard solid coupling with a 3mm
slotted spring pin:
a. Insert the spring pin partially into
the coupling. Insertion may be
easier by rst squeezing the tip
slightly with pliers.
b. Slide the coupling onto the PRA
shaft and align the spring pin hole
in the coupling with the through
hole in the shaft. A view from the
opposite side open hole of the
coupling will assist alignment.
c. Use slip-lock pliers to press the
spring pin through the coupling
and shaft. Make sure the actuator
body is supported and be careful
not to apply excessive stress on
the shaft.
4. Loosely attach the mounting bracket to the
BV. The Eclipse mounting kits include M8
bolts, at washers, and lock washers for
this purpose. Do not tighten at this time to
allow alignment in the next steps.
5. Rotate the BV to its minimum position to
match the position of the PRA. Slide the
PRA with coupling onto the BV shaft and
align to the bracket.
6. Insert the M4 bolt and lock washer through
the coupling hole and thread about 4 turns
into the BV shaft.
7. Adjust the bracket along its slots to bring
the bracket mounting surface up to the
PRA. Also check and keep the alignment of
the BV and PRA shafts. Attach the M6 bolt
and washer through the bracket into the
mounting hole of the PRA (Figure 1), nger
tight only. Also nger tighten the M8 bolts
holding the bracket to the BV.
8. Remove the M4 bolt from the coupling.
Grab the BV shaft with your ngers and see
if the shaft can be turned within the coupling.
If the shaft is very difcult to turn,
3a.
3b.
3c.
4.
5.
6.
7.