Eclipse Rotary Actuator Instruction Manual 904-7/24/06
27
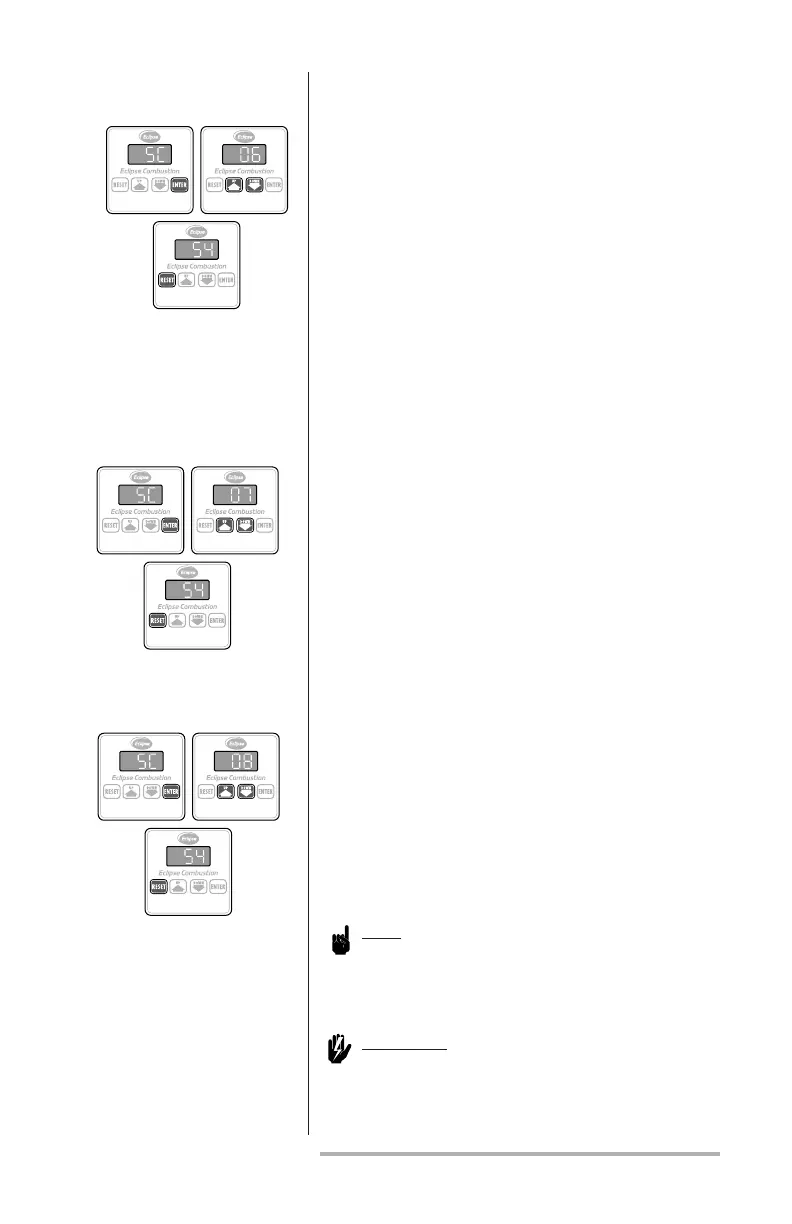
This parameter takes the actuator out of the manual
positioning mode. The shaft automatically positions
at a point between low and high res according to
4-20mA, 0-10Vdc or LF/HF inputs on the connec-
tor:
1. Press the ENTER key; the message “SC” will
appear on the display.
2. Press either the UP or DOWN key until the
number “06” appears on the display.
3. Press the RESET key to complete the sequence.
This parameter allows the operator to change the
auxiliary contact from the normally open (NO)
default to normally closed (NC):
1. Press the ENTER key; the message “SC” will
appear on the display.
2. Press either the UP or DOWN key until the
number “07” appears on the display.
3. Press the RESET key to complete the sequence.
This parameter allows the operator to return the
auxiliary contact’s default setting to normally open
(NO) if ever changed:
1. Press the ENTER key; the message “SC” will
appear on the display.
2. Press either the UP or DOWN key until the
number “08” appears on the display.
3. Press the RESET key to complete the sequence.
Note:
The next two parameters describe shaft rotation
when facing the keypad.
Warning:
Disconnect shaft coupling before
changing. The shaft will reposition as
such that 0 becomes 90 degrees.
auxiliary ContaCt
seleCt–
normally open
auxiliary ContaCt
seleCt–
normally CloseD
automatiC signal
input seleCt