Eclipse Rotary Actuator Instruction Manual 904-7/24/06
28
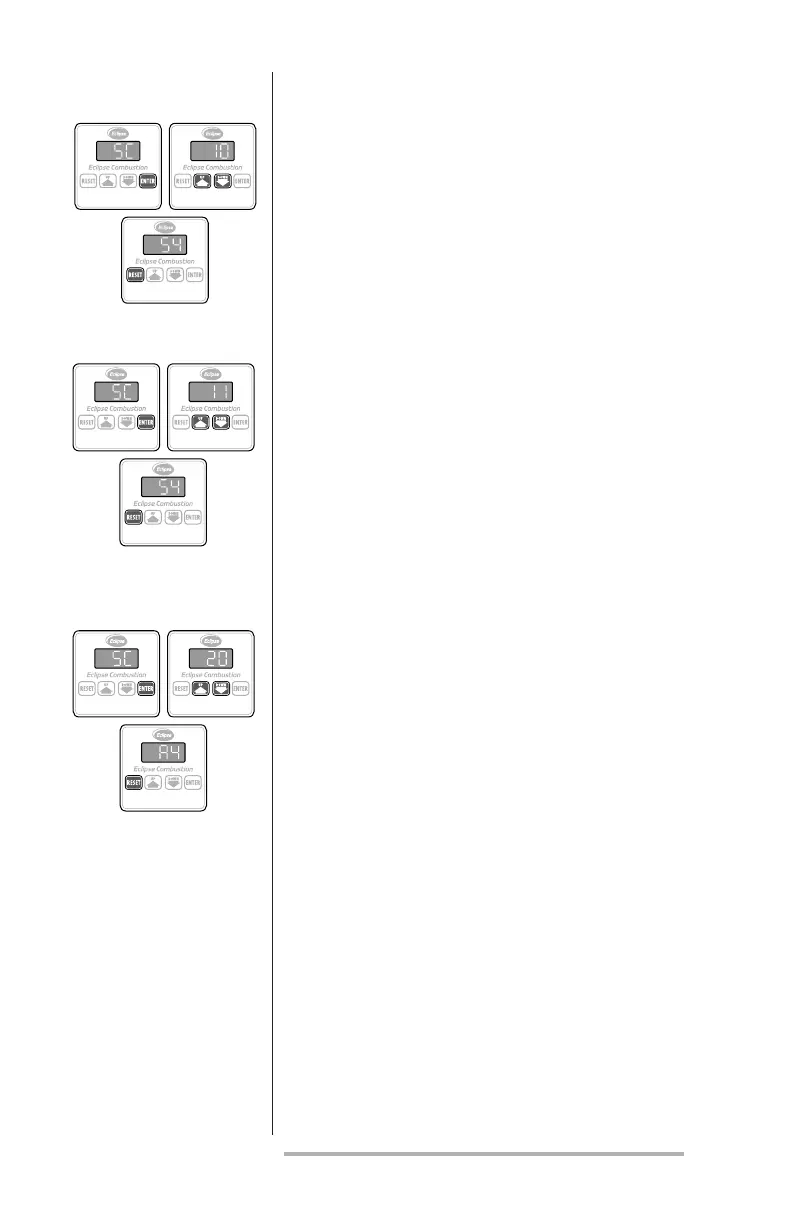
This parameter allows the shaft to travel clock-
wise when the input signal increases:
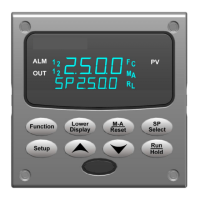
1. Press the ENTER key; the message “SC” will
appear on the display.
2. Press either the UP or DOWN key until the
number “10” appears on the display.
3. Press the RESET key to complete the sequence.
This parameter allows the shaft to travel counter-
clockwise when the input signal increases:
1. Press the ENTER key; the message “SC” will
appear on the display.
2. Press either the UP or DOWN key until the
number “11” appears on the display.
3. Press the RESET key to complete the sequence.
Pushing the RESET key twice allows the various
setpoints to be examined. Once activated, the
display will indicate a two-letter parameter code
followed by its value in the following sequence:
a. software version;
b. low re stop position (LF);
c. high re stop position (HF);
d. contact signal loss position (LO);
e. low re contact release position (LL);
f. low re contact sense position (LS);
g. high re contact sense position (HS);
h. high re contact release position (HH);
i. manual (C5) or automatic (C6):
j. aux. contact mode N.O. (C8) or N.C. (C7);
k. rotation CW (CO) or CCW (C1)
examine setpoints
CounterCloCkwise
rotation seleCt
CloCkwise
rotation seleCt
The display will show each function's setpoint for
two seconds before scrolling to the next one.