25
Press out another droplet. Then move the
measuring device with its inserted sensor
to the droplet. Allow the droplet to fill the
measurement chamber until the opening for
the blood sample is immersed in the droplet.
An acoustic signal will sound when this is
successfully filled and the test will begin.
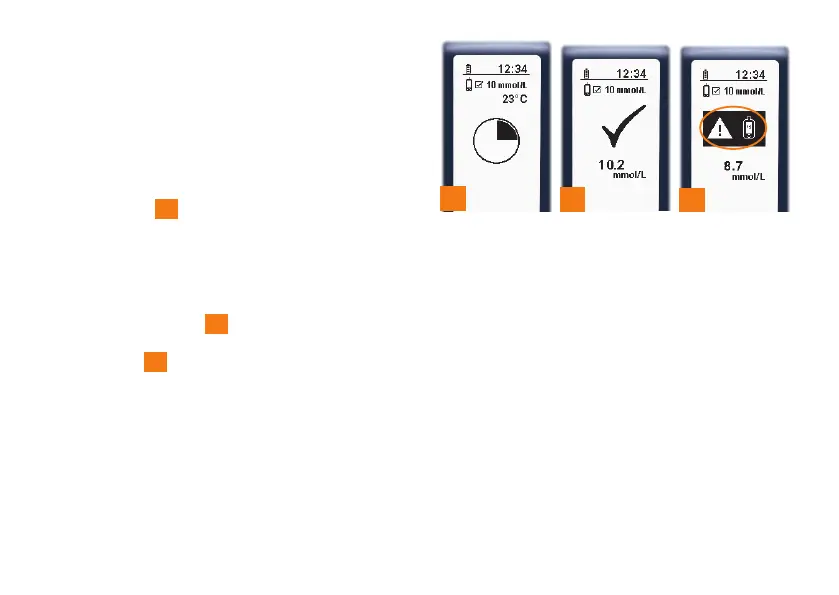
You can track the progress of the test
on the display
26
. The measured lactate
concentration will be displayed immediately
afterwards. If the result is within the
permissible tolerance range, a tick will be
shown in the centre of the display. It also
means the measuring device and sensor are
functioning properly
27
. If the result is outside
of the tolerance range, an error message will
be displayed
28
(see chapter 7 on page 39,
“Functionality test not successful”).
The device will turn o when the sensor
is removed.
27
28
26