18
6. Confirm that the gauge reads correctly at zero and at the calibration foil value. If required the
calibration adjustment can be repeated to ensure its accuracy.
To re-adjust the gauge, repeat all the steps in Section 5.2.
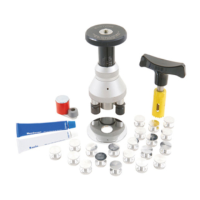
Note: As well as calibration foils, certified coated standards are available - see “Spares and accessories”
on page 32.
5.3 SPECIAL CALIBRATION ADJUSTMENT
Use this calibration adjustment procedure for measurements on rough surfaces, small diameters, special
steel alloys, thin substrates below 300 µm (0.012"), etc.
Two calibration foils are required; one below the thickness to be measured (the thin foil) and one above (the
thick foil).
Note: In this routine if, after the key-lock feature is operated, 7 seconds elapses without pressing a key or
taking a reading, the gauge will automatically continue to the next step, i.e. the gauge will move from low
calibration CLO to high calibration CH1 or from high calibration to measurement mode.
1. Switch the gauge on and press , the symbol in the display will flash. Press and release to
begin the special calibration sequence. The display will show CLO (= Calibrate Low) and the rough
surface icon will flash at the rate of once per second.
2. Place the chosen thin calibration foil onto the bare metal surface.
3. Repeated measurements can now be taken on this foil and the display will show the accumulated
average of these readings. This is useful when there is significant variation from one reading to the
next, such as would occur on a rough surface or profile. Averaging a number of readings will give a
more stable value and it is this average that should be adjusted for calibration.