EasyManuals Logo

Elcometer 456 Model E User Manual

Elcometer 456 Model E
89 pages
To Next Page IconTo Next Page
To Previous Page IconTo Previous Page
Page #6 background imageLoading...
Page #6 background image
en
R
www.elcometer.com5
2 GETTING STARTED
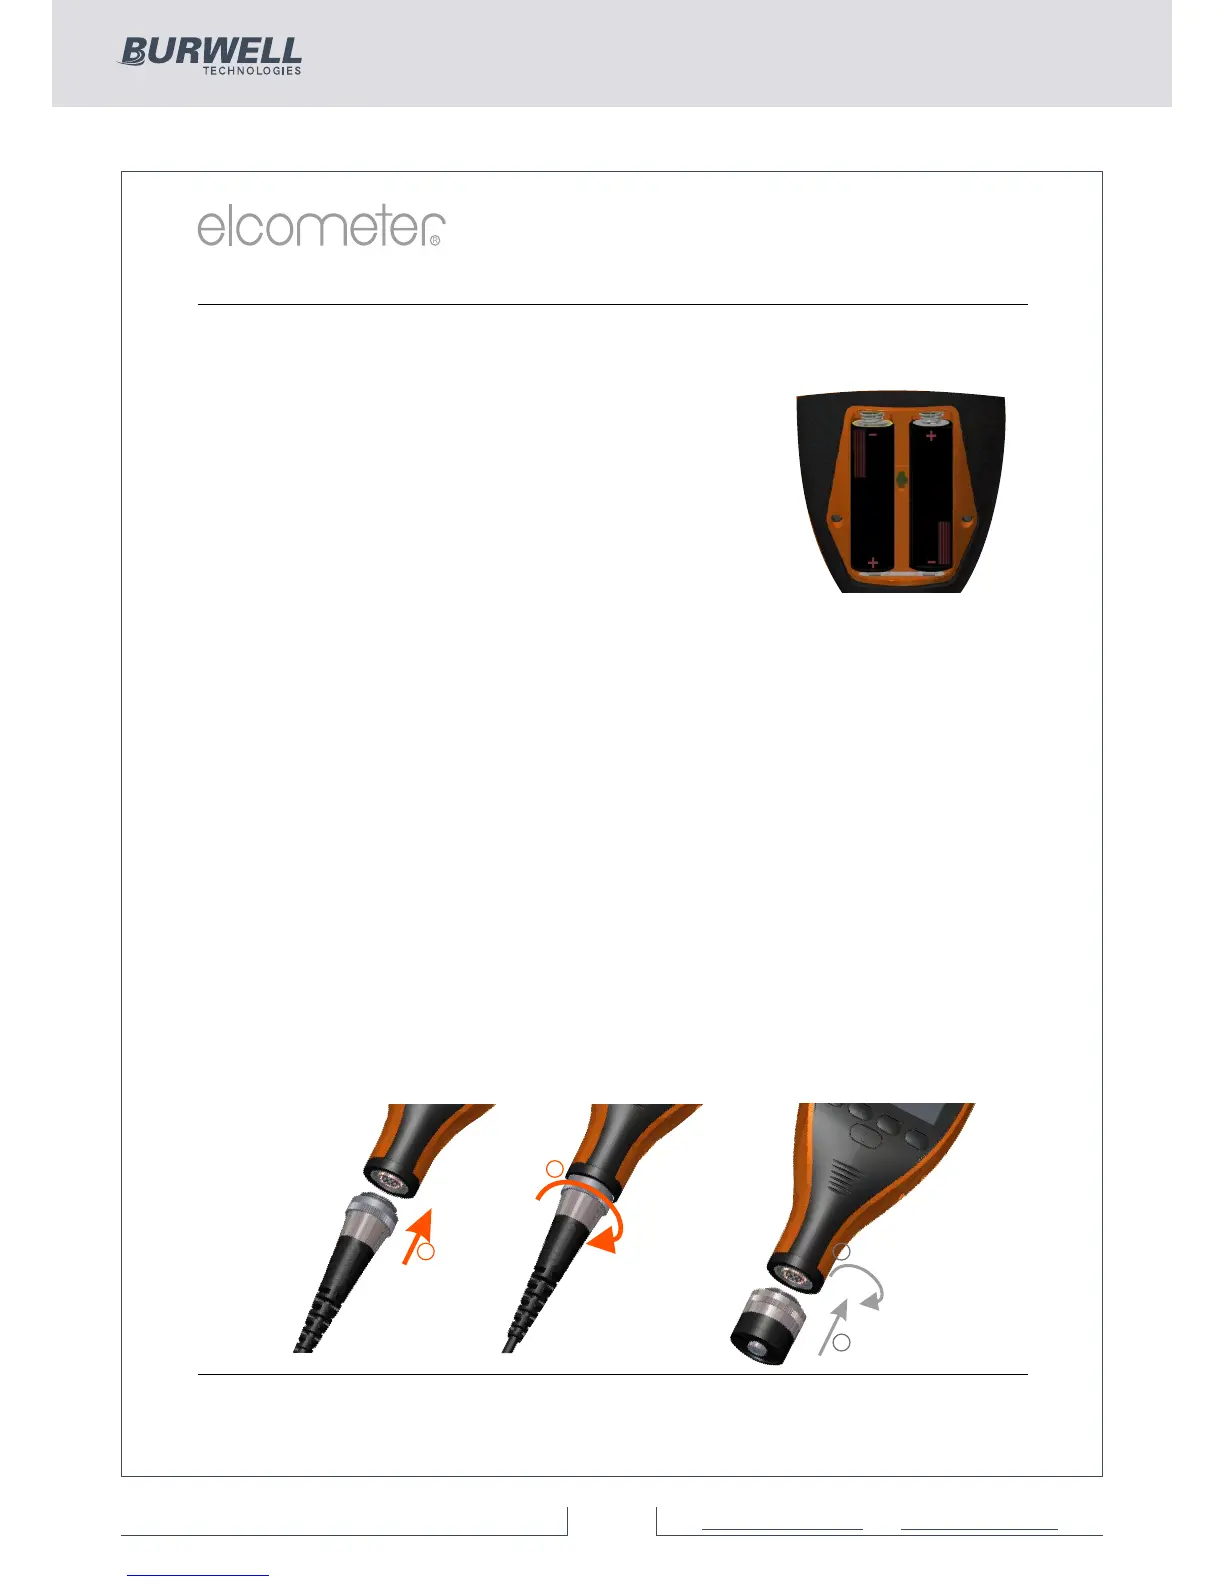
Fitting the batteries
Your gauge is supplied with batteries ready to fit. To insert or
replace the batteries:
1. Lift the latch at the back of the gauge and
+
rotate anticlockwise.
2. Remove the battery compartment cover.
3. Insert 2 batteries (type LR6/AA) taking care to
ensure correct battery polarity.
4. Replace battery compartment cover and rotate
the latch clockwise to close.
The battery condition is indicated by a symbol in the top right of the
display:
Full symbol (orange) = batteries at full capacity
Empty symbol (red, flashing) = batteries at lowest sustainable
level
To maximise battery life, ensure that Auto Screen Brightness is
selected, or the screen brightness is low via Menu/Setup/Screen
Settings/Screen Brightness and the Bluetooth is disabled (if you
are not using it) via Menu/Bluetooth and uncheck the Enable
Bluetooth radio button.
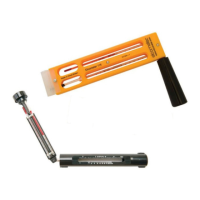
Connecting the probe (separate gauges only)
1. Rotate the probe plug to align the pins
2. Screw in the collar - clockwise
1
2
1
2
+
+
456 Dry Film Thickness Gauge
6 of 89For more information / 1300 287 935
mail@burwell.com.au / www.burwell.com.au

Questions and Answers:

Question and Answer IconNeed help?

Do you have a question about the Elcometer 456 Model E and is the answer not in the manual?

Elcometer 456 Model E Specifications

General IconGeneral
BrandElcometer
Model456 Model E
CategoryMeasuring Instruments
LanguageEnglish

Related product manuals