Reference Manual
00809-0100-4716, Rev JA
May 2008
2-15
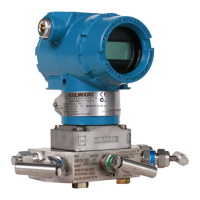
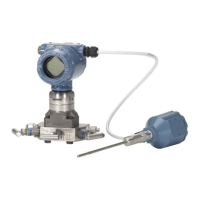
Rosemount 3095 MultiVariable
Optional Transient
Protection Terminal
Block
The transient terminal block can be ordered as an installed option (Option
Code T1 in the transmitter model number) or as a spare part to retrofit existing
3095 transmitters in the field. See “Spare Parts List” on page A-14.
Installation
When the transient protection terminal block is ordered as a spare part, it
must be installed in place of the standard terminal block inside the transmitter
housing. See “Removing the Electrical Housing” on page 5-8.
NOTE
The transient protection terminal block provides transient protection only if the
transmitter housing is properly grounded. See “Grounding the Transmitter
Housing” on page 2-14.
Performance
The transient protection terminal block increases the ability of the 3095
transmitter to withstand electrical transients induced by lightning, welding, or
heavy electrical equipment. With the transient protection block installed, the
3095 transmitter meets the standard performance specifications as outlined in
this product manual. In addition, the transient protection circuitry meets IEEE
Standard 587, Category B and IEEE Standard 472, Surge Withstand
Capability.
INSTALLATION
Equipment The following equipment and tools are not provided with the 3095 transmitter.
Be sure to review the list prior to field installing the transmitter.
• Installation tools
• Field wire between the power supply and the 3095 transmitter
• Barriers or seals required for hazardous locations
• Conduit
• 2-in. (50.8 mm) mounting pipe or saddles
• Power supply
• 3- or 5-valve manifolds, unless otherwise specified
• Impulse piping
•Tie wraps
Use the following steps to successfully install the 3095 transmitter.
1. Review the installation considerations described on “Considerations”
on page 2-4 to determine the location for the 3095 transmitter.
Mount Transmitter and
Install Bolts
2. Mount the 3095 in the desired location, and install flange or
flange/adaptor bolts.
a. Finger-tighten the bolts.
b. Torque the bolts to the initial torque value using a cross-pattern
(see Table 2-2).
c. Torque the bolts to the final torque value using the same
cross-pattern.
 Loading...