17
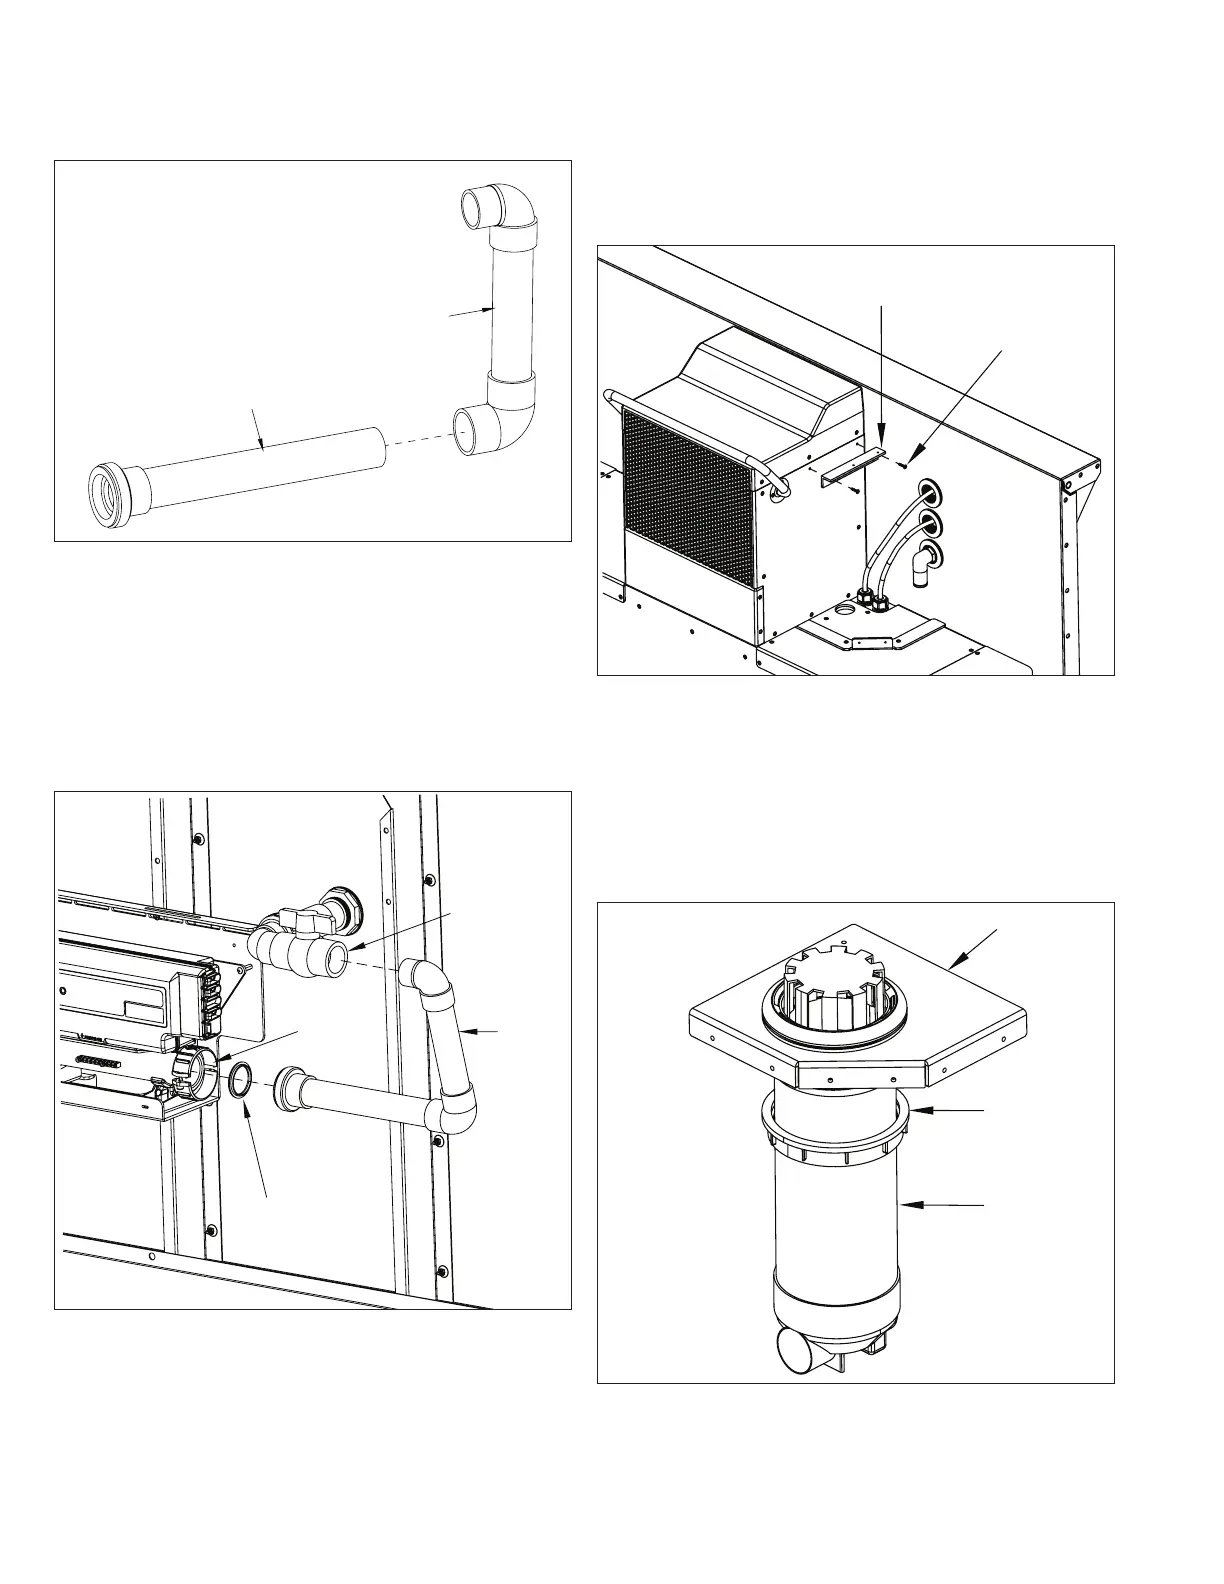
Glue the Pre-Plumbed Gecko Outlet to Return Assembly
(A) onto the Flex Pipe (B) that was cut in the previous step.
Make sure to apply PVC primer and cement to the faces of
the glue joints (Fig. 27).
A
B
Fig. 27
The next step is best accomplished with two people. Glue
the assembly (A), made up in the previous step, to the Ball
Valve (B). Attach the other end of the assembly to the
outlet of the Heater-Controller. Again, make sure there is a
T-Gasket (C) installed between the Heater-Controller and
Tailpiece prior to tightening the Heater-Controller Union (D).
The Heater-Controller Union can be taken apart by removing
the two set screws to make this step easier (Fig. 28).
A
D
B
C
Fig. 28
17. 17. Skimmer-Filter InstallationSkimmer-Filter Installation
Remove the two screws at the rear right of the Propulsion
Housing. These holes will be used to attach the Angle for
the skimmer assembly.
Attach the Angle (A) using the 1” (25mm) screws (B)
provided in the pool mounting hardware kit (Fig. 29).
A
B
Fig. 29
Remove the Lock Ring (A) from the Skimmer Housing (B) and
place the housing into the opening of the Skimmer Shroud
Lid (C). Re-install the Lock Ring (Fig. 30). The Lock Ring
should be tightened to the point where the skimmer housing
is seated firmly against the shroud lid, but loose enough so
that the housing can rotate for any adjustment that may be
required once the skimmer is installed in the pool.
Fig. 30