Position a side plate followed by a top plate over the foam pieces
to form a corner step. Fig. 26a. Repeat for the other rear corner.
No screws or adhesives are required for the corner step installa-
tion. e weight of the pool water will secure the corner steps in
place. Fig. 26b.
Fig. 26a
Fig. 26b
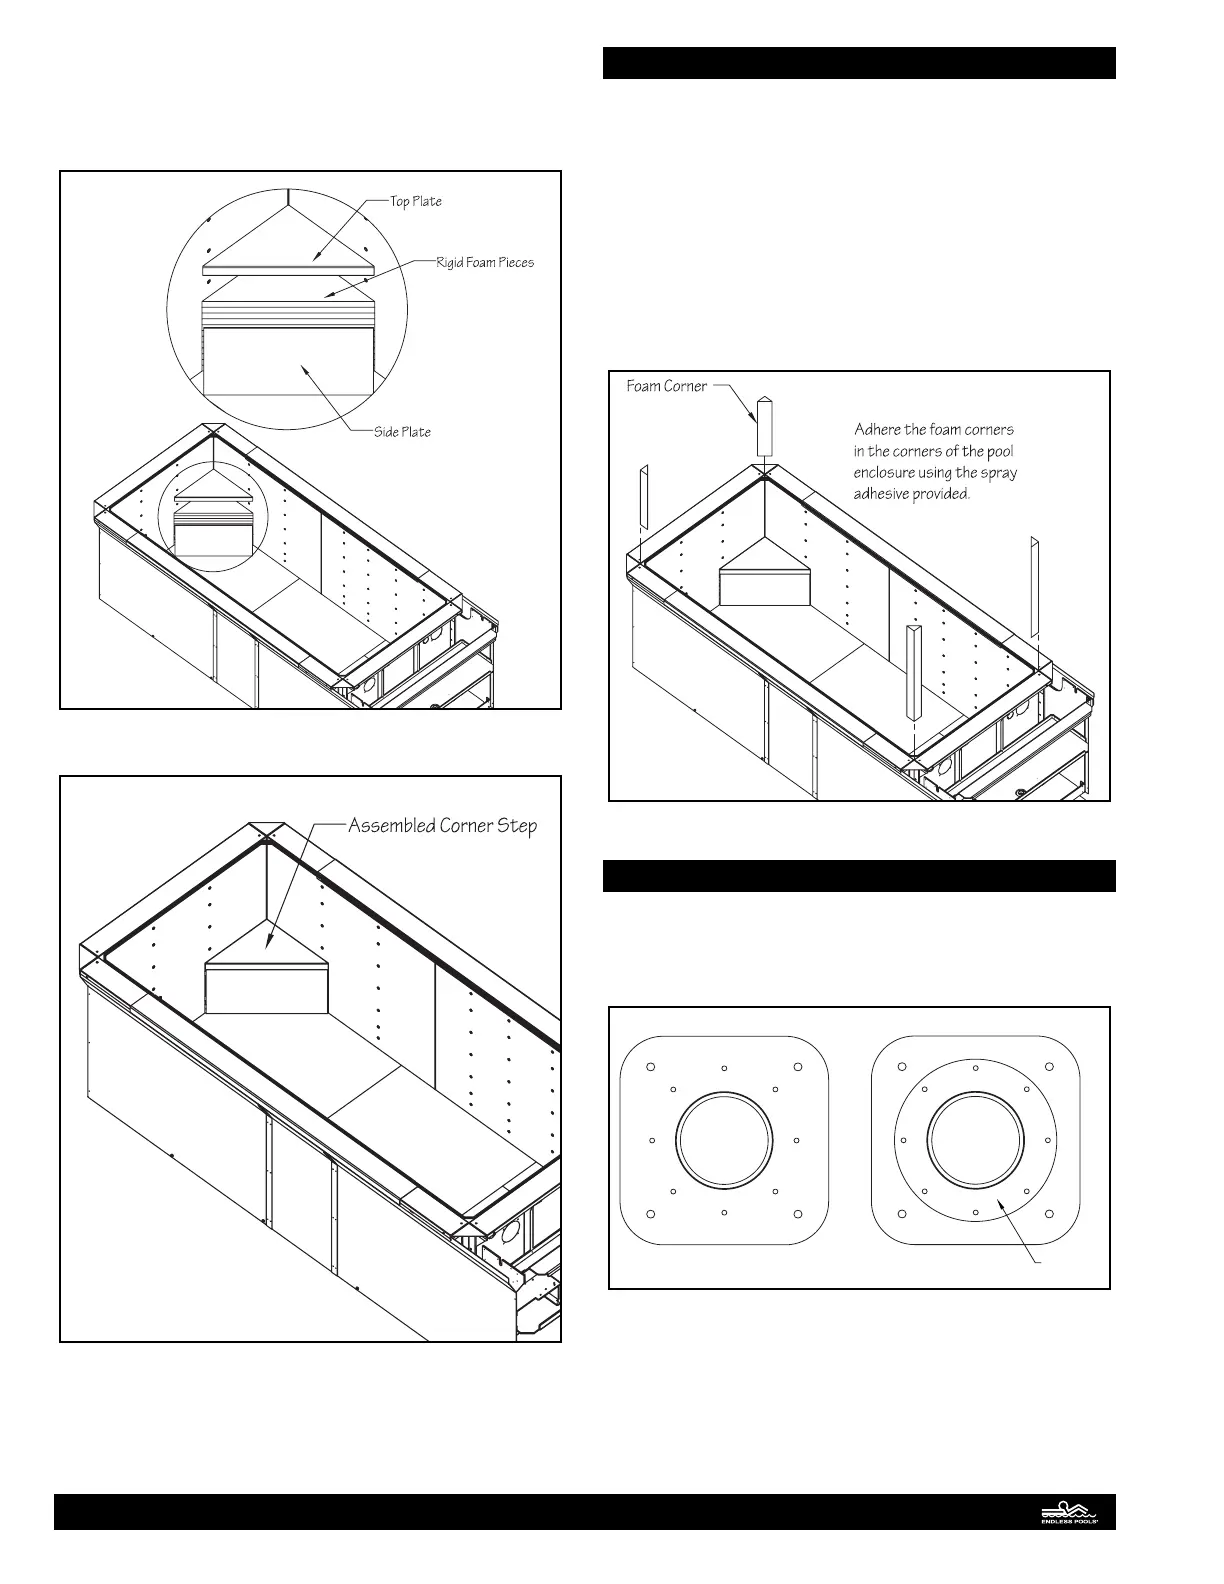
Foam Corners
Foam corners are installed in the front and rear corners of the
pool enclosure. e foam corner kit contains (4) foam corners
which are to be adhered in each corner of the pool enclosure
using the spray adhesive provided.
Starting at the rear of the pool, spray a thin bead of adhesive
in each corner. Position the short foam corners on top of each
corner step and adhere the corners in the rear corners of the pool
enclosure. At the front of the pool, spray a thin bead of adhe-
sive in each corner. Position the long foam corners on the plastic
ooring and adhere the corners in the front corners of the pool
enclosure. Fig. 27.
Fig. 27
Thru-wall Connections Part 1
ere are two thru-wall tting assemblies for the propulsion
system. ese ttings are not interchangeable. e pressure
thru-wall assembly has a bump out on the face which MUST be
installed on the pressure side of the plumbing. Fig. 28.
Pressure Thru-Wall Assembly
Suction Thru-Wall Assembly
Bump Out
Fig. 28
15