Commissioning Cerabar M HART
28 Endress+Hauser
6 Commissioning
6.1 Function check
Carry out a post-installation and a post-connection check as per the checklist before commissioning
the device.
• "Post-installation check" checklist (→ see Page 17, Section 3.4 "Post-installation check")
• "Post-connection check" checklist (→ see Page 22, Section 4.6 "Post-connection check")
6.2 Onsite commissioning
6.2.1 Preparatory work
• Connect Cerabar M to the power supply (Section 4.1 "Connecting the device").
• Ensure that a pressure can be specified within the required measuring range.
• If you have not installed an onsite display, connect a multimeter
(4 to 20 mA) to the terminal lugs provided for this purpose.
• If you have installed an onsite display, the calibration values appear there.
6.2.2 Configuring the damping
The damping τ affects the speed at which the output signal and the onsite display react to changes
in pressure. The DIP switch for setting the damping is located on the electronic insert.
• Switch position off: damping 0 s
• Switch position on: damping 2 s
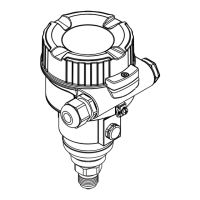
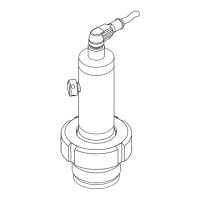
P01-PMx4xxxx-19-xx-xx-xx-029
Fig. 29: ➀ Damping switch. ➁ Key for lower-range value. ➂ Key for upper-range value.
123
Zero
Damping
on off
Span
➀
123
Zero
Damping
on off
Span
➁➂
 Loading...