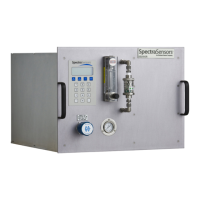
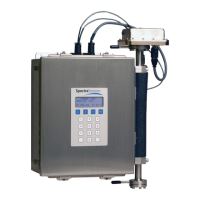
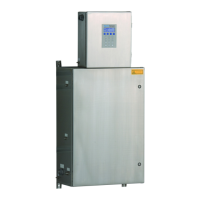
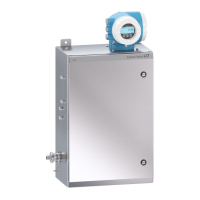
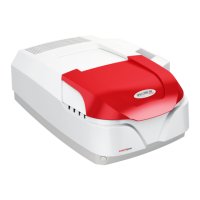
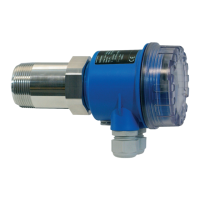
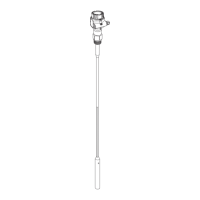
SS2100i-1 and SS2100i-2 Analyzer
B–4 4900002288 rev. B 1-13-21
6. Connect the female nuts at the top and bottom of the dryer to finger
tight.
7. Using a wrench, tighten the female nuts 1/8 turn from finger tight.
Instrument Issues
If the instrument does not appear to be hampered by gas leaks, contamination,
excessive sampling gas temperatures and pressures, or electrical noise, refer
to Table B–1 below before contacting Service (refer to “Service Contact” on
page B-5).
Refer to your analyzer’s spare parts list or contact Service for
ordering assistance. Refer to “Service Contact” on page B-5.
Table B–1 Potential Instrument Problems and Solutions
Symptom Response
Low pressure or flow Check, clean and/or replace filters or membrane
separators. Refer to “To replace the
membrane separator” on page B-2 or “To
replace the filter” on page B-3.
Check and adjust the sample probe regulator.
Check for leaks.
Check the relief valve for proper setting. Refer to
“To confirm the relief valve setting” on page
B-2.
Check and clean the sample probe or the sample
transport tubing.
Improper temperature in the
SCS
Check the wiring to the heater/controller. Refer to
“To connect electrical power to the
enclosure heater” on page 3-3.
Check and replace the temperature controller and
heater.
Liquids in the flow meter Check the temperature for the SCS.
Check the pressure and correct as necessary.
Check the temperature on the sample tubing and
correct as necessary (refer to the system
drawings for your analyzer).
Leaks (gas) Use a liquid leak detector at all fittings.
Measurement goes to ‘0’ and
stays at ‘0’
Refer to the Firmware Operator’s Manual.

 Loading...


