20
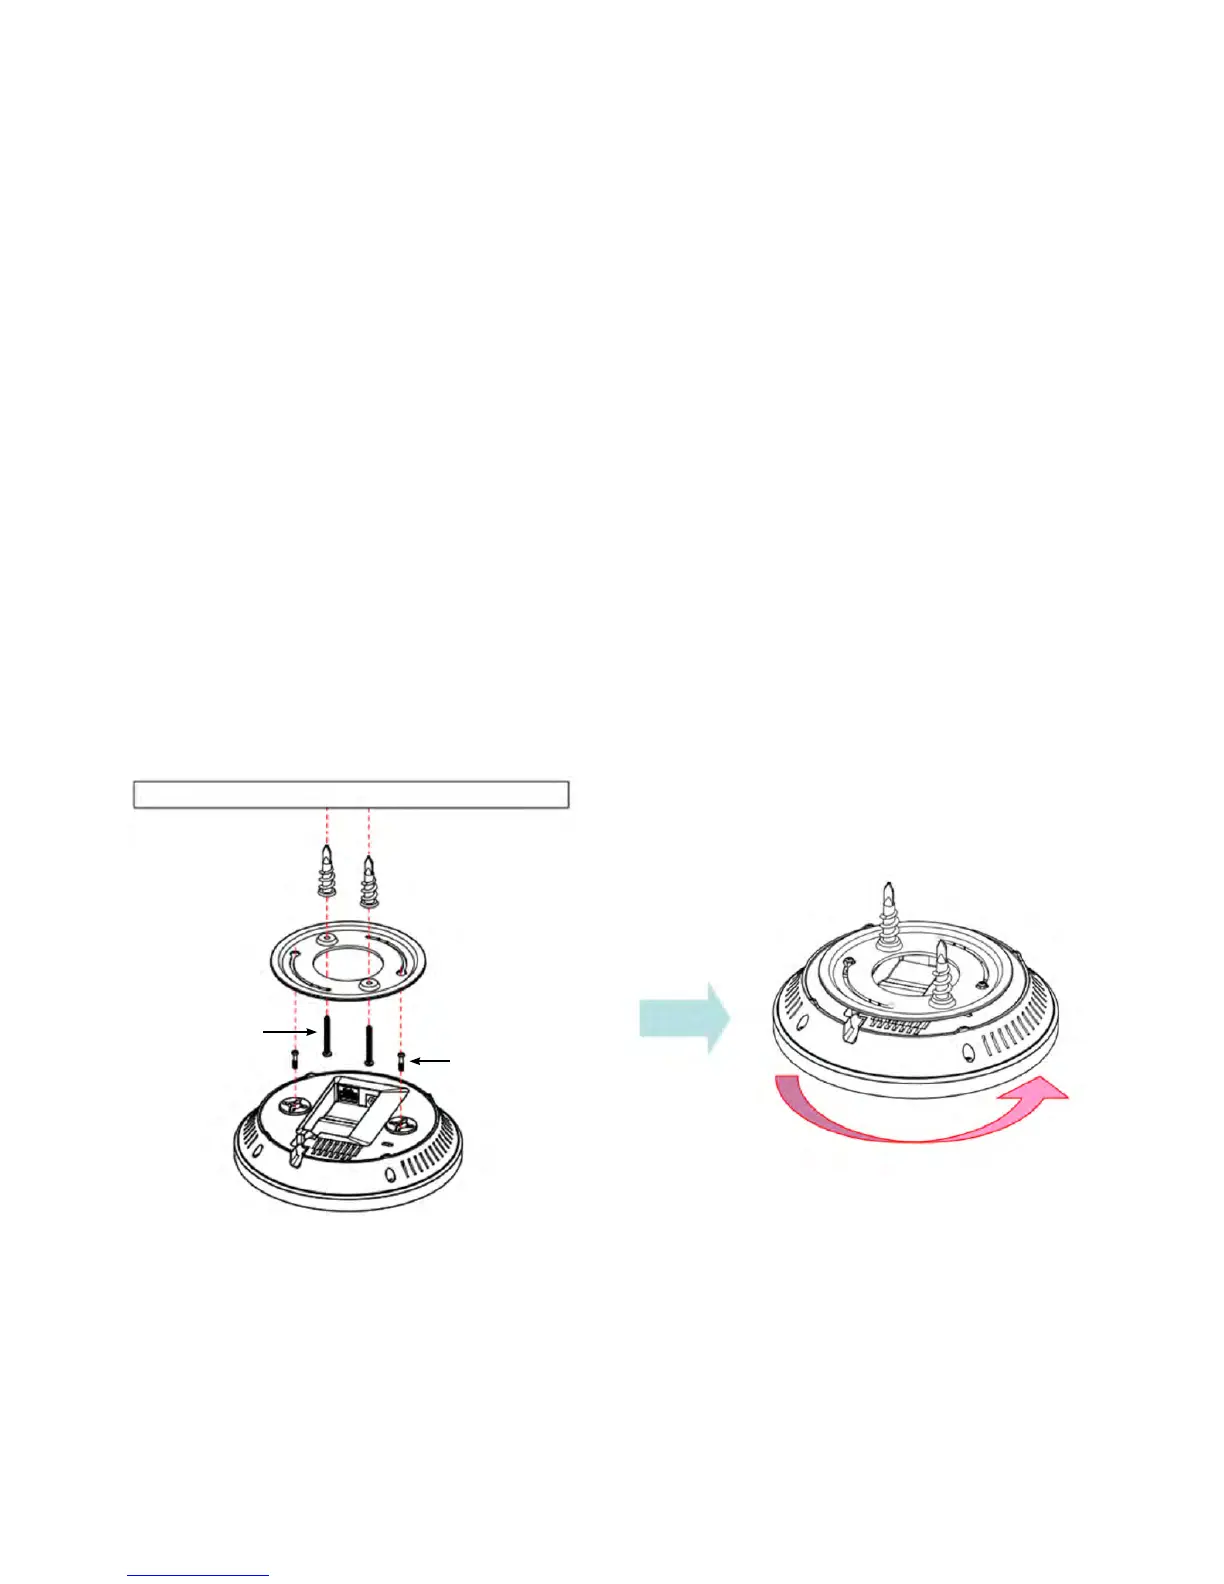
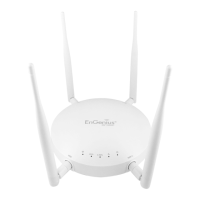
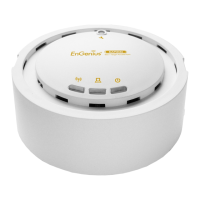
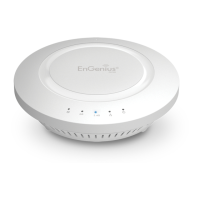
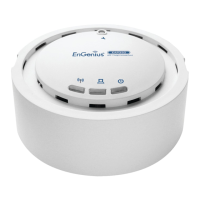
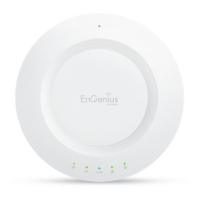
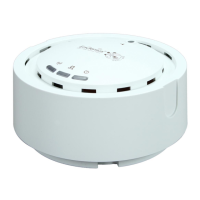
Using the provided hardware, the EAP1750H/EAP1300
can be attached to a ceiling or wall.
To attach the EAP AP to a ceiling or wall using
the mounting bracket:
1. Attach the mounting bracket to the wall or ceiling using
the provided wall/ceiling mounting hardware kit.
2. Insert the provided short screws into the bottom cover
of the EAP.
Leaveenoughofthe screwsexposedtoensurethatthe
unit can be attached to the mounting bracket.
Ifextraspaceisrequired,usetheprovidedspacersandlong
screws from the T-Rail mounting hardware kit to increase
the space between the unit and the mounting bracket.
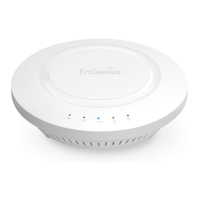
3. Mount the EAP on the mounting bracket by rotating the
unitclockwiseabout90degreestosecureitinplace.
Mounting the EAP1750H / EAP1300(EXT)
Wall
Mounting Screw
Lock the EAP1750H by revolving
Mounting Bracket
P2.6*12 Screw
P3.5*32 Screw