22
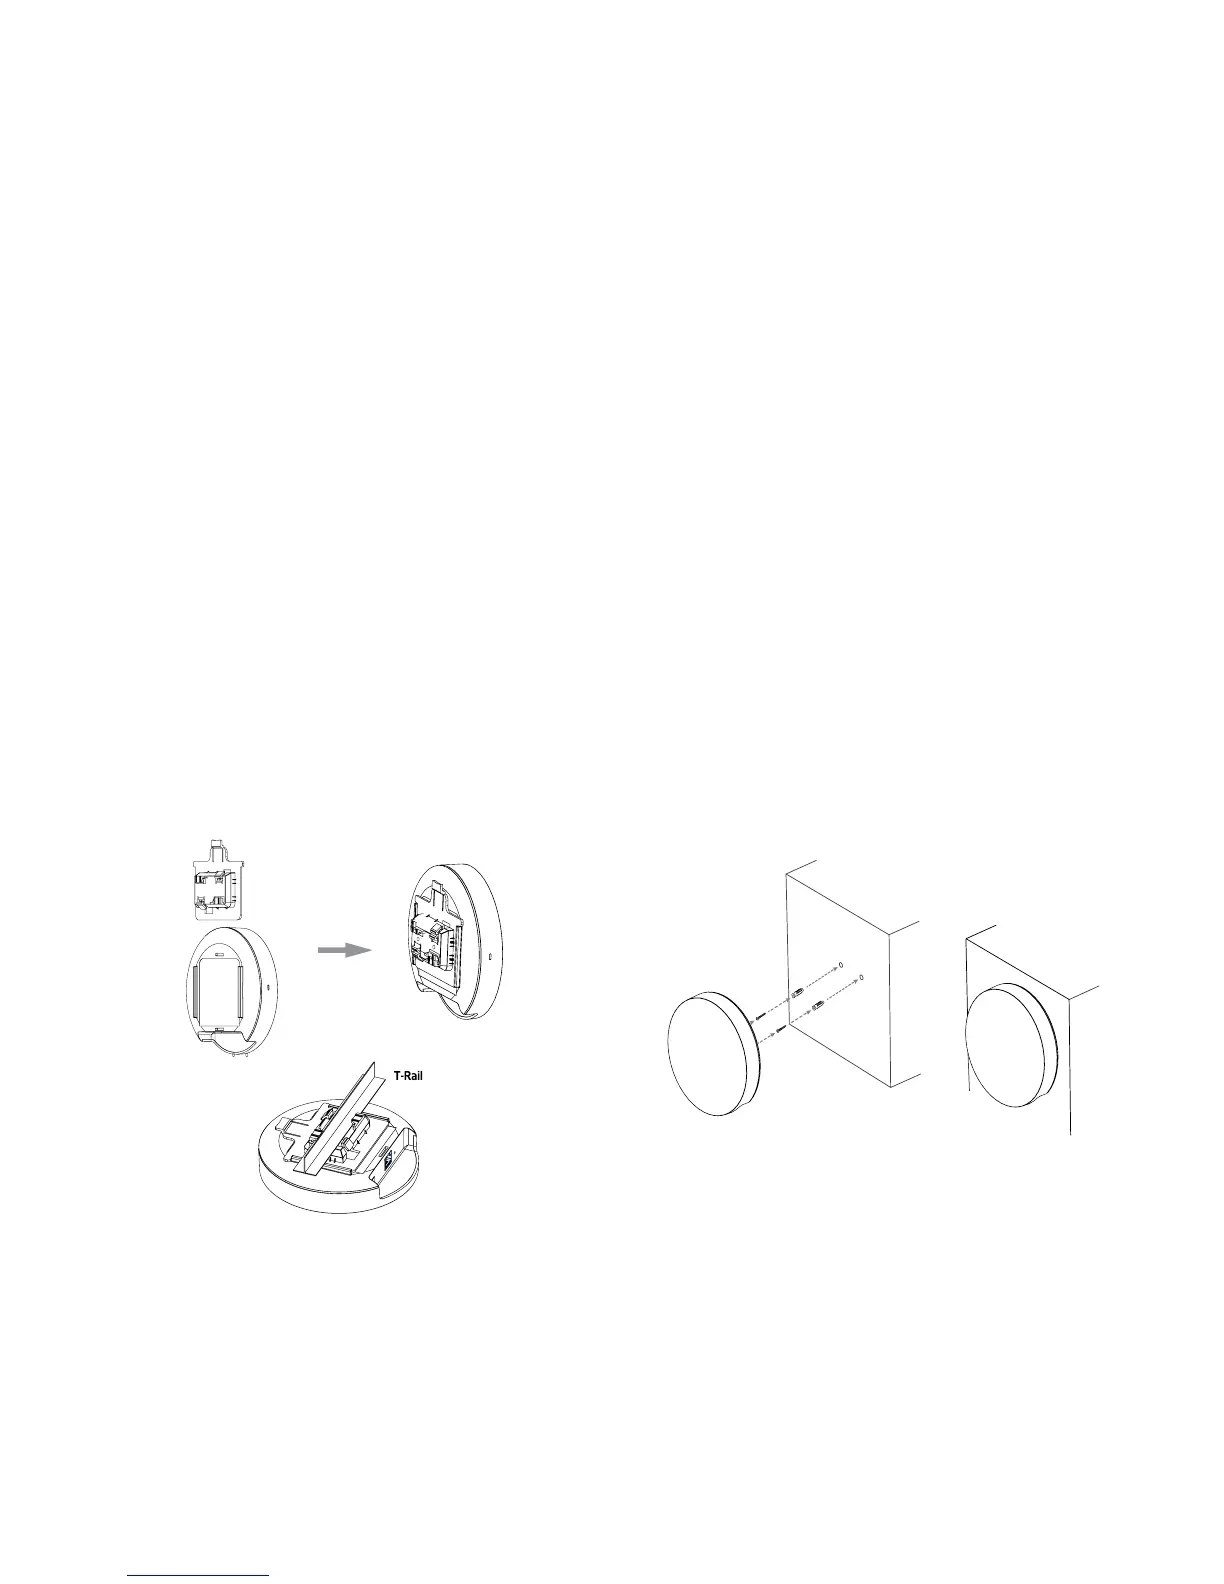
Attaching the EAP1250 to a ceiling :
1. Slide the ceiling mount base into the slot of this Access
Point.
2. Hold the Access Point with one hand to reach the other
hand over the T-rail side of the bracket. Then hook the
stationary end of the ceiling mount bracket on to the
T-rail.
Attaching the EAP1250 to a wall :
3. ContinuefromA,determinethewheretheAccessPoint
to be placed and mark location on the surface for the
two mounting holes. Use the appropriate drill bit to
drill two 8.1mm diagram and 26mm depth holes in the
markings and hammer the bolts into the openings.
4.Screwtheanchorsuntotheholesuntiltheyareush
with the wall; screw the included screw into the achors.
5. Place the Access point against the wall with the
mounting screw heads
Note: Mounting hardware kit are included 15/16in
(2.38cm)and9/16in(1.43cm).Ifextraspaceisrequired
to accommodate drop ceiling tiles, use the provided
spacers and long screws.
1
2
3
4
5