17
Maintenance And Service
buRneR RemovaL:
The burner may need to be removed for a few reasons, including cleaning under the burner, converting
the unit to a different gas type, or to replace the burner altogether. Proceed only when the unit has
completely cooled down.
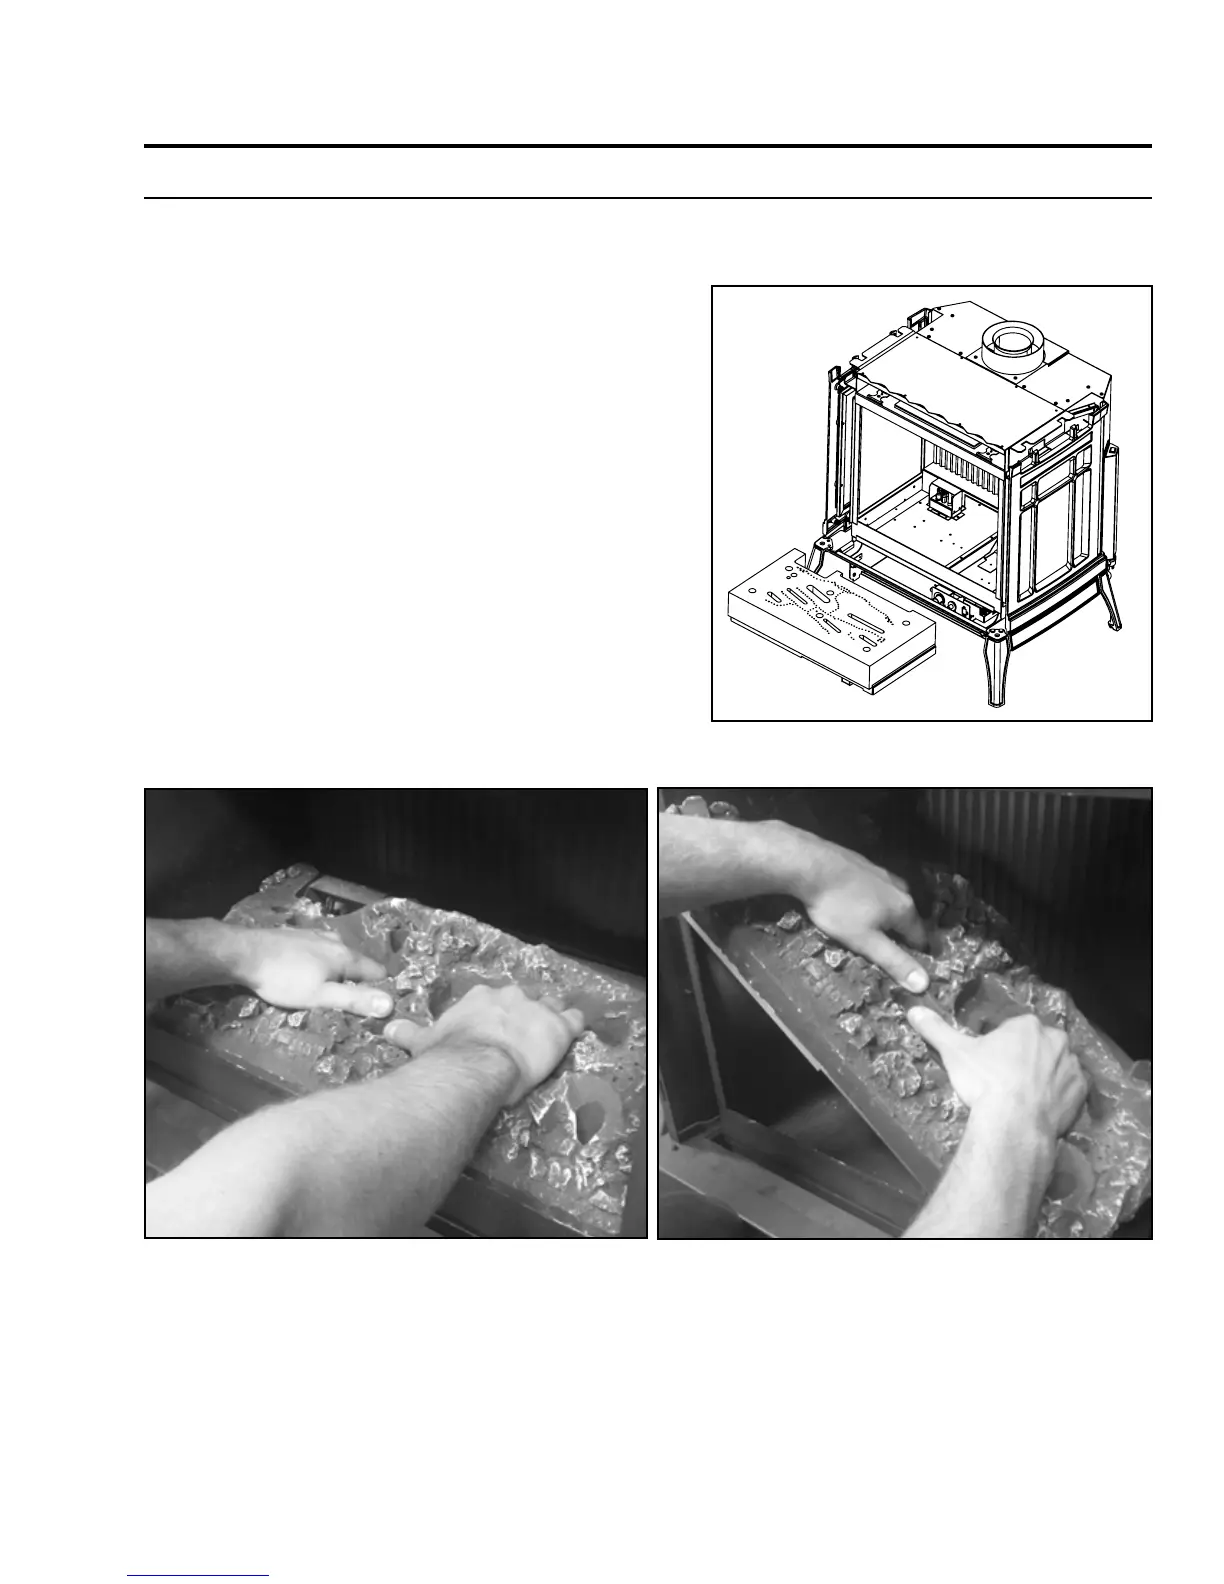
Figure 24. Removing Burner.
1. Remove the cabinet front, and glass door as outlined
in the maIntenance anD serVIce - glass Door remoVal.
2. Remove the log set as shown in S
econDary InstallatIon
- log set InstallaIon
3. Place your hands in the air slots in the burners, as
shown in gure 25, then pull forward and lift up to
dis-engage the venturi tubes.
4. Continue to lift up and rotate the burner approx. 45
degrees, as shown in Figure 26, and remove it from
the rebox. Take care not to damage the edges of
the ceramic burner as it is fragile.
To re-install the burner follow steps 1-4 in reverse. When placing the burner back in the unit make sure
it is properly seated and up against the intake plenum at the rear of the rebox. When installed correctly
the burner will have no side to side movement.
Figure 25. Burner Removal - Correct Hand
Placement
Figure 26. Burner Removal - Rotate 45 degrees