157
9. On the Receive Mode Setting screen, confirm whether you are using a telephone connected to the
product.
• If you are using a telephone, press the OK button.
• If you are not using a telephone, press the stop button and skip to step 11. Receive Mode is set
to Auto.
10. Do one of the following:
• Press the OK button if you want to receive faxes automatically. Receive Mode is set to Auto.
• Press the stop button if you want to receive faxes manually. Receive Mode is set to Manual.
11. On the confirmation screen, check the settings and press the OK button to proceed.
Note: To correct or change settings, press the back button.
12. On the Check Fax Connection screen, press the OK button and follow the on-screen instructions to
check the fax connection and print a report of the check result. If there are any errors reported, try
the solutions on the report and run the check again.
If the Select Line Type screen appears, select the correct line type.
If the option to disable dial tone detection appears, press the OK button. However, disabling the dial
tone detection function may drop the first digit of a fax number and send the fax to the wrong
number.
13. Press the # button to exit the Fax Setting Wizard.
Parent topic: Setting Up Basic Fax Features
Selecting the Line Type
If you connect the product to a PBX phone system or terminal adapter, you must change the product's
line type. PBX (Private Branch Exchange) is used in office environments where an external access code
such as “9” must be dialed to call an outside line. The default Line Type setting is PSTN (Public Switched
Telephone Network), which is a standard home phone line.
1. Press the home button, if necessary.
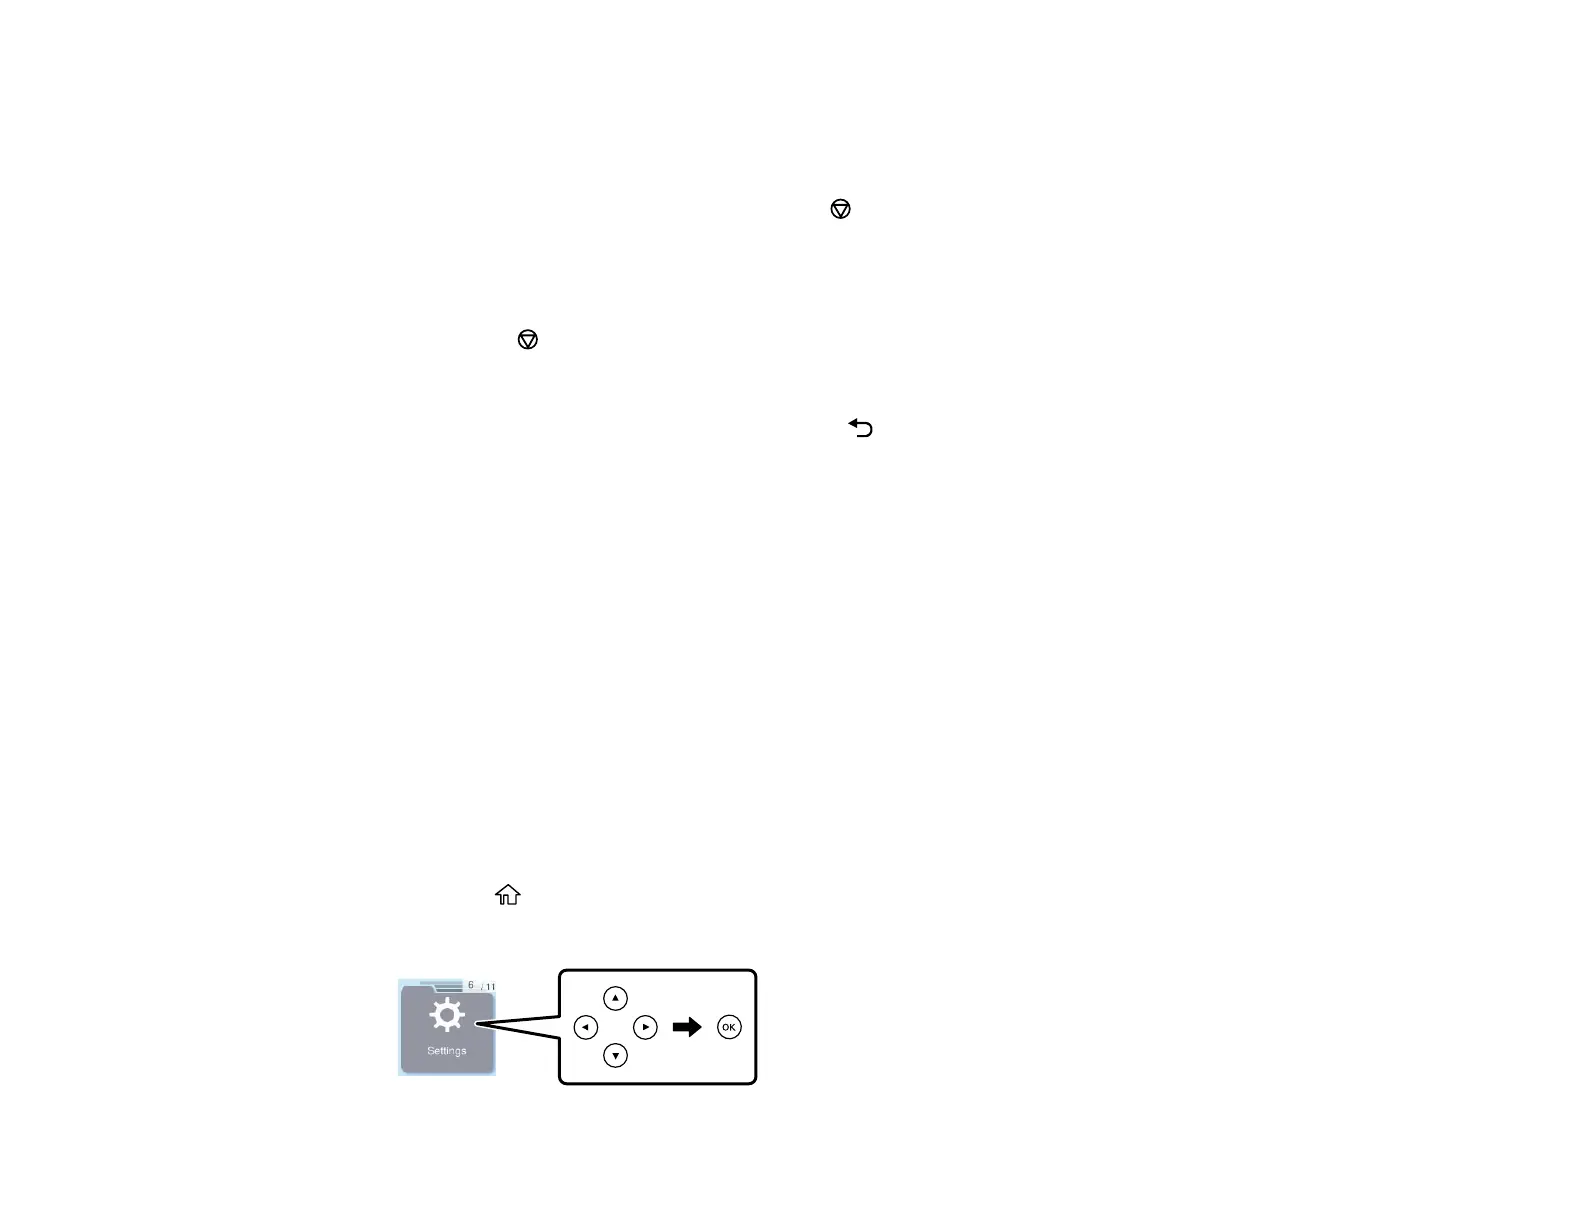
2. Press the arrow buttons to select Settings, then press the OK button.