a
When a connection is established, the input source for the projector
automatically switches to the LAN source if no other signal is being
input. If the input source does not automatically switch to the LAN
source, press the LAN button.
Related Links
• "Connection Methods" p.18
• "Setting Up a Projector to Connect in Quick Connection Mode" p.14
• "Searching for Network Projectors Automatically" p.24
• "Searching for Network Projectors by Specifying an SSID, IP Address, or
Projector Name" p.25
• "Performing a Profile Search" p.26
Connecting the Projector and a Computer over a
Network System (Wireless)
When your projector is set up as indicated below, you can connect the
projector to an existing network system and project the computer's screen
over the network.
• The wireless LAN unit is installed in the projector.
• The projector's connection method is set to Advanced.
a
Make sure you connect a computer to the network.
a
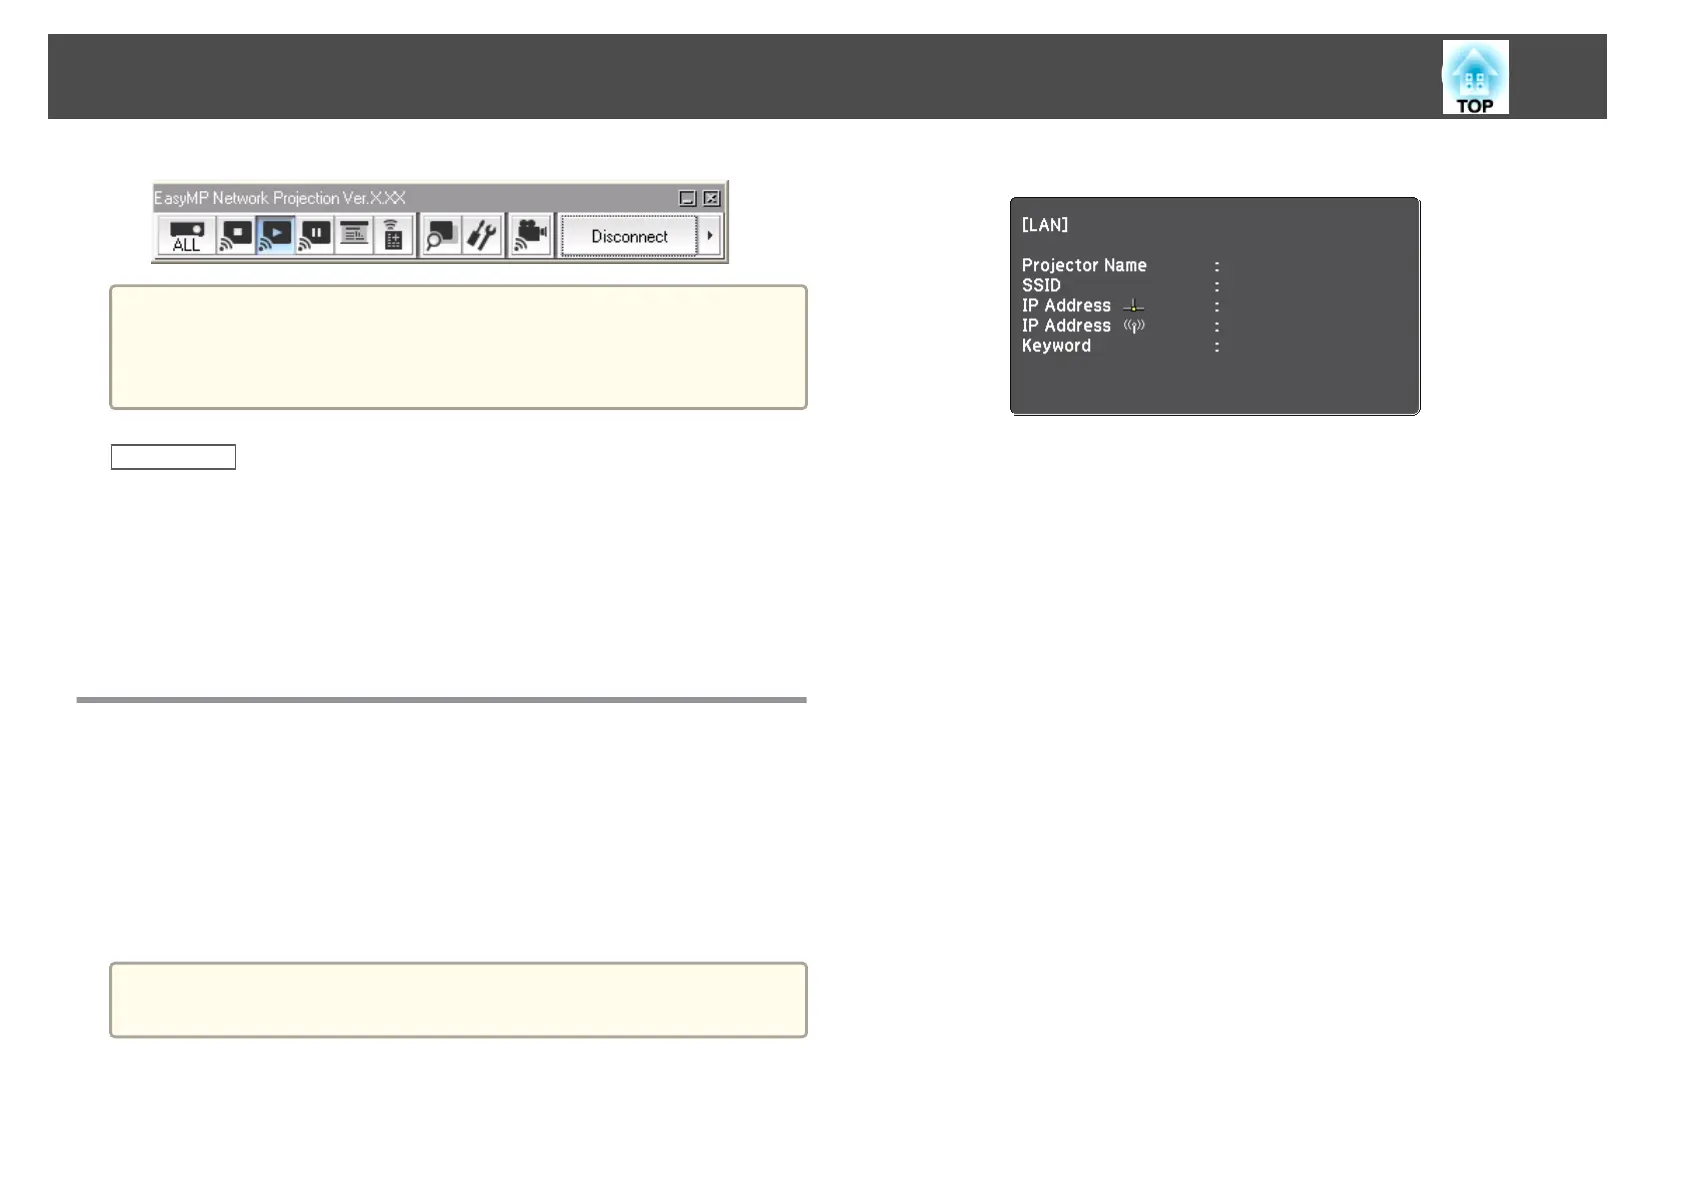
Press the LAN button on the remote control.
The LAN standby screen is projected.
EB******
b
Start EasyMP Network Projection.
• Windows XP, Windows Vista, and Windows 7: Click Start, select
Programs (or All Programs), EPSON Projector, EasyMP Network
Projection, and then click EasyMP Network Projection
Ver.X.XX.
• Windows 8: Select Search on the Charms, and then select EasyMP
Network Projection Ver.X.XX.
• Mac OS X: Double-click EasyMP Network Projection from the
Applications folder.
c
Select Advanced Connection Mode, and then click OK.
Connection Methods
20