Maintenance 8. Arm #4
G3 Rev.14 135
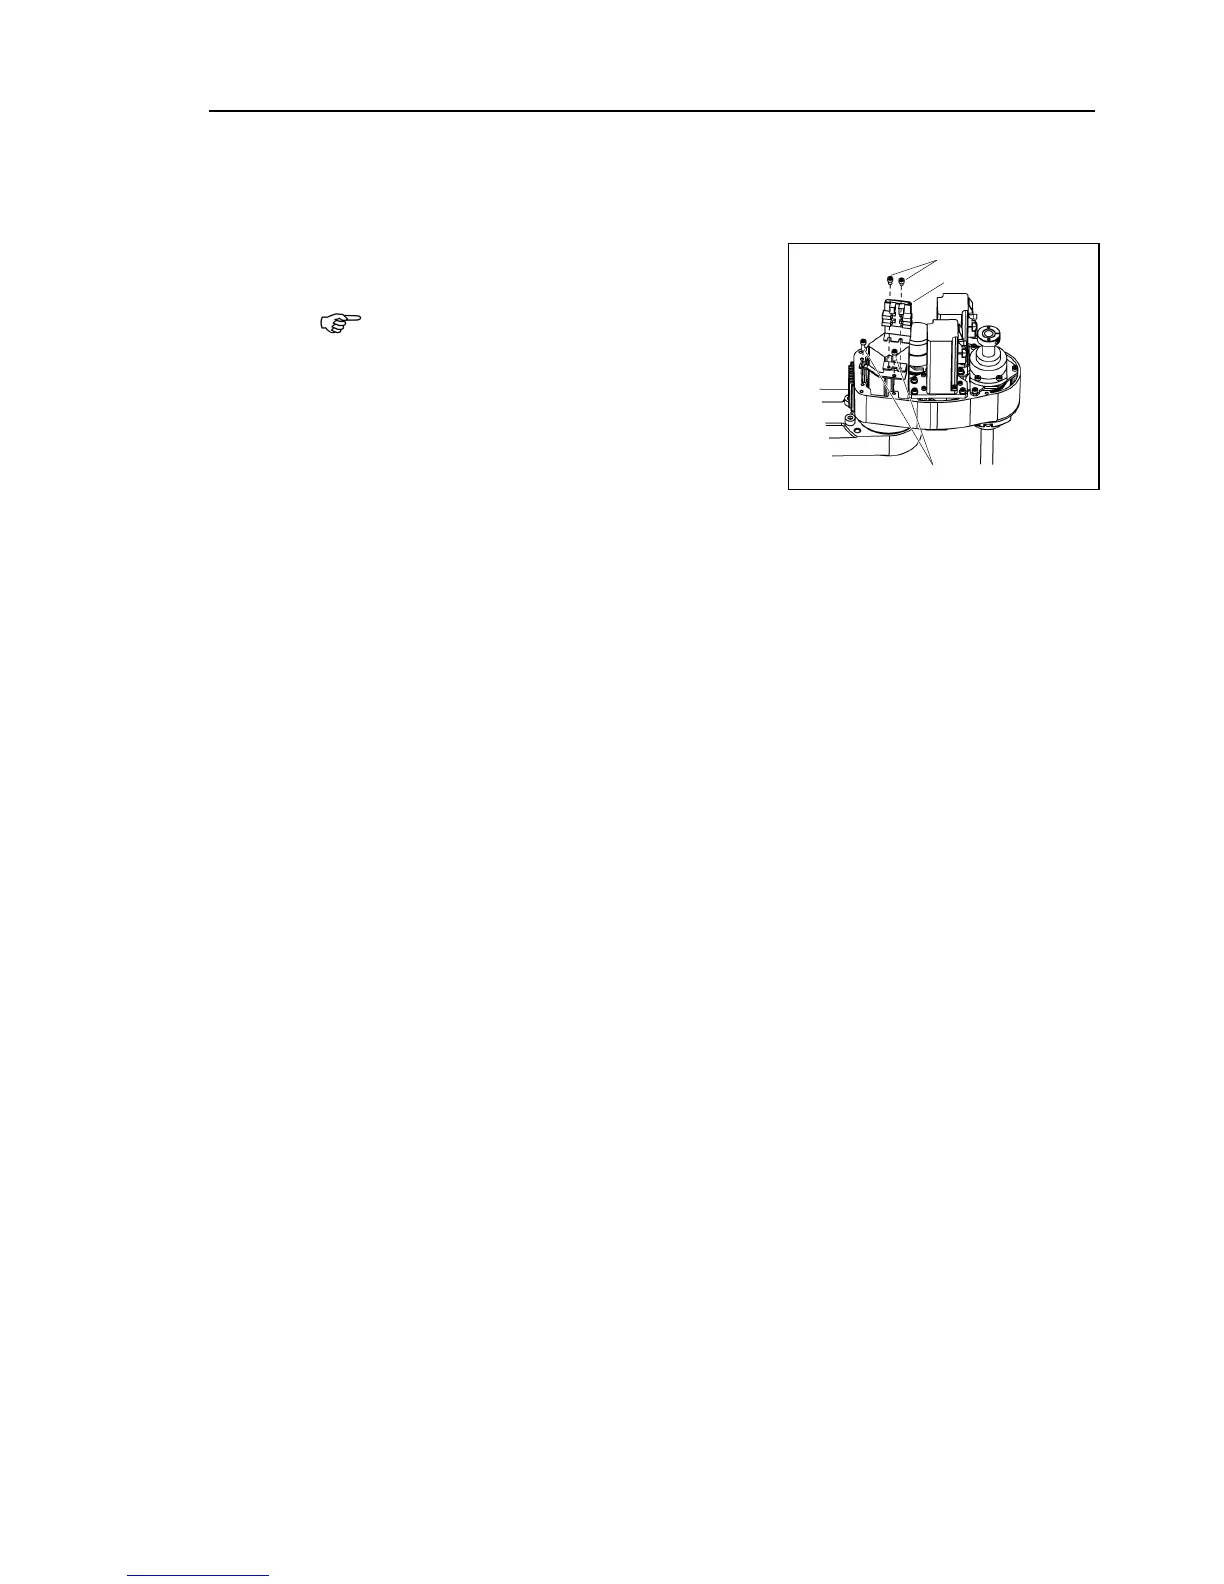
Connect the backup cable of Joint #4: X64.
Bundle the cables with the wire tie to prevent the backup connector from falling off by
mistake.
Mount the battery board to Arm #2.
The screws on the rear side secure both the
battery board and
the user plate. Set these
screws when mounting the user plate.
Mount the user plate and ground wire to Arm
-bundle the cables in their original positions with a wire tie removed in step (6).
allow unnecessary strain on the cables.
top cover and the arm bottom cover.
For details, refer to Maintenance: 3. Covers.
Perform the calibration of Joint #4.
For details on the calibration method, refer to Maintenance: 14. Calibration.

 Loading...


