Maintenance 11. Ball Screw Spline Unit
G3 Rev.14 161
U2 belt through the ball screw spline
3 pulley and insert the belt to Arm #2
Secure the ball screw spline shaft on lower side
of Arm #2.
careful not to put the timing belt between the
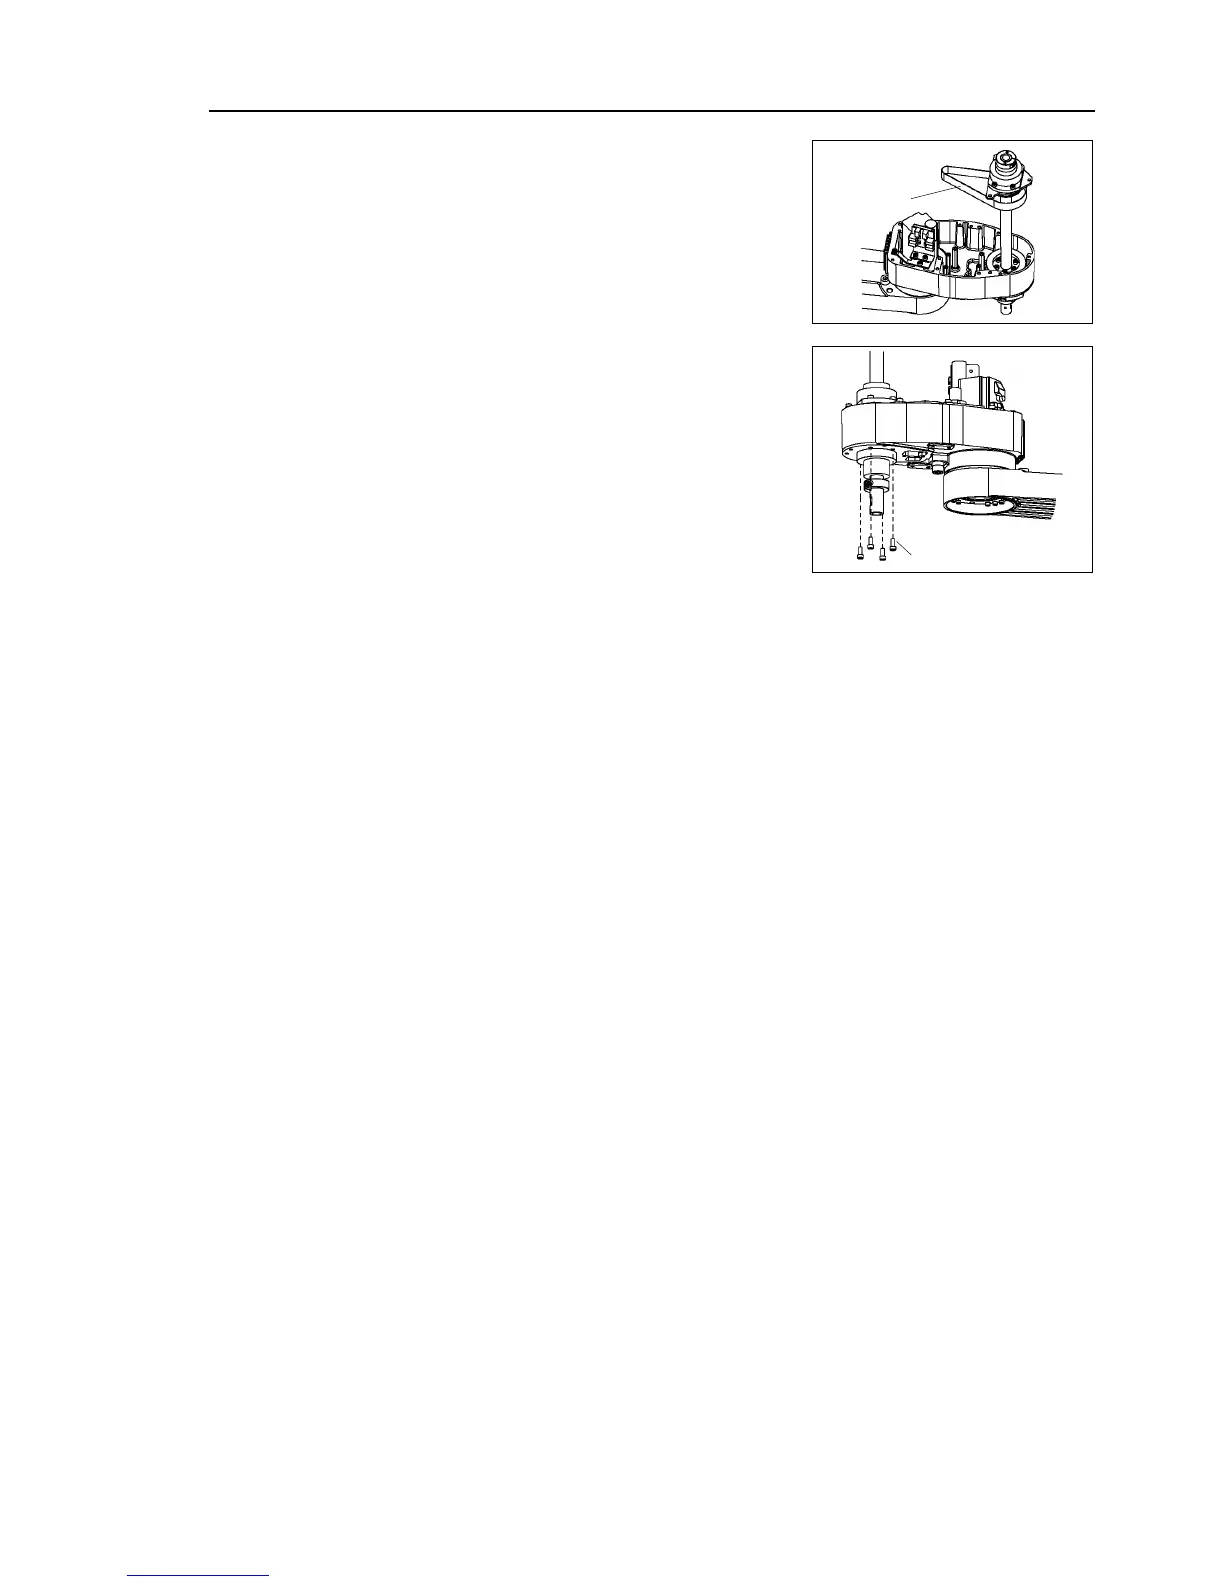
Mount the ball screw spline unit.
For the procedure, refer to Maintenance: 8. Arm #4 –
Belt – U2 belt installation.
For details, refer to Maintenance: 11.1. Greasing the Ball Screw Spline Unit.
top cover and arm bottom cover.
For details, refer to Maintenance: 3. Covers.
Turn OFF the Controller and peripheral equipment.
Install the end effector, and connect wires and tubes.
This step is only for Cleanroom
-model. Install the bellows.
For details, refer to Maintenance: 10. Bellows.
calibration of Joints #3 and #4.
For details, refer to Maintenance: 14. Calibration.

 Loading...


