Maintenance 12. Lithium Battery
164 G3 Rev.14
12.1 Replacing the Battery Unit (Lithium Battery)
Push down the shaft to its lower limit while pressing the brake release switch. Be
sure to keep enough space and prevent the
hitting any peripheral
equipment.
Joint #3. When the brake release switch is
pressed, the brake
for Joint #3 is released simultaneously.
shaft while the brake release switch is being pressed because
the
shaft may be lowered by the weight of an end effector
Remove the arm top cover.
For details, refer to Maintenance: 3.1 Arm Top Cover.
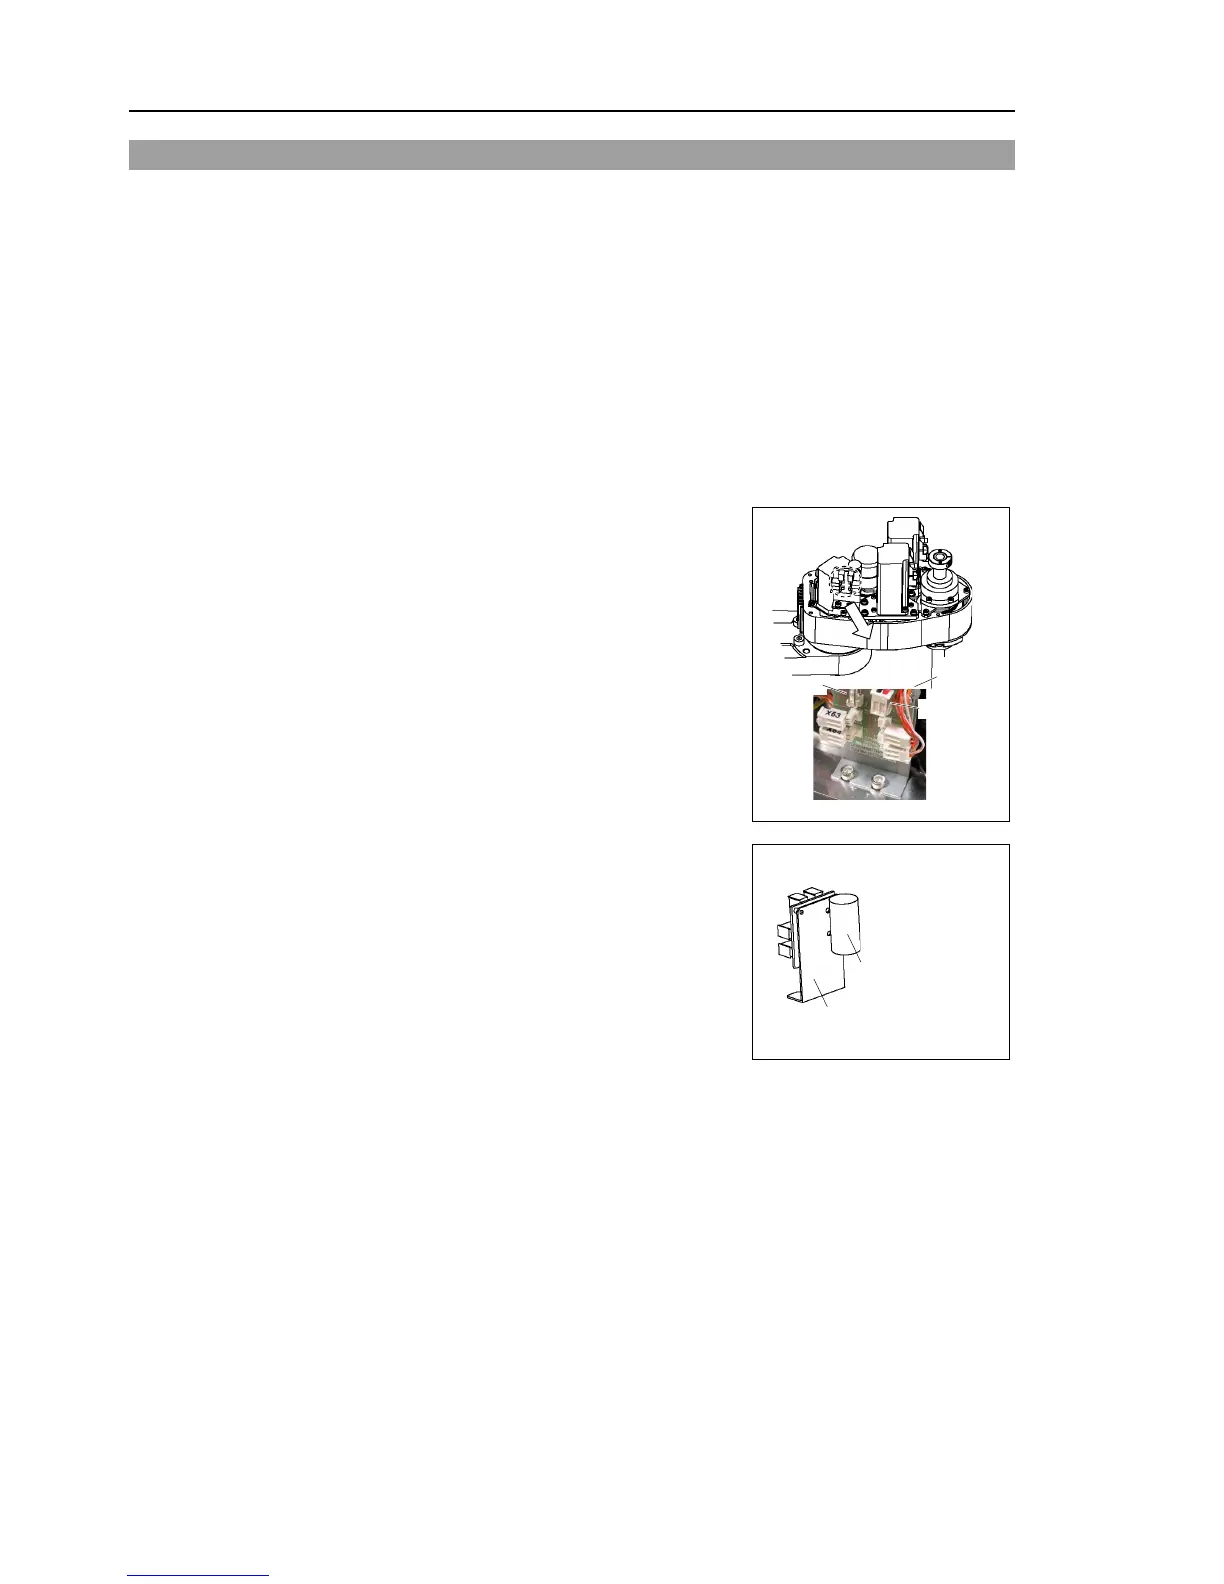
Connect the connector of the new lithium battery
battery unit) to the battery board.
User the unused connector of the two connectors
X60A, X60B on the upper part
Be sure to connect the connector of the new
battery before disconnecting the old battery. If
the current battery is disconnected before
connecting the new
one, the robot will lose the
position data and the calibration must be
Cut off the wire tie banding the lithium battery and
remove the lithium battery.
Lithium battery
(battery unit)
Cut off the wire tie banding the lithium battery,
Remove the battery.
Mount the new lithium battery to the
Fix the cable of lithium battery and connector cable connecting to
top cover.
For details, refer to Maintenance: 3.1 Arm Top Cover.
Check if the Manipulator moves to points (poses) correctly.
To do so, select 2 points (poses) or more from the registered points (poses) and move
the
Manipulator to the points (poses).
If the Manipulator does not move to the points (poses)
, perform the
calibration of all joints and axes.
For details, refer to Maintenance: 14. Calibration.

 Loading...


