23
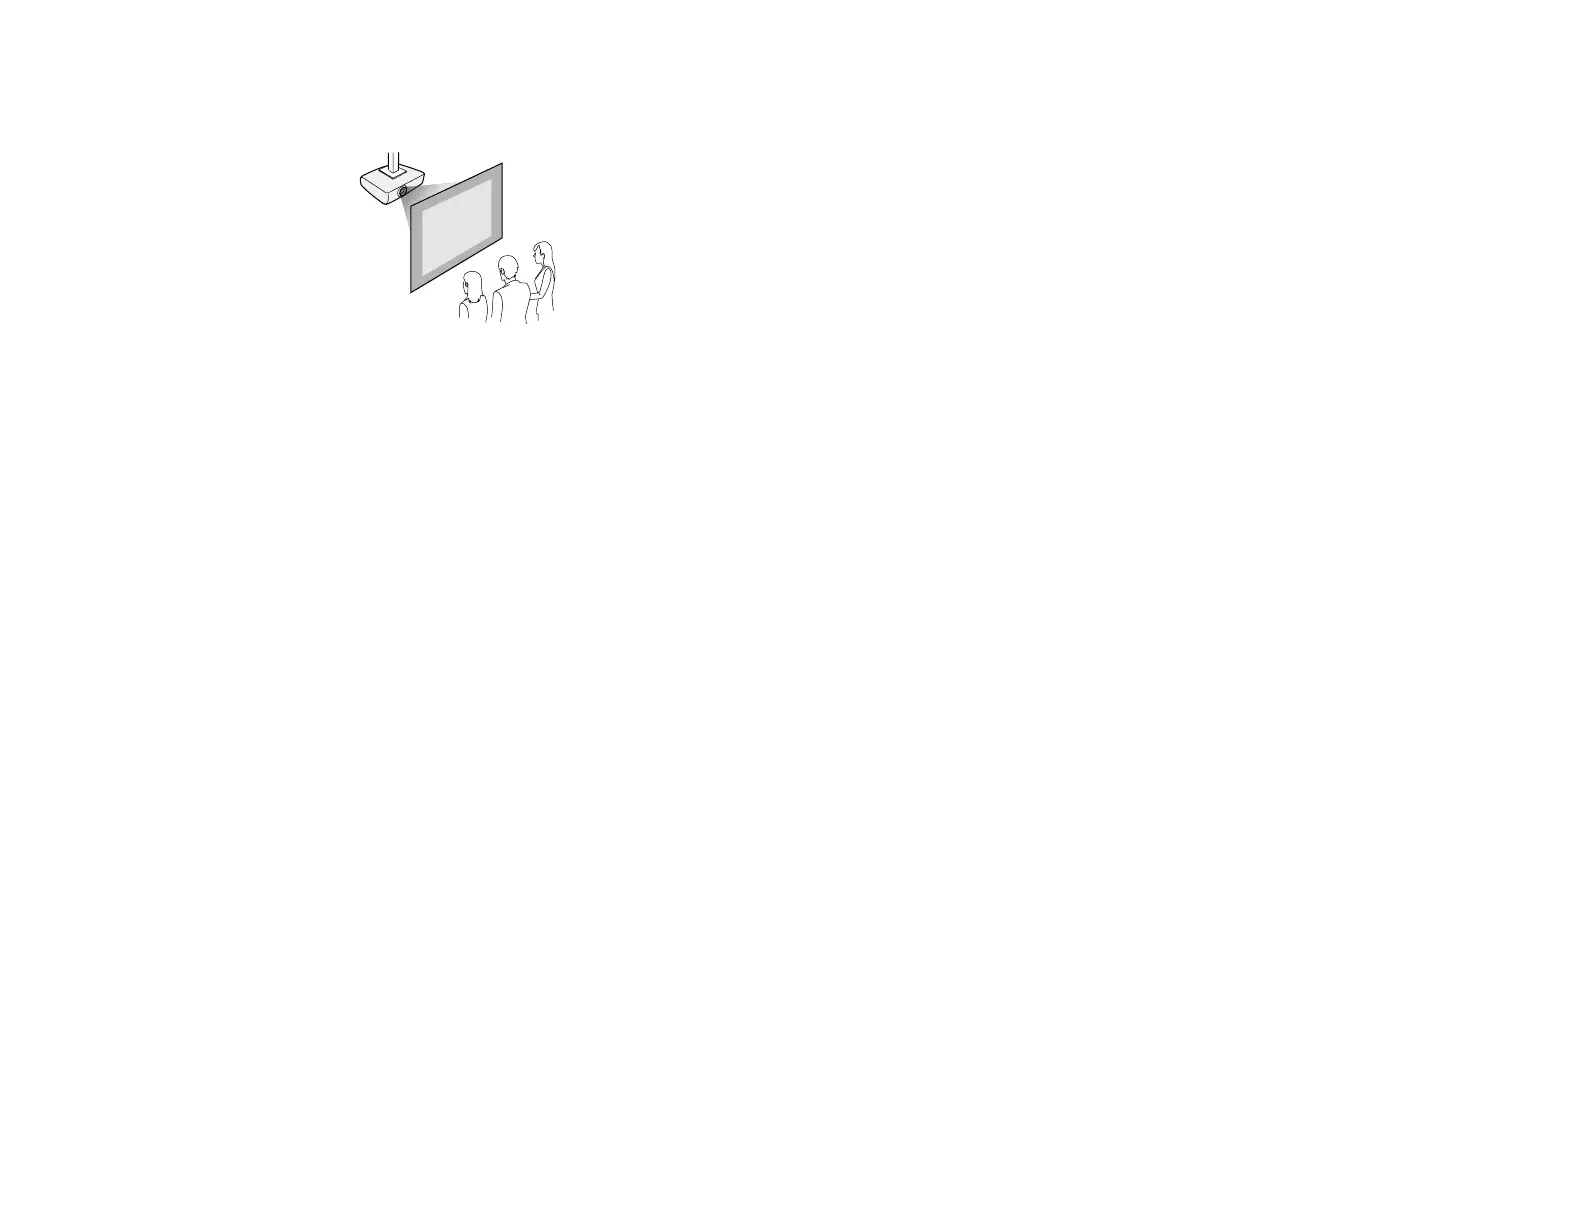
Rear Ceiling
Wherever you set up the projector, make sure to position it squarely in front of the center of the screen,
not at an angle, if possible. If the projector cannot be centered in front of the screen, use lens shift to
reposition the image instead of using keystone correction for better image quality.
If you project from the ceiling or from the rear, be sure to select the correct Projection setting in the
projector's Installation menu.
Parent topic: Projector Placement
Related references
Installation Settings - Installation Menu
Projection Distance
The distance at which you place the projector from the screen determines the approximate size of the
image. The image size increases the farther the projector is from the screen, but can vary depending on
the zoom factor, aspect ratio, and other settings.
Note: The closer the projector is placed to the screen, the brighter the image will be.