EasyManuals Logo

Epson LS11000 User Manual

Epson LS11000
166 pages
To Next Page IconTo Next Page
To Previous Page IconTo Previous Page
Page #44 background imageLoading...
Page #44 background image
44
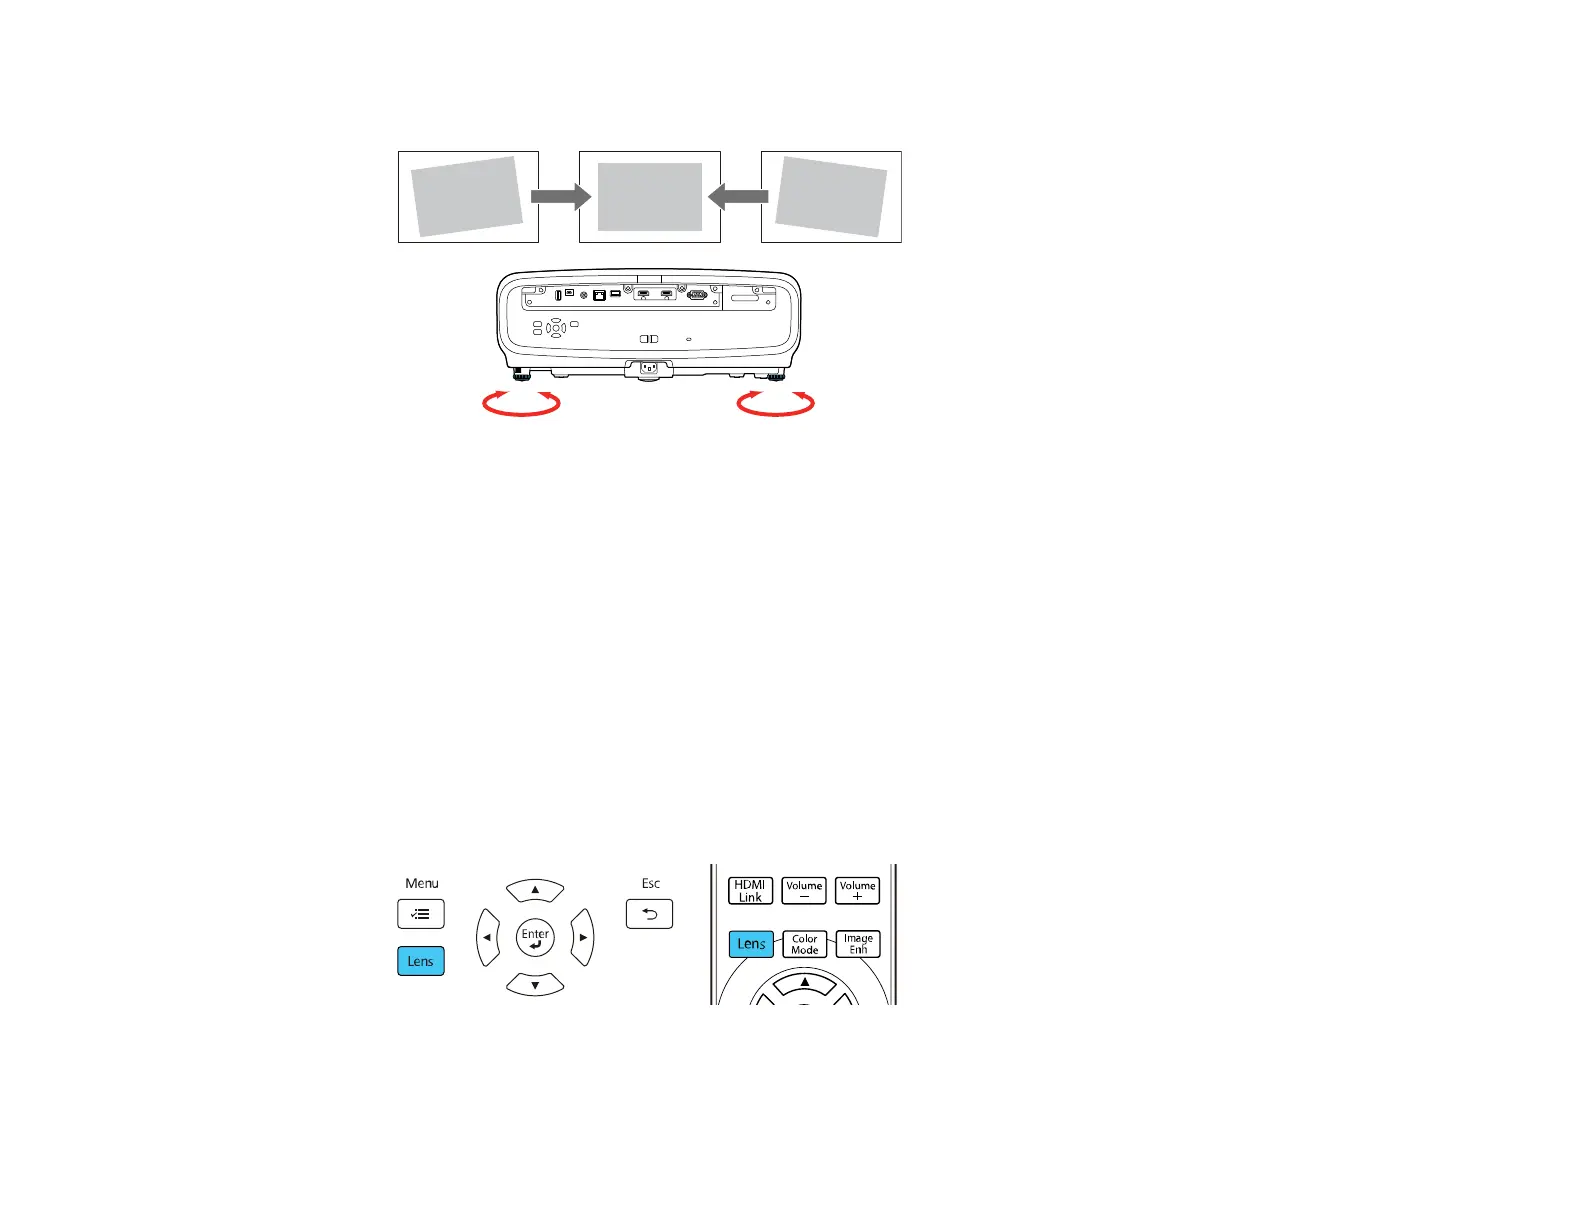
2. If the image is tilted, rotate the front feet to adjust their height.
3. To adjust the position of the projected image further, press the Lens button on the remote control or
projector until Adjust Lens Shift appears on the screen and follow the on-screen instructions.
If the projected image is unevenly rectangular, you need to adjust the image shape.
Parent topic: Using Basic Projector Features
Related concepts
Image Shape
Adjusting the Image Position Using Lens Shift
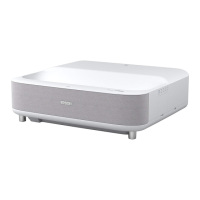
If you cannot install the projector directly in front of the screen, you can adjust the position of the
projected image using the lens shift feature.
1. Turn on the projector and display an image.
2. Press the Lens button on the control panel or remote control.
3. Press the Lens button repeatedly until Adjust Lens Shift appears on the screen.

Table of Contents

Other manuals for Epson LS11000

Questions and Answers:

Question and Answer IconNeed help?

Do you have a question about the Epson LS11000 and is the answer not in the manual?

Epson LS11000 Specifications

General IconGeneral
Resolution4K PRO-UHD (3840 x 2160)
Light SourceLaser
HDR SupportHDR10, HLG
Projection System3LCD
Throw Ratio1.35 - 2.84:1
3D SupportYes
Brightness2500 lumens
Contrast Ratio1, 200, 000:1
Light Source Life20, 000 hours
Zoom2.1x
Input Lag20 ms
ConnectivityHDMI, USB, Ethernet, RS-232C
Dimensions520‎ x 442 x 193 mm (Width x Depth x Height)

Related product manuals