EasyManuals Logo

Epson LS11000 User Manual

Epson LS11000
166 pages
To Next Page IconTo Next Page
To Previous Page IconTo Previous Page
Page #81 background imageLoading...
Page #81 background image
81
8. Select the Start Adjustments setting and press Enter.
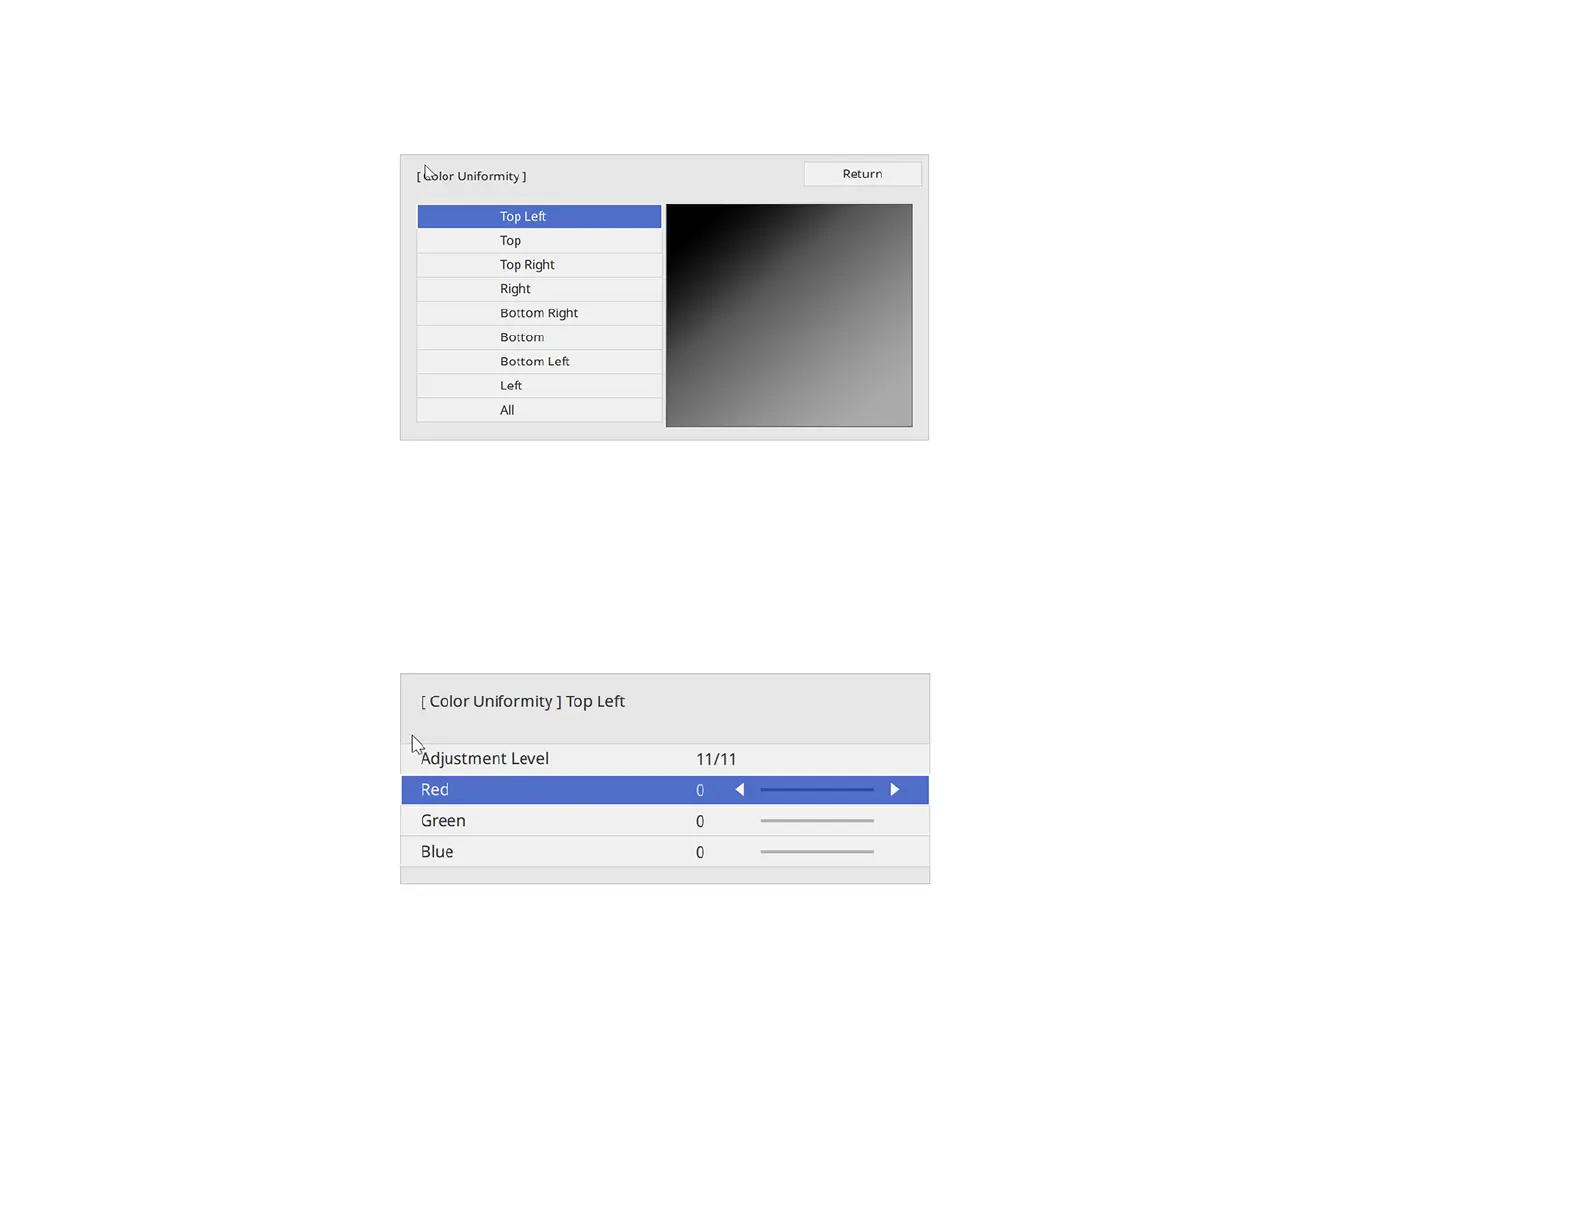
9. Select the area of the screen that you want to adjust and press Enter.
Note: Adjust the outer areas first, then select All to adjust the entire screen.
10. Select the color you want to adjust. Use the left arrow button to weaken the color tone and the right
arrow button to strengthen the color tone.
11. Press Esc to return to the area selection screen.
12. Repeat these steps for each area you want to adjust and for each adjustment level.
13. Press Menu or Esc to exit the menus.
Parent topic: Using Advanced Image Adjustment Features

Table of Contents

Other manuals for Epson LS11000

Questions and Answers:

Question and Answer IconNeed help?

Do you have a question about the Epson LS11000 and is the answer not in the manual?

Epson LS11000 Specifications

General IconGeneral
Resolution4K PRO-UHD (3840 x 2160)
Light SourceLaser
HDR SupportHDR10, HLG
Projection System3LCD
Throw Ratio1.35 - 2.84:1
3D SupportYes
Brightness2500 lumens
Contrast Ratio1, 200, 000:1
Light Source Life20, 000 hours
Zoom2.1x
Input Lag20 ms
ConnectivityHDMI, USB, Ethernet, RS-232C
Dimensions520‎ x 442 x 193 mm (Width x Depth x Height)

Related product manuals