Maintenance 7. Joint #3
11
0 LS20-B Rev.4
Disconnect the following connectors.
C
onnectors: X231, X43 (Hold the clip to remove.)
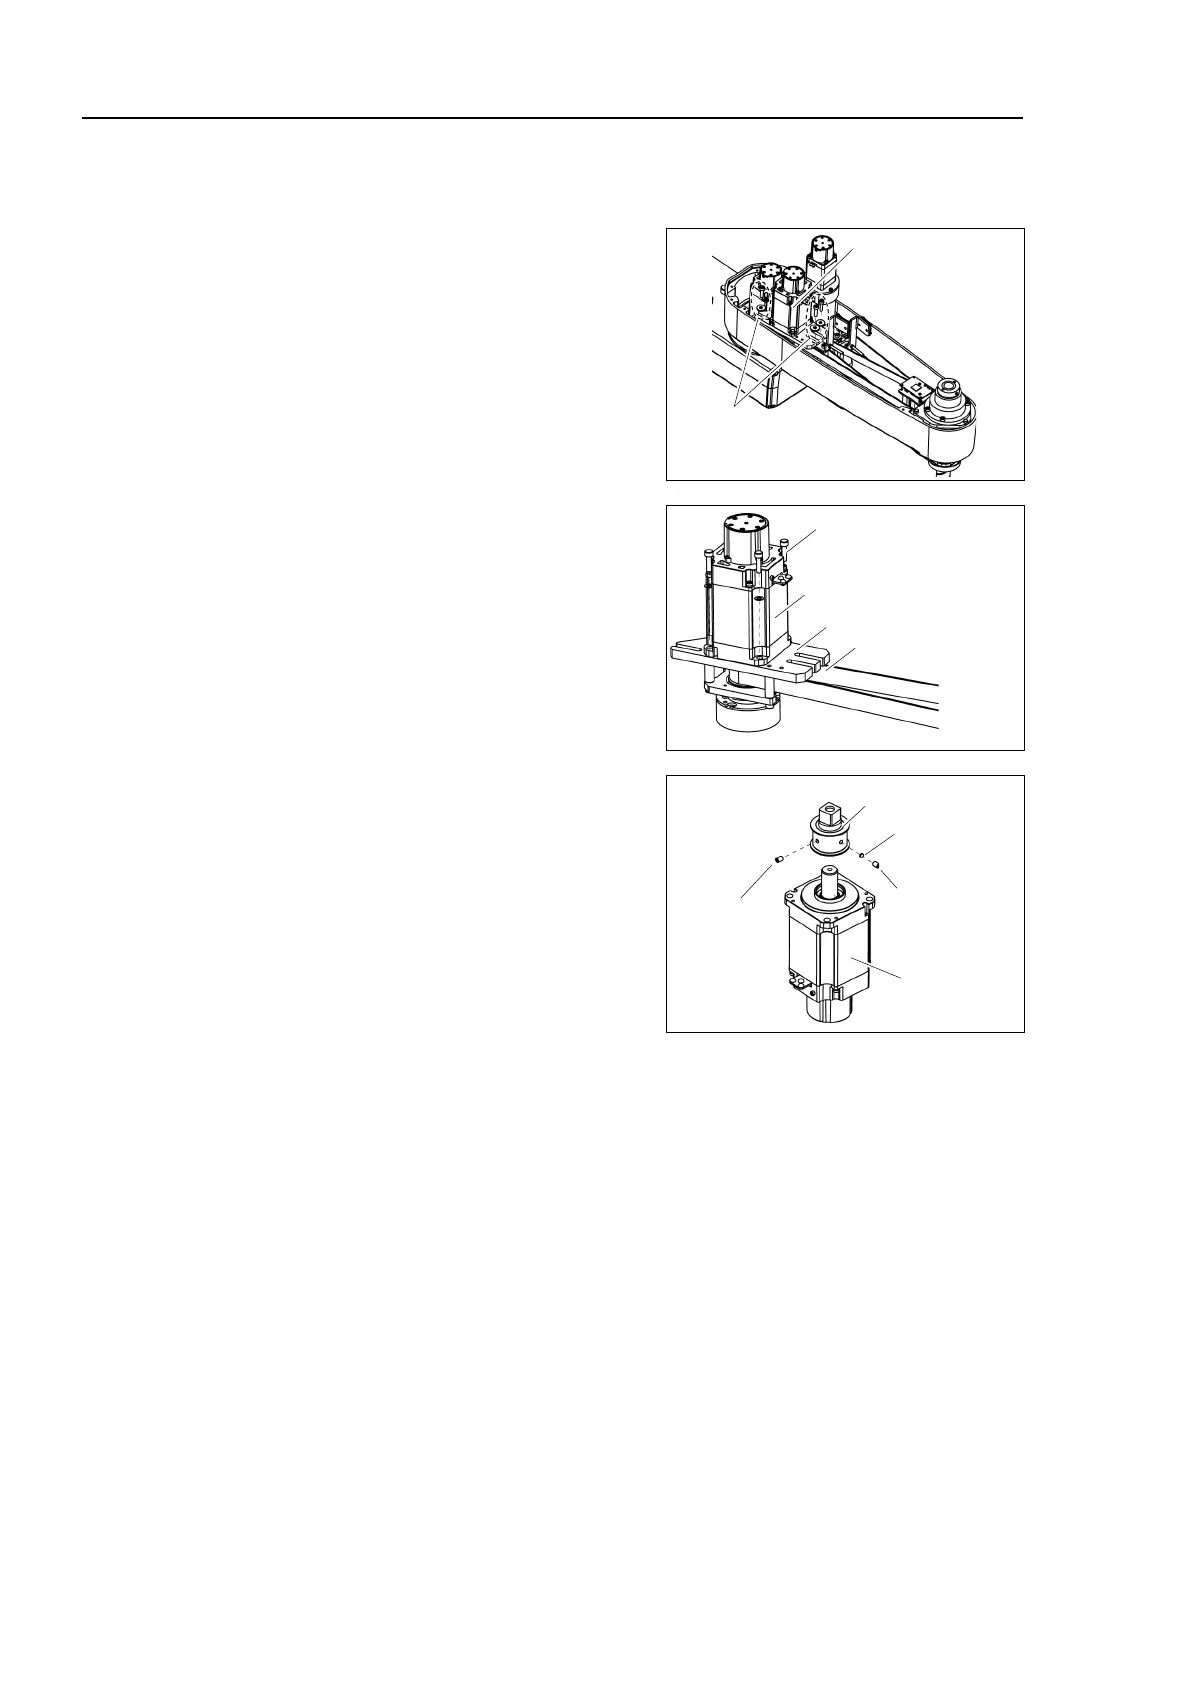
Remove the bolts fixing the Joint #3 motor
unit.
The washers for slotted holes will be used
again
when installing the Z belt.
lose them.
Joint #3
Motor Unit
3-M5×20
+ washer for
slotted hole
9)
Remove the Joint #3 motor from the Motor
P
late.
The belt is placed around the pulley.
To
remove the Joint #3 motor, tilt the motor
and pull it upward while avoiding
Joint #3 Motor
Z belt
4-M4×15+ Plain washer
Motor Plate
10)
Loosen the screws of the pulley remove it
from the Joint #3 motor.
There is a brass bushing in one of the
set
holes. Be sure to keep the
Joint #3
Motor
M4 Bushing
Pulley
M6×6
Set Screw
M6×6
Set Screw

 Loading...


