Epson Stylus C58/C59/ME 2/C79/D78/C90/C91/C92/D92/T20/T20E/T23/T26/S20/T10/T11/ME 30/T21/T24/T27/S21 Revision E
DISASSEMBLY/ASSEMBLY Disassembling Printer Mechanism 55
Confidential
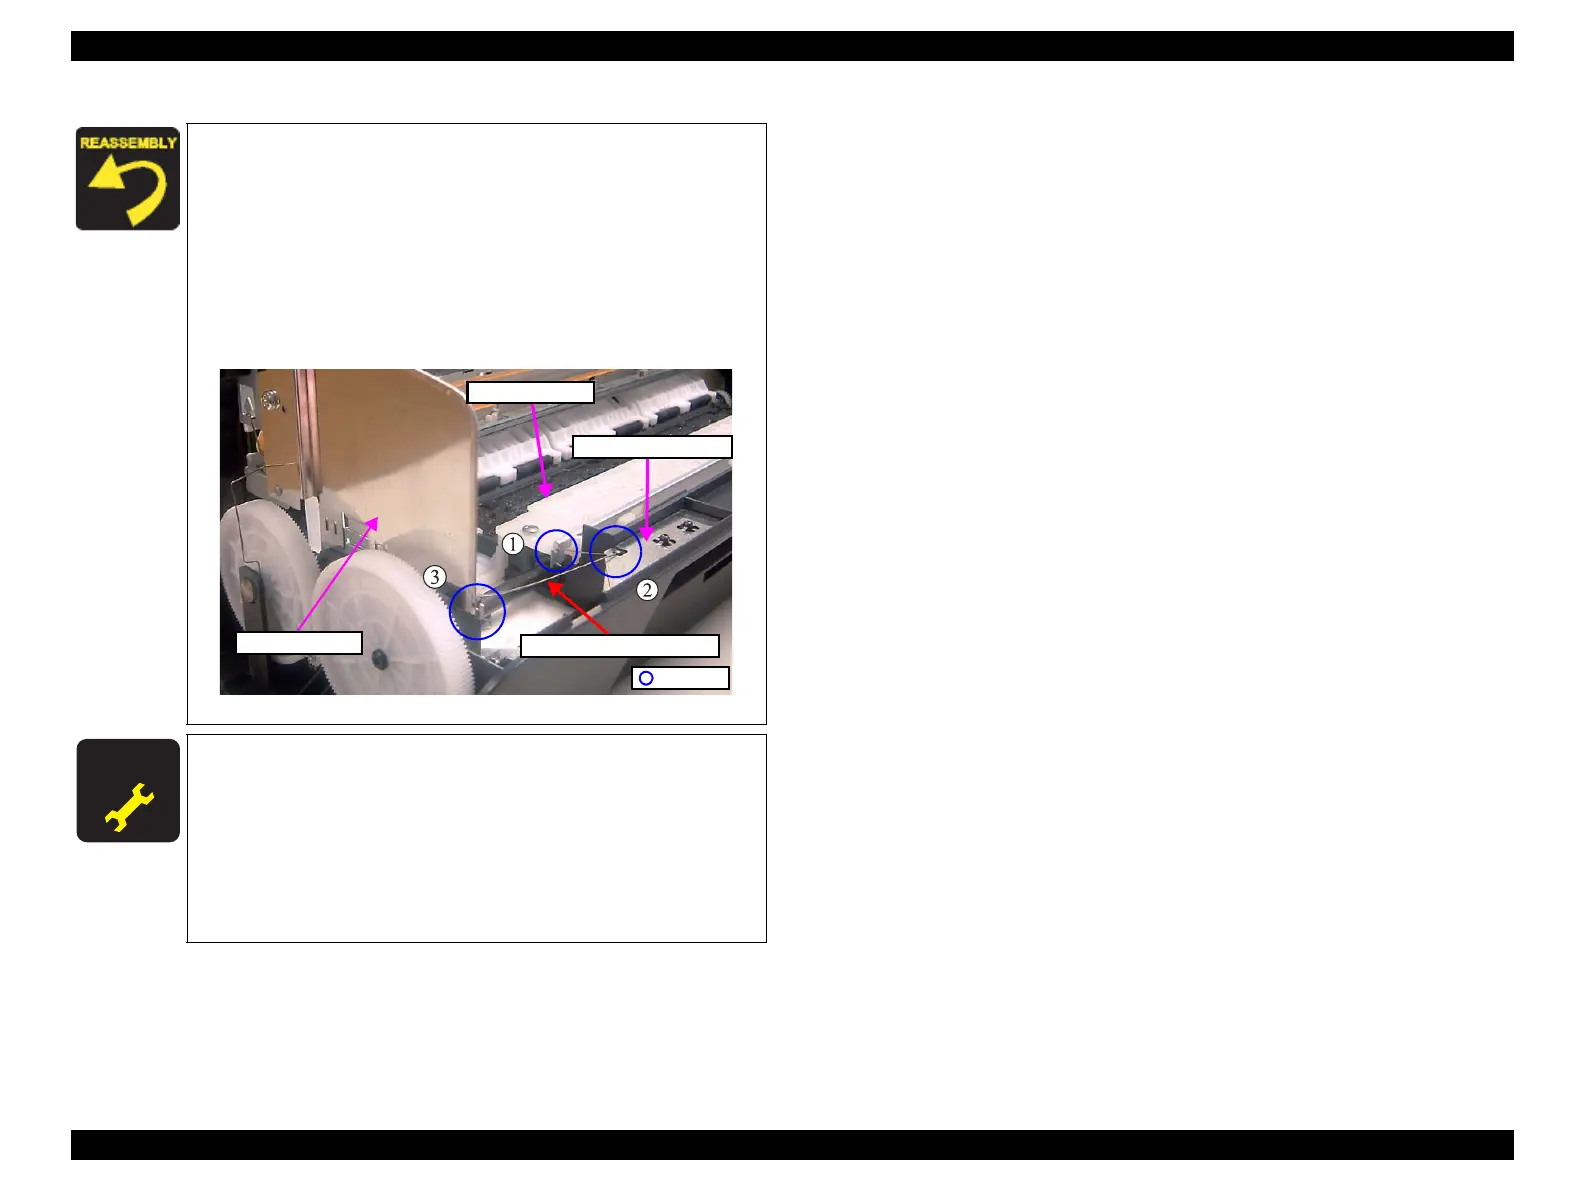
Follow the procedure below to install the Grounding Spring
(Grounding Spring, Frame) of Epson Stylus C90/C91/C92/D92.
(The spring is different in shape from that of other models.)
1. Hook the end of the Grounding Spring, Frame to the EJ
Frame Assy.
2. Hook the bend of the Grounding Spring, Frame to the Shield
Plate, Front.
3. Pulling the Grounding Spring, Frame leftward, hook its the other
end to the Shield Plate L.
Figure 4-52. Installing Grounding Spring, Frame
A D J U S T M E N T
R E Q U I R E D
After replacing the EJ Roller, perform the following
adjustment. (Refer to Chapter 5
“ADJUSTMENT”)
1. “Head Angular Adjustment”
2. “Bi-D Adjustment”
3. “PF Band Adjustment” (only after removal)
Whenever the EJ Frame Assy or EJ Roller is replaced, apply
G71 and G74 grease referring to
Figure 6-9 (p.82) and Figure
6-10 (p.83) in Chapter 6.
Hooks
Grounding Spring, Frame
Shield Plate, Front
EJ Frame Assy
Shield Plate L