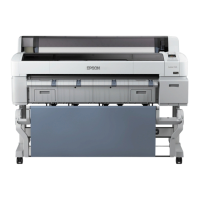
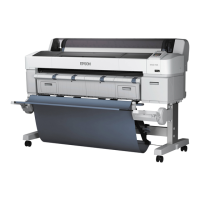
118
About the Auto Take-up Function
The auto take-up function automatically rolls up printed media as you print. You can use Roll 1 as a take-
up unit for media with the printable side in (on the right) or printable side out (on the left).
It is best to do the following when using the auto take-up function:
• Cut the end of the roll in a V-shape to allow for easy take-up onto the core.
• Use a take-up roll core that is the same width as your media so the core does not bend or take up
media incorrectly.
Loading Media for Auto Take-up
Removing the Auto Take-up Media
Parent topic: Media Handling
Loading Media for Auto Take-up
You can load roll paper with a 2- or 3-inch core and a width of 10 to 44 inches (254 to 1118 mm) in the
Roll 2 unit and set up Roll 1 for auto take-up.
Note: Make sure Auto Cut is set to Off when you use the Auto Take-up function.
1. Turn on the printer.
2. Select > General Settings > Printer Settings > Paper Source Settings > Roll Paper Setup >
Roll 1 Function > Take-up.
3. Load roll paper in the Roll 2 unit.
4. Select the paper information area on the LCD screen and select Paper Setting > Roll 2 > Prepare
for Take-up.
Note: Select How To... to view the instructions on the LCD screen.
 Loading...