288
6. Select the Receive icon to start receiving the fax.
7. Hang up the telephone.
Parent topic: Receiving Faxes
Related references
Basic Settings - Fax
Related tasks
Receiving Faxes Automatically
Forwarding Received Faxes
You can forward received faxes to another fax machine, or convert the faxes into PDF documents and
forward them to a shared folder on the network or to an email address. Forwarded faxes are deleted
from the product's memory. Before using this feature, make sure the date and time are set correctly, the
forwarding destination is set up in the contact list, and the email server settings are configured.
1. Press the home button, if necessary.
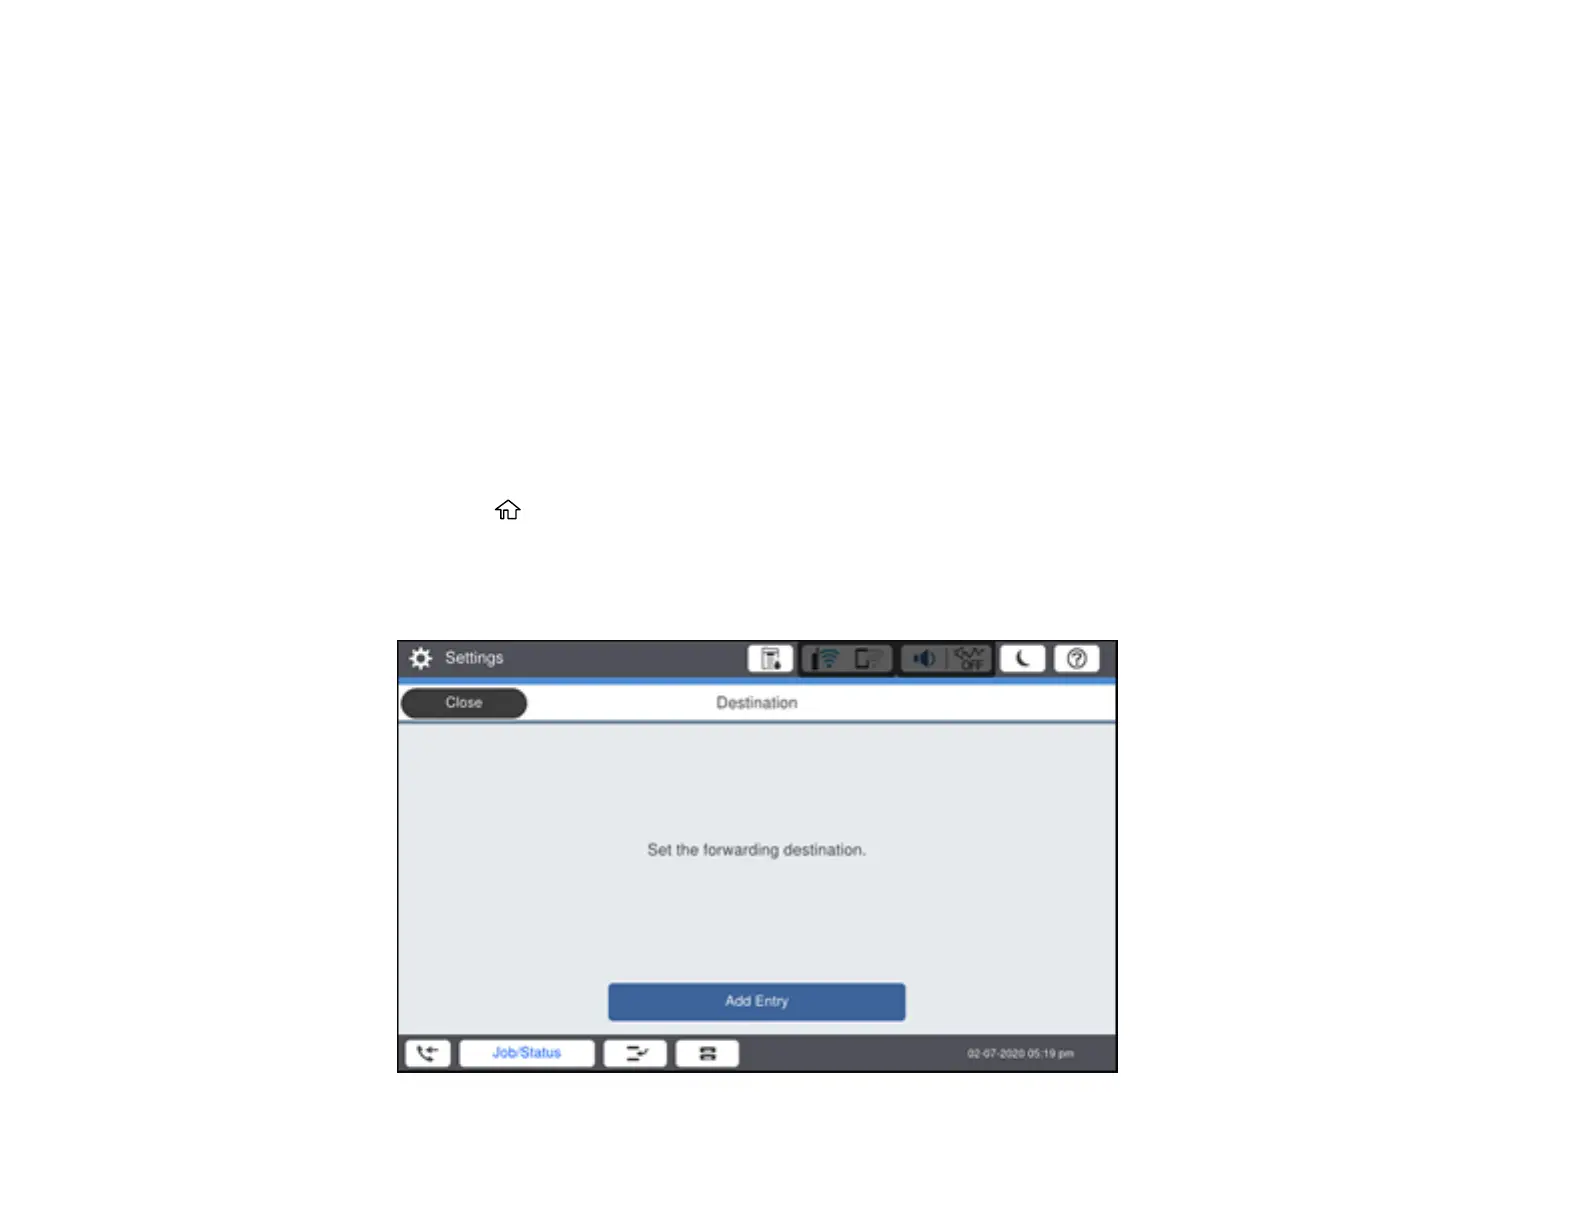
2. Select Settings > General Settings > Fax Settings > Receive Settings > Save/Forward Settings
> Unconditional Save/Foward > Forward > Yes.
You see a screen like this:
 Loading...


