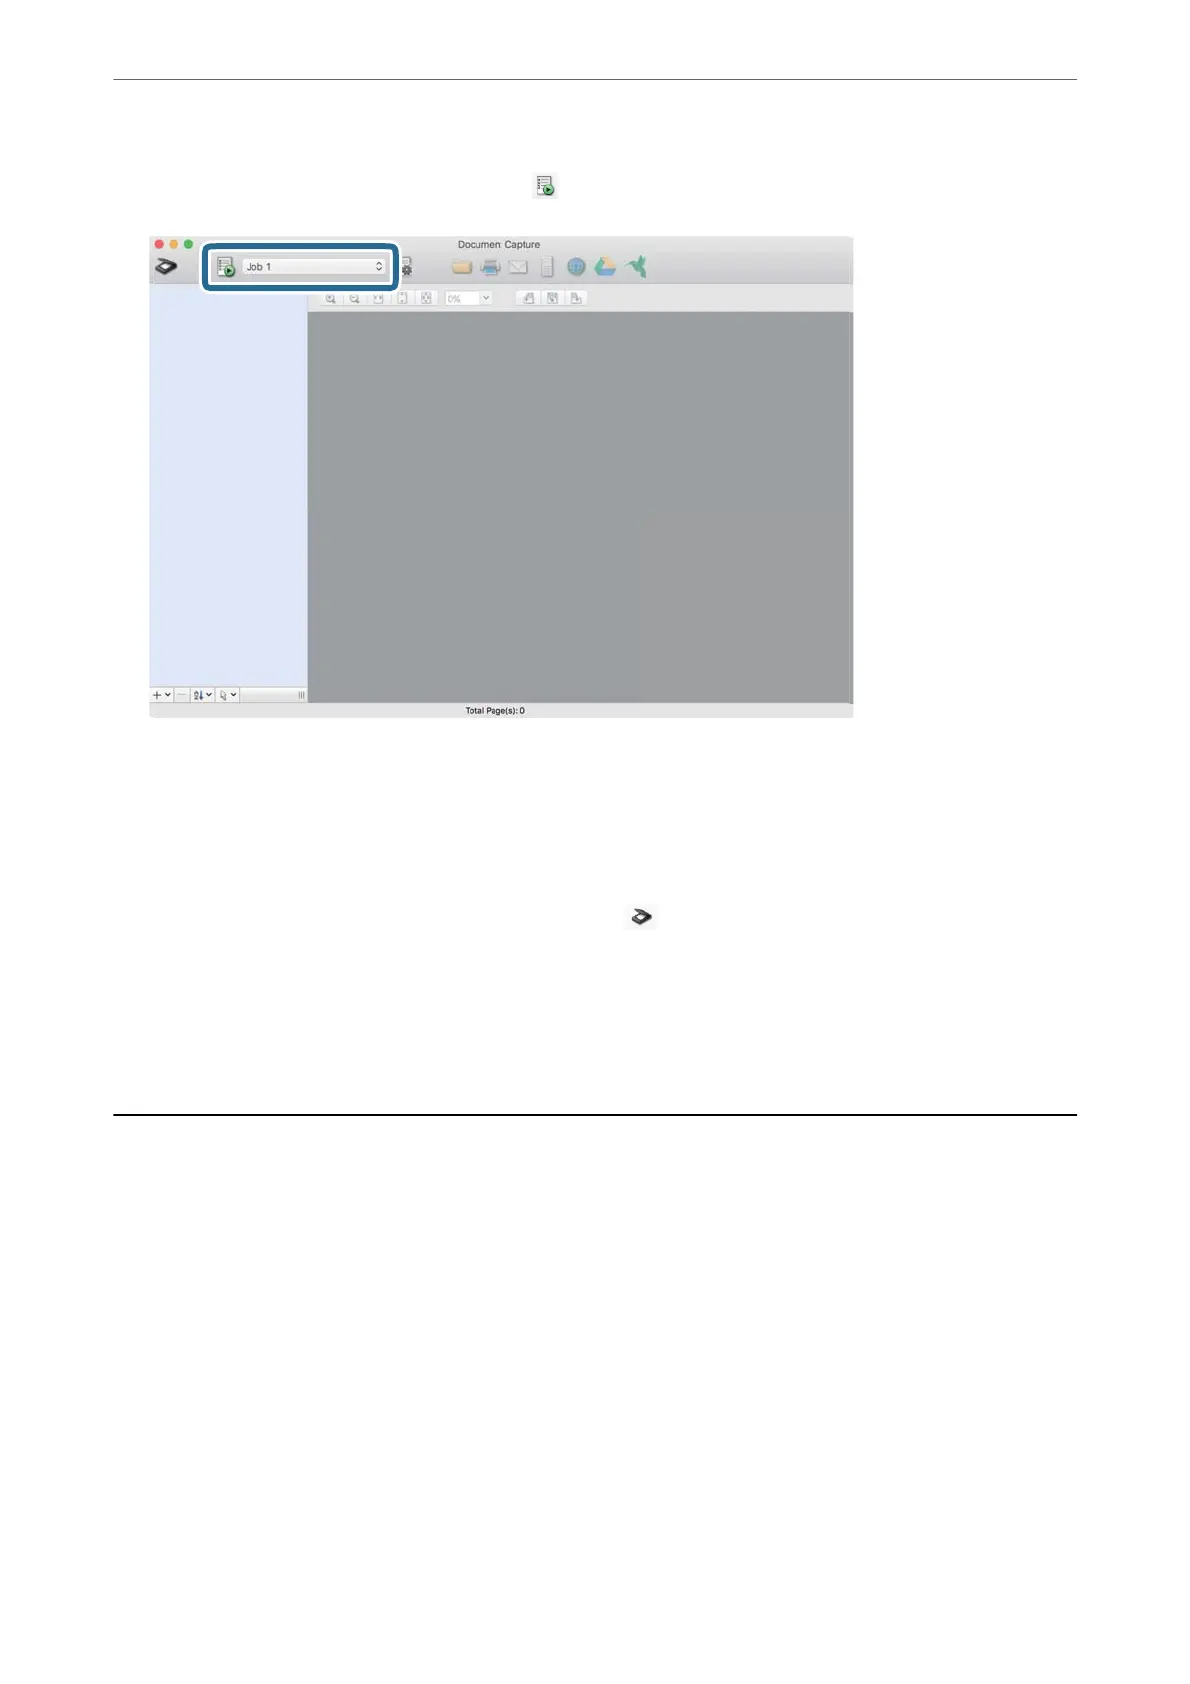
4.
Select the job from the list, and then click the
icon.
e selected job is performed.
5.
Follow the instructions on each window.
e scanned image is saved according to the job settings.
Note:
Without using a job, originals can be scanned and sent. Click and specify scanning settings, and then click Preview
Scan.
en,
click the destination icon for the scanned image.
Related Information
& “Creating a Job in Document Capture (Mac OS)” on page 86
Scanning with Epson Scan 2
You can scan the originals using image adjustment functions that are suitable for text documents.
1.
Place the original.
2.
Start Epson Scan 2.
❏ Windows 10/Windows Server 2016
Click the start button, and then select EPSON > Epson Scan 2.
❏ Windows 8.1/Windows 8/Windows Server 2012 R2/Windows Server 2012
Enter the application name in the search charm, and then select the displayed icon.
Scanning
>
Scanning with Epson Scan 2
97