134
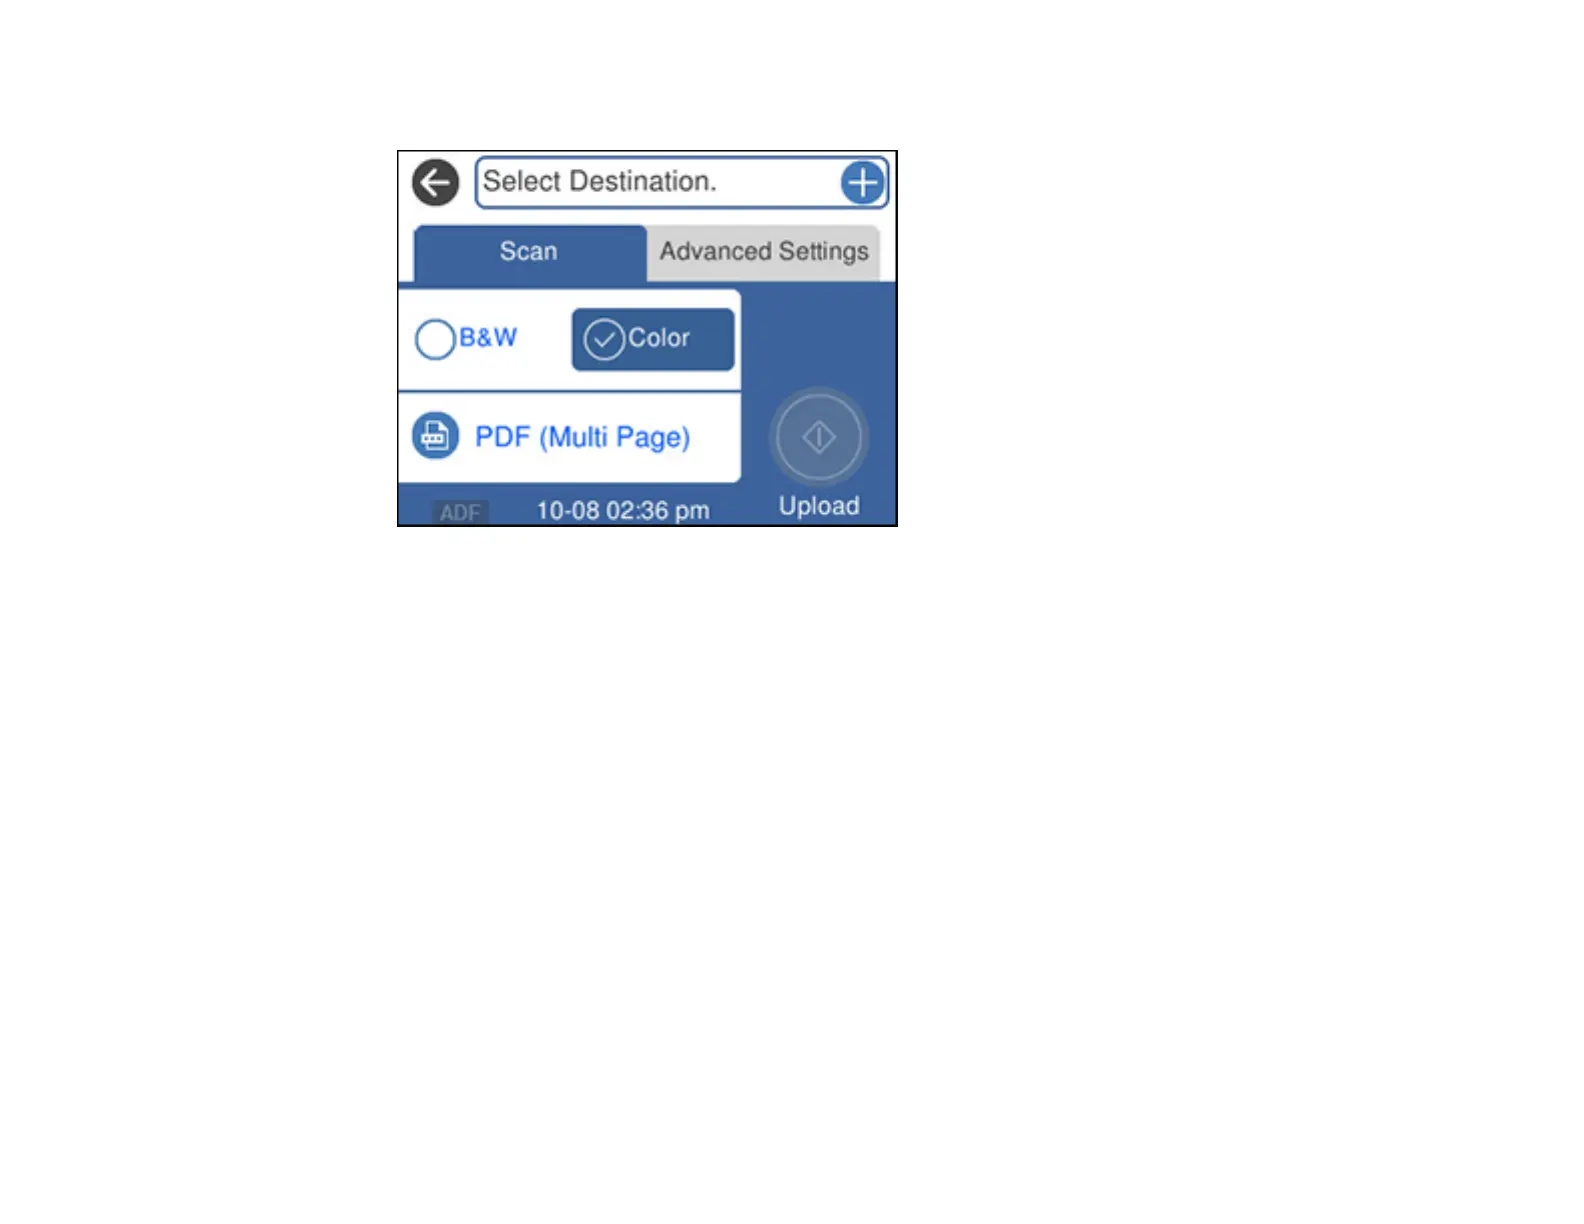
You see a screen like this:
Note: You must register your product with Epson Connect to select a destination.
5. Select Select Destination to select a destination.
6. Change any of the displayed settings on the Scan tab as necessary.
7. Select the Advanced Settings tab to view and change additional scan settings, if necessary.
8. On the Scan tab, select Upload to start scanning.
Your product scans your original and saves the scanned file to the selected destination.
Parent topic: Starting a Scan Using the Product Control Panel
Related tasks
Setting Up Epson Connect Services
Related topics
Placing Originals on the Product
Setting Up a WSD Port (Windows 7/Windows Vista)
You can scan to a networked Windows computer using WSD (Web Services for Devices). You must first
set up a WSD port on your Windows 7 or Windows Vista system (the port is set up automatically on
Windows 10 and Windows 8.x).