5. Select the image you want to print on the envelopes using the
l
or
r
button, and then press the OK button.
A screen indicating the print position of the image, and whether to print fold lines is displayed.
6. To change the image position and the fold line setting, press the
d
button to display the setting screen and
change the settings.
7. When you have
nished
making settings, press the
y
button to return to the setting
conrmation
screen, and
then press the OK button.
8. Select the size of the envelopes using the
l
or
r
button, and then press the OK button.
9. Load A4 plain paper in the printer, and then press the OK button.
10. Set the number of copies using the – or + button, and then press the
x
button.
Related Information
& “Loading Paper in the Rear Paper Feed” on page 39
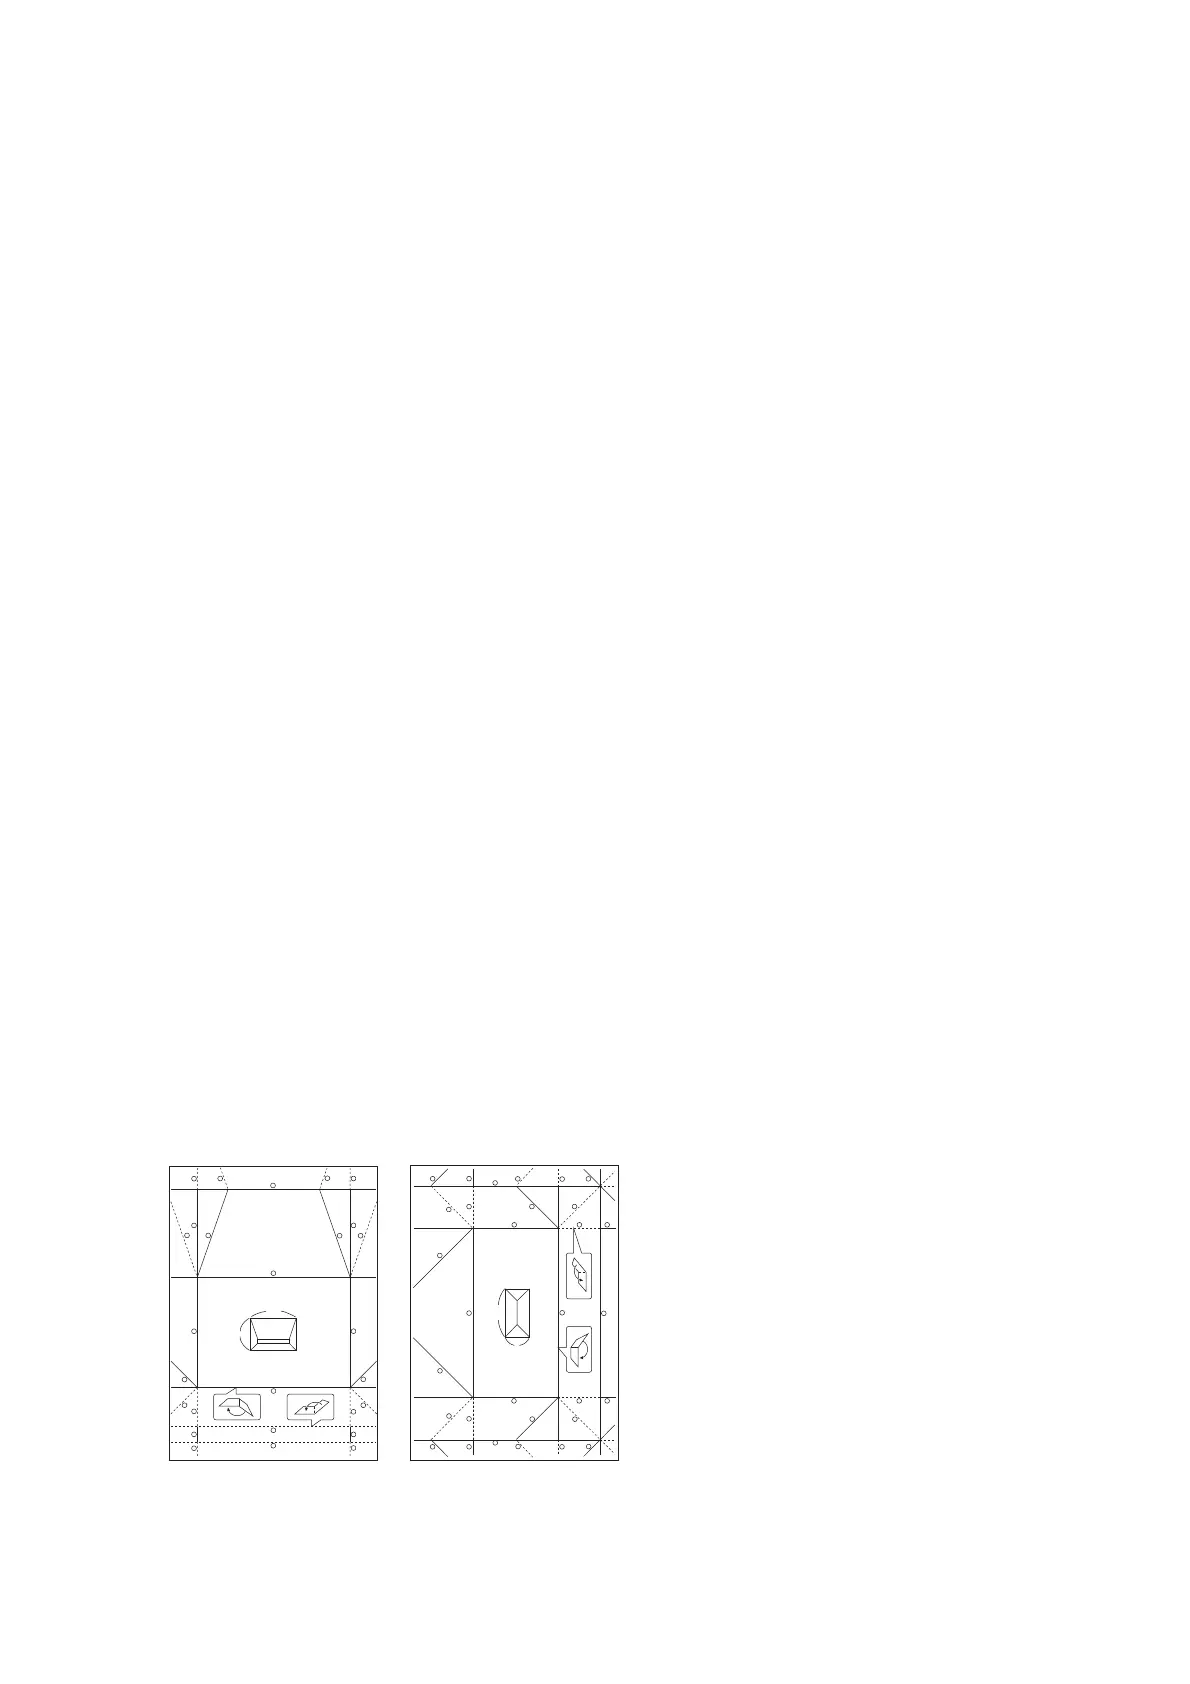
Folding Envelopes
Aer printing a diagram of an envelope, print an instruction sheet that shows you how to fold the envelope, and
then lay the instruction sheet on top of the diagram and fold them together.
1. Select Origami Envelope Instruction from the Origami menu, and then press the OK button.
2. Select the envelope size that you selected to print the envelope diagram using the
l
and
r
button, and then
press the OK button.
3. Load A4 plain paper in the printer, and then press the OK button.
4. Set the number of copies using the – or + button, and then press the
x
button.
e following instruction sheet is printed.
1
2
3
4
5
5
6
6
6
6
6
6
7
7
8
8
8
8
8
8
9
99
10 10
10
11
160mm
115mm
1
2
3
4
44
5
5
5
5
6
6
6
7
7
7
7
8
8
8
9
9
9
10
10
10
1111111111
181mm
91mm
User's Guide
Printing
50

 Loading...