3
4
5
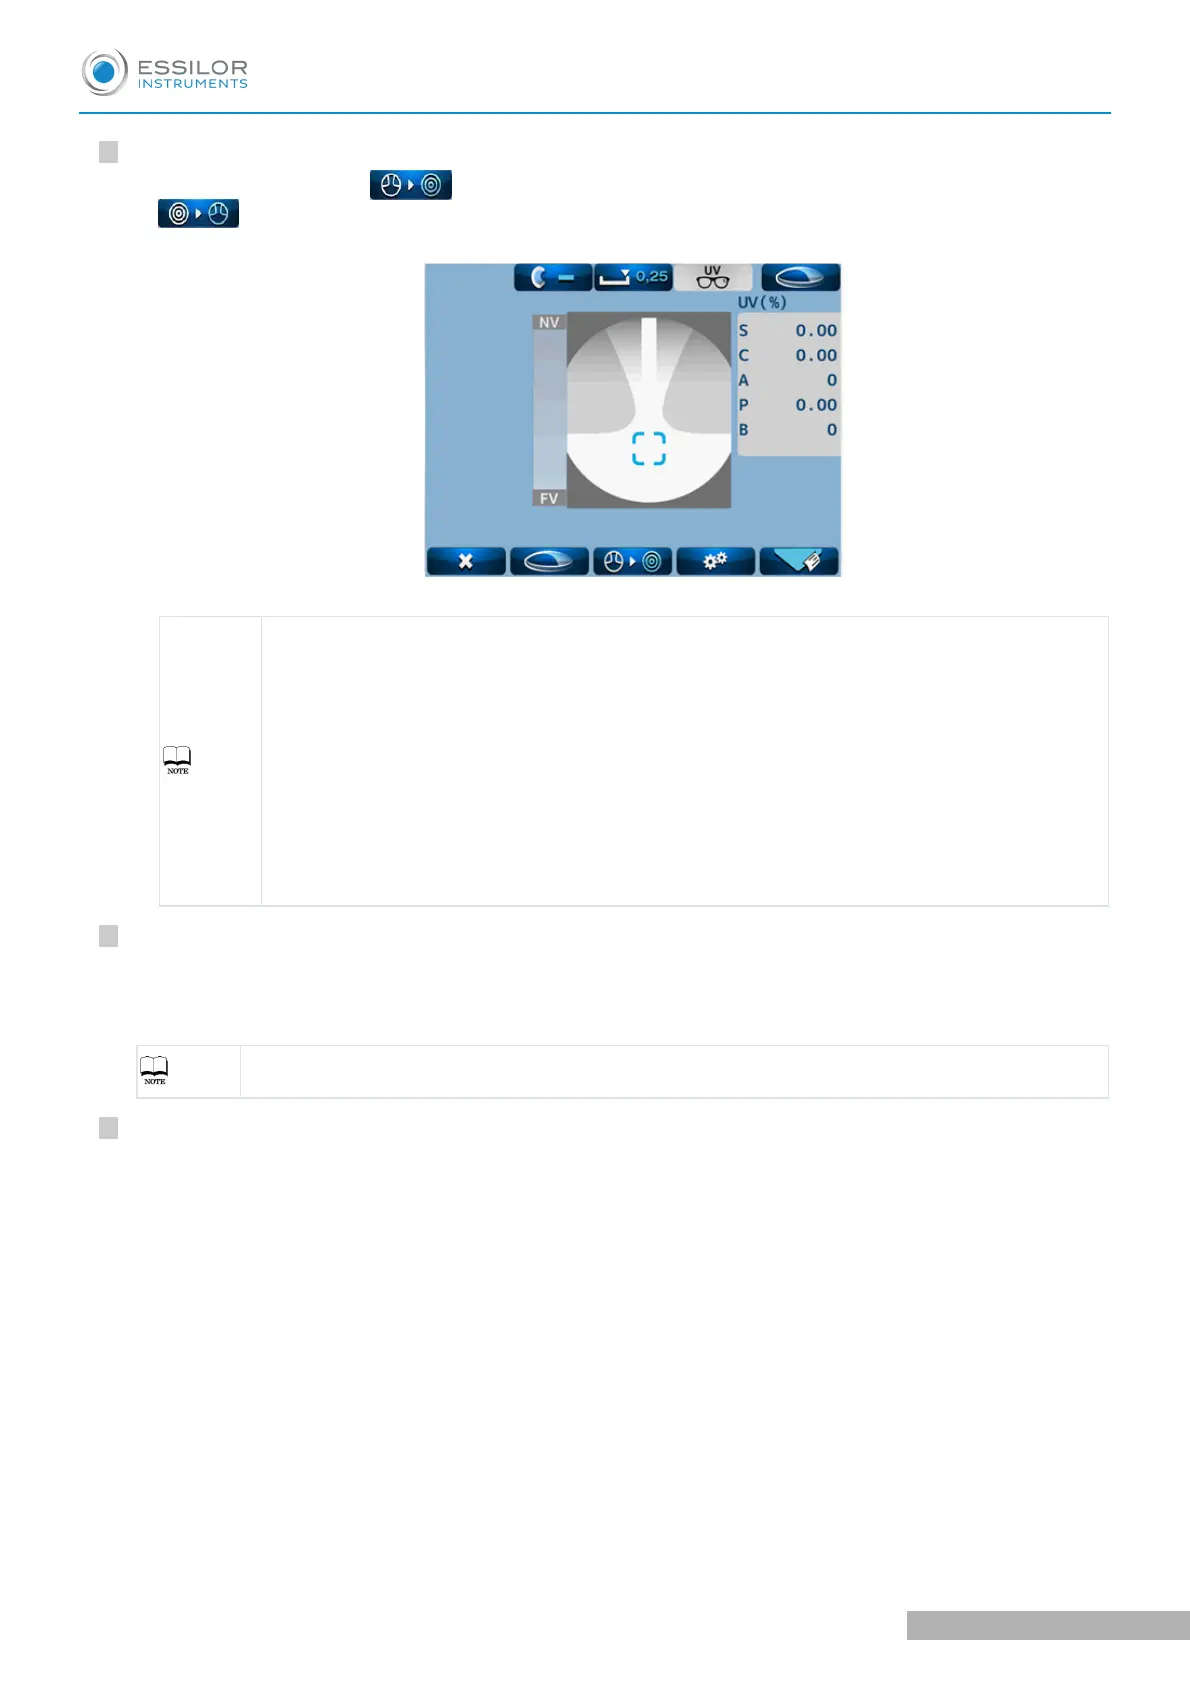
Switching to progressive lens measurement screen.
In case that [Auto Prog] is set as [On], the lens is automatically judged whether the lens is
a progressive lens or not.
Set the lens in the center region of the progressive zone. It starts the auto judgment of the
progressive lens. When the lens is identified as a progressive lens, the screen is switched to
the progressive lens measurement screen. If not, the measurement screen remains as the
single focus lens measurement screen.
When the ADD value is small (less than 1D), the auto detection may not be performed.
Also, if the progressive zone cannot be found at where the lens is set, the auto detection
may not be performed.
In these cases, move the lens back and forth, and right and left slowly.
When the ADD value is small (less than 1D), the eyeglass lens is small, or the lens is dirty
or has some flaws, the far point and near point may not be detected automatically. In such
case, take a measurement manually.
Measuring procedure of progressive lens (when N.AT is selected for ADD Measure).
Detection of progressive zone.
First, find the progressive zone by moving the lens back and forth, and right and left slowly.
The cross cursor (screen shown below) appears when the progressive zone is found.
Press the Memory/Add switch in case that the progressive zone cannot be detected because
ADD value is small etc. It switches to the measurement screen of the far point.
Measurement of far point.
Take a measurement of far point. Move the lens toward the device so as that the center of the alignment
mark overlaps with the cross cursor.
The color of the cross cursor is changed to blue by pressing the Memory/Add switch after they overlaps.
At this time, the measurement values of the far point are stored.
The icon is changed to , and the progressive lens measurement screen is displayed by pressing
(single/ progressive lens selection switch).
>
USER MANUAL > MEASUREMENT
ALM800 - Auto lensmeter > V1 - 05-2020 44