Express LPC QuickGuide, v.3.1 3
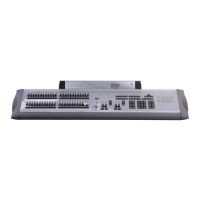
Rack mounting
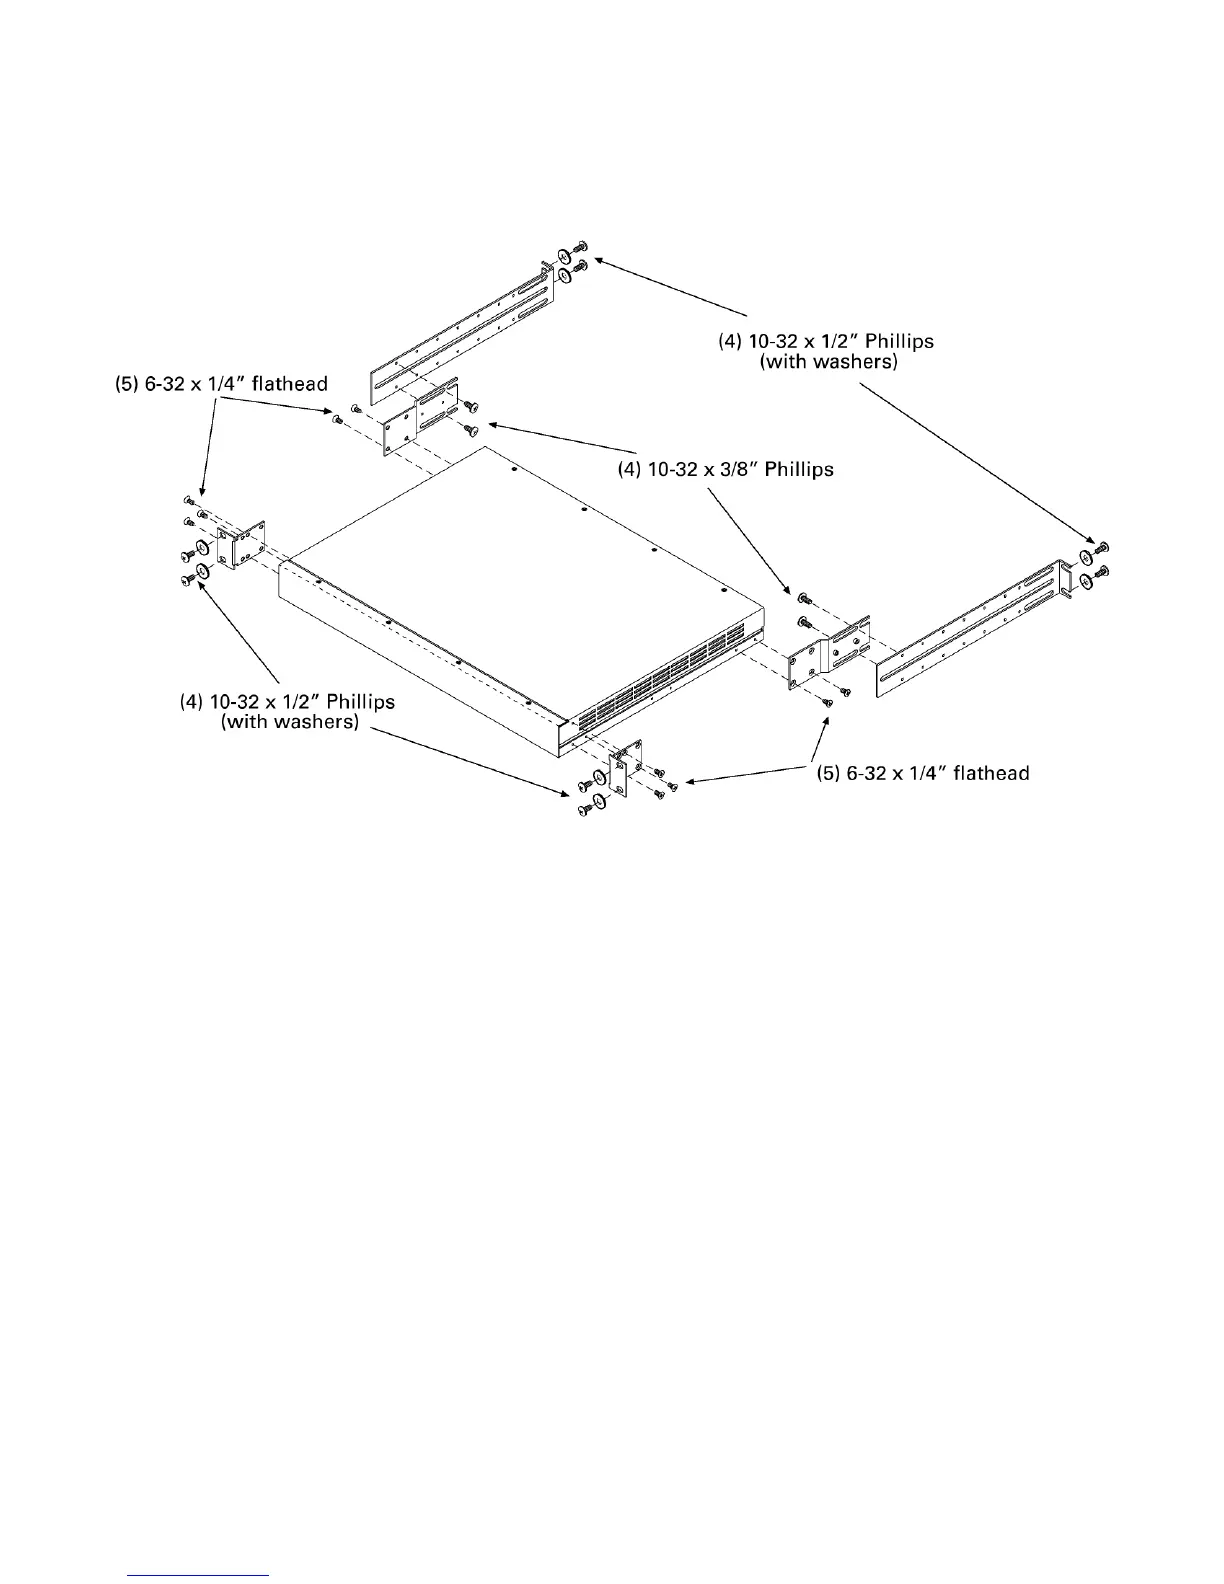
To mount the LPC in a 19” rack, follow the illustrated procedure below:
1. Remove all mounting hardware from the plastic bag.
2. Place one black washer on each of the eight 10-32 x 1/2” screws.
3. Attach the two L-brackets to the side panels of the LPC using three
6-32 x 1/4” flathead screws each. Choose the bracket holes that
position the bracket flush with the front panel.
4. Secure the two rear brackets to the side panels of the LPC using two
6-32 x 1/4” flathead screws each, orienting the brackets as shown.
5. Fit the LPC through the front of the rack and position over the
mounting holes. The L-brackets should be on the outside of the rack.
6. Secure the LPC to the front of the rack using four 10-32 x 1/2” screws
and washers as shown. If the rack holes are not threaded, small black
clips are provided for that purpose. Slide the black clips over the rack
mounting holes and thread the screws into them. Caution: Keep the
rear of the LPC supported to avoid bending the front brackets.
7. Using four 10-32 x 1/2” bolts (and threaded clips if necessary), attach
the two slider brackets to rear holes in the rack that are opposite those
holes used to mount the front of the LPC. Do not secure yet.
8. Line up the slider brackets with the rear brackets on each side of the
LPC. The threaded studs on the rear bracket should fit into slider
bracket slots. Attach each rear bracket to a slider using two 10-32 x
3/8” screws each. The screws go through slots in the brackets and
into threaded slider bracket holes.
9. Secure all bolts so that the assembly is level and tight.