Topaz Router
Page 8 Revision 2.0
In the UK, equipment is supplied with a power cord already fitted with a 3 pin mains plug. Should the
lead be re-wired then please make connections using the colour code below:
Brown Live (Line or Phase)
Blue Neutral (Return)
Green/Yellow Earth (Ground
)
There is no power switch on the unit so it is essential that the power cord is removed before
commencing to service the unit.
All Topaz router PSU’s are auto-ranging and no adjustments are required.
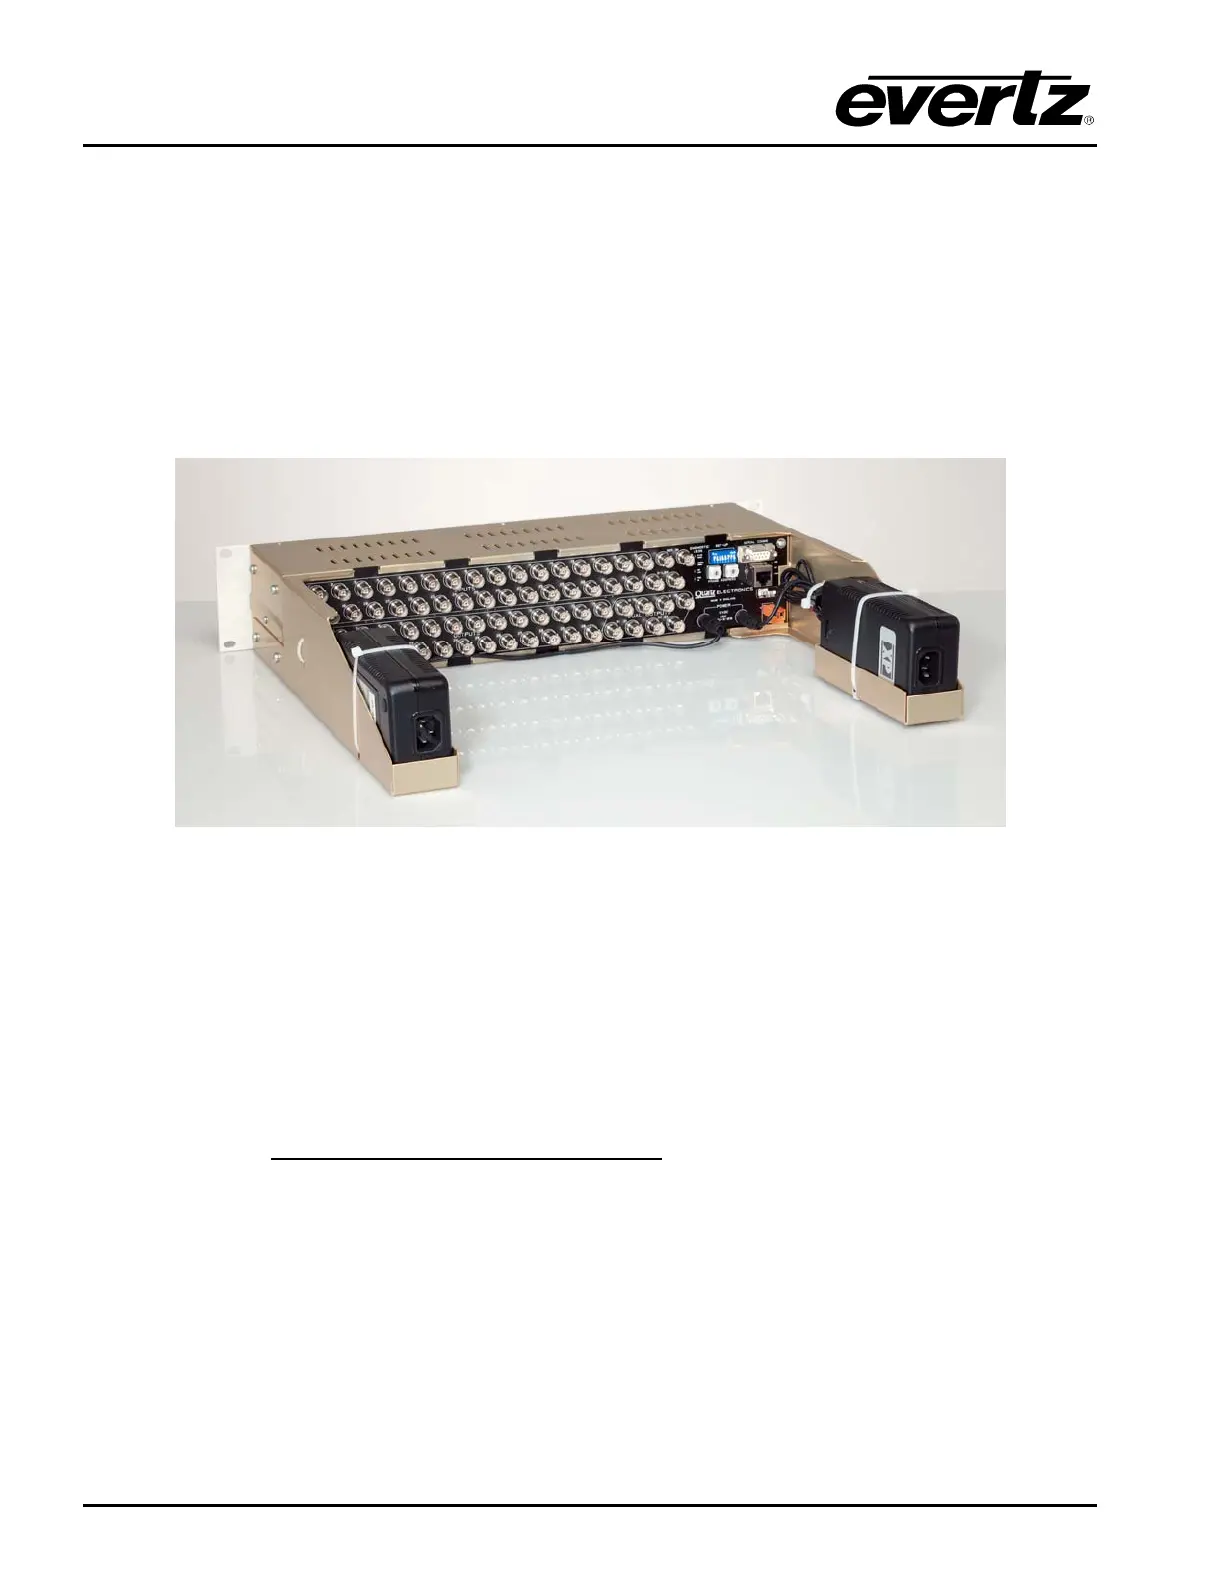
Figure 2-12: Topaz router with power supply mounting trays (optional)
2.5. CONFIGURING THE FRAMES
All of the Topaz routers have a rear panel DIP switch and rotary address switches to allow basic
operating modes to be controlled and the Q-Link address to be set.
2.5.1. DIP Switches
This is a small 8-way switch block. The switches should be moved with a small screwdriver or pen.
DIP Switch Function
SW1-1 Up/On = Force protocol,
Down/Off = Use WinSetup
SW1-2 Up/On = Diagnostics mode
Down/Off = Protocol mode
SW1-3 Up/On = Q-Link Slave.
Down/Off = Q-Link Master.
SW1-4 Up/On = 2 PSU in use, alarm if one fails.
Down/Off = 1 PSU in use.
SW1-5 Up/On = Field rate switching.
Down/Off = Frame rate switching
SW1-6 Up/On = 625 Line switching standard (line 6/319).
Down/Off= 525 Line switching standard (line 10/273).