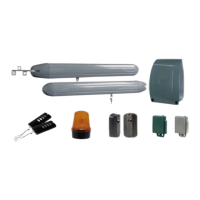
WEAT V2 N - V1
11GB
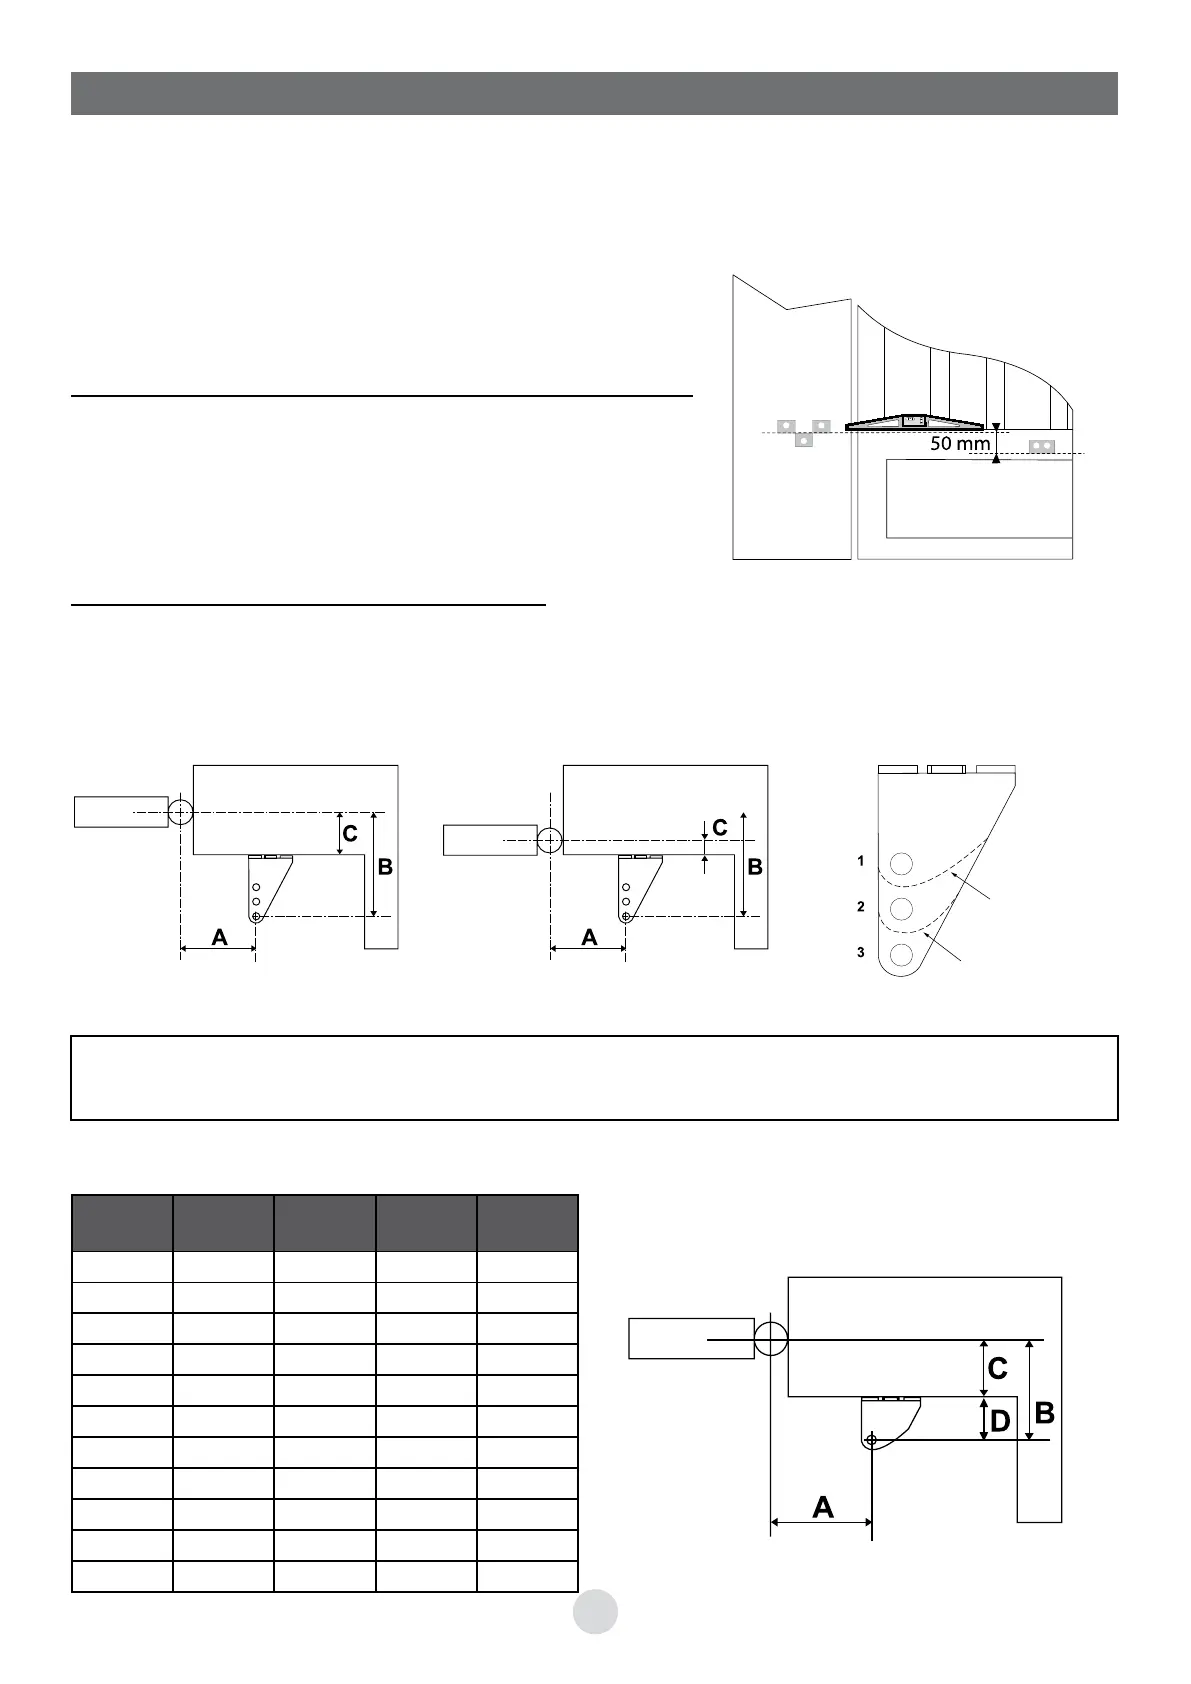
Make sure the gate is sturdy and the hinges are well lubricated.
Install ground stops to stop the leaves during opening and closing.
The position of the actuator mounting brackets on the posts and leaves will affect the opening angle and
operation of the system. It is therefore important to choose the locations from the tables below based on the
dimensions of your gate.
Note: there is no left or right-handed bracket, both are similar.
A. Selection of the vertical location of the bracket on the post:
This selection is determined by the position of a strong point
(rigid place) of the gate like the frame or the reinforcement bar.
Report then this point on the post, and then plot a 5cm
line above this point.
You determined the vertical location of the bracket.
B. Installing the mounting brackets on the posts
1. Measure dimension C on the post (distance between hinges and edge of post).
2. According to your C dimension and the desired opening angle, determine with the below tables, your dimen-
sions A and B.
3. If you select the hole 1 or the hole 2, you shall cut the bracket as shown on the figure, for the rotation of the
actuator (see cutting template page 24)
7. MOUNTING OF FIXING BRACKETS
Hinges located on the middle
of the post
1. Recommended dimensions for a 90° opening (dimensions in mm)
Hinges located at the edge
of the post
Cut here to use
hole 1
Cut here to use
hole 2
The positions shown in the drawings are for guidance only.
Refer to the following tables to find the best position for your system.
C Hole
number
DBA
130
1 65 195 115
120
1 65 185 125
110
1 65 175 135
100
2 95 195 120
90
2 95 185 130
80
2 95 175 140
70
2 95 165 150
60
3 125 185 135
50
3 125 175 145
40
3 125 165 155
30
3 125 155 165