CFI EXTEL WESV 82500 - 12/2011 - V1
*%
CFI EXTEL WESV 82500 - 12/2011 - V1
*%
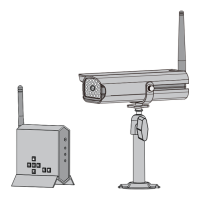
2. COMPOSITION OF THE KIT
• One 2.4 GHz wireless colour camera
• One colour LCD monitor 7, 18 cm, 2.4 GHz
• One camera bracket + fastenings
• Two 5VDC adaptors for the camera and the monitor
• One remote control unit (CR2025 button cell battery included)
• One RCA-Jack cable for Audio/Video output
• One USB cable
• One CD, Video surveillance software for PC
• One user manual
3. TECHNICAL CHARACTERISTICS
a. Monitor (SVMN 82500)
Screen : 18 cm in diagonal
Power supply of the monitor (angle plug) : 5V DC.
Power consumption : 1000 mA.
Channels : 4.
Receiving frequency : 2,402-2,454 GHz.
Dimensions : “220 x 145 x 36 (mm)”.
Weight : 500 grams.
Operating temperature : -10°C to + 40° approx.
Audio/video Jacks connections : 3.5 mm jack plug.
Resolution : 320x240 pixels at 20 frames/s. or 640x480 pixels at 10 frames/s.
USB connection
b. Camera (SVCM 82501)
Power supply (straight plug) : 5V DC.
Power consumption : 1000 mA.
Channels : 4.
Frequency transmission : 2,402-2,454 GHz.
Light sensitivity : 1-8 lux* (* Use an additional lighting system overnight).
Infrared Led : 24 infrared diodes.
Weight (without bracket) : 240 g.
Operating temperature : -10°C to 40° approx.
Dimensions : 164 x 64 x 42 (mm).
Resolution : 640 x 480 pixels at 25 frames/s.
Viewing angle : 53°.
Digital link between the camera and the monitor (this technology limits interference and
disturbances in the link).
Range: approximately 150 m in free field.
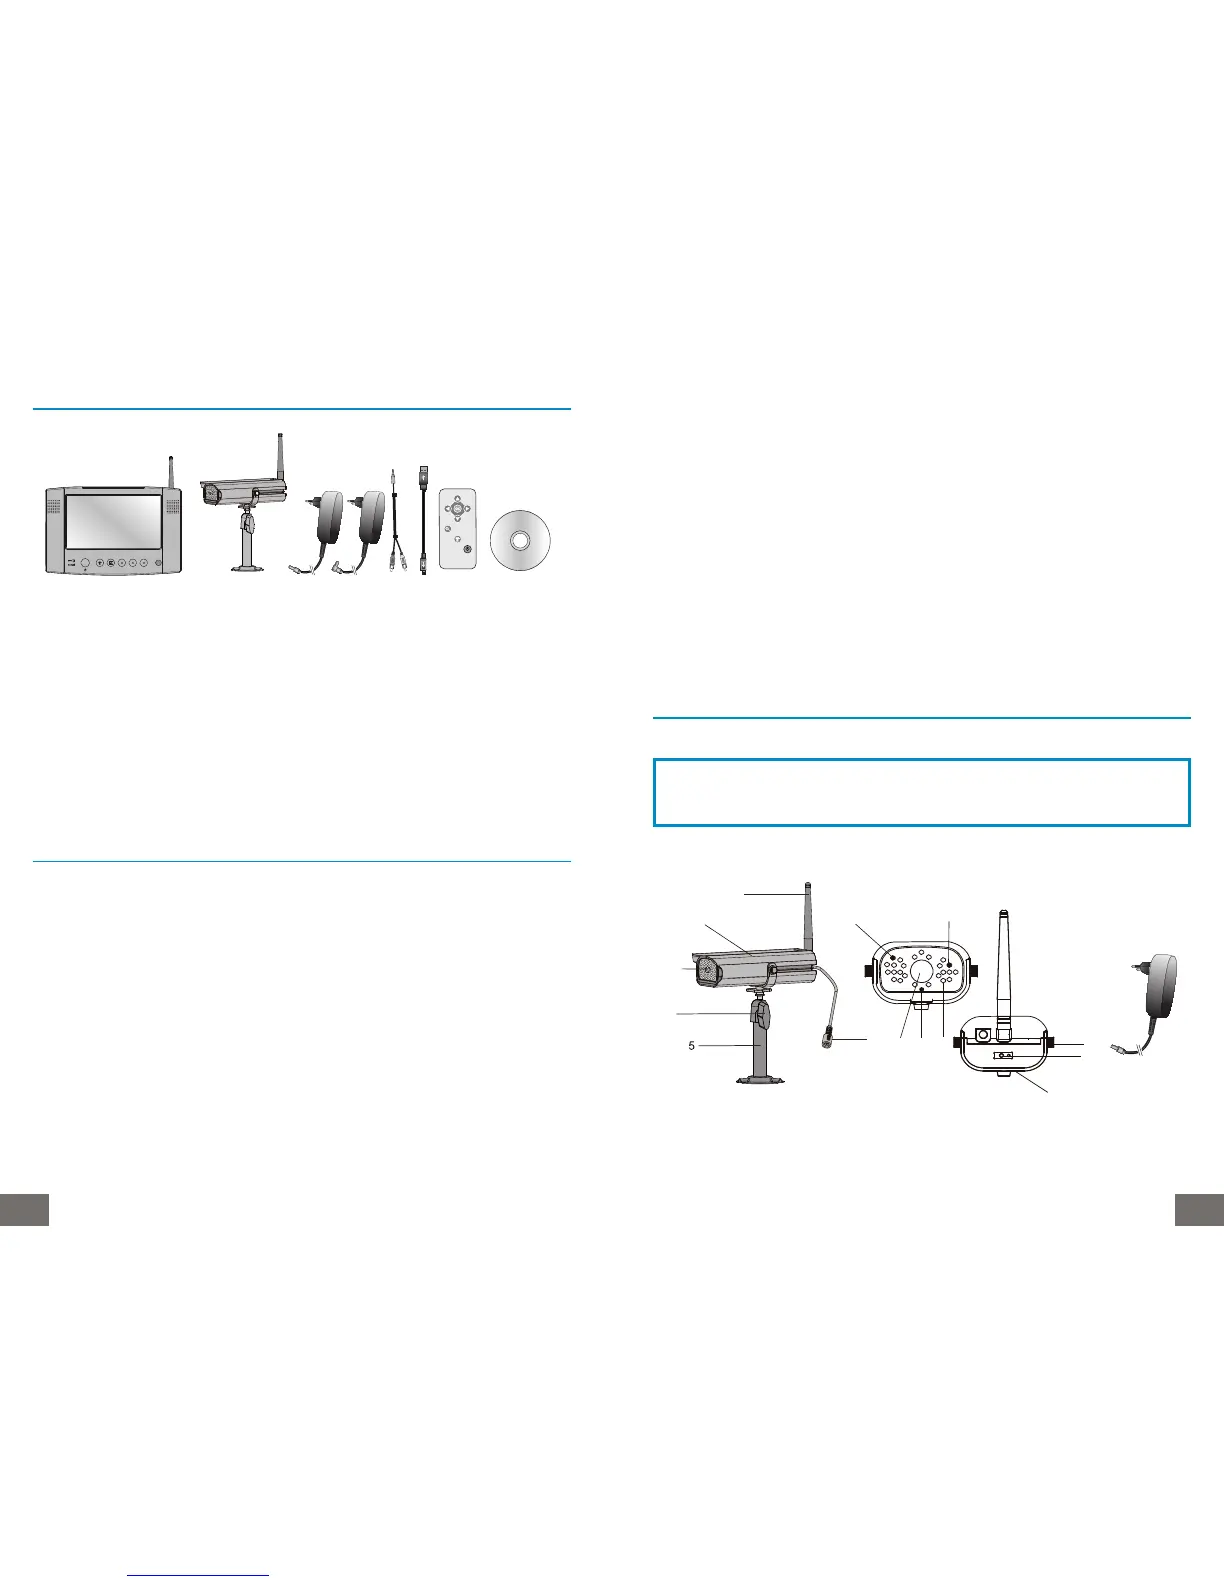
4. INSTALLING THE CAMERA
a. Description of the camera
1. Adjustable antenna to be screwed at the back of the camera.
2. Protection of the cameras (IP 44).
3. Lens of the camera.
4. Screw to fix the position of the camera.
CAUTION
Be sure any element does not avoid inserting the screws
in the wall.
13
14
12
4
6
10
11
839
7
1
2
3
 Loading...