CFI EXTEL WESV 82500 - 12/2011 - V1
*%
CFI EXTEL WESV 82500 - 12/2011 - V1
*%
g. Pairing of the camera(s)
The camera supplied with the kit is already paired, each additional camera must also be
“associated” to the monitor.
If not, refer to the chapter 6-c “Associate the camera to the monitor”.
5. INSTALLING THE MONITOR
Install the monitor at approximately 1 m above the ground (for optimum reception condi-
tions).
For installing the monitor, choose a location away from reinforced concrete walls, mirrors,
metallic shelves, etc…
Keep the monitor away from all appliances creating strong electrical interference. Any strong
electrical environment may cause disturbances and interferes with the use (WIFI in parti-
cular).
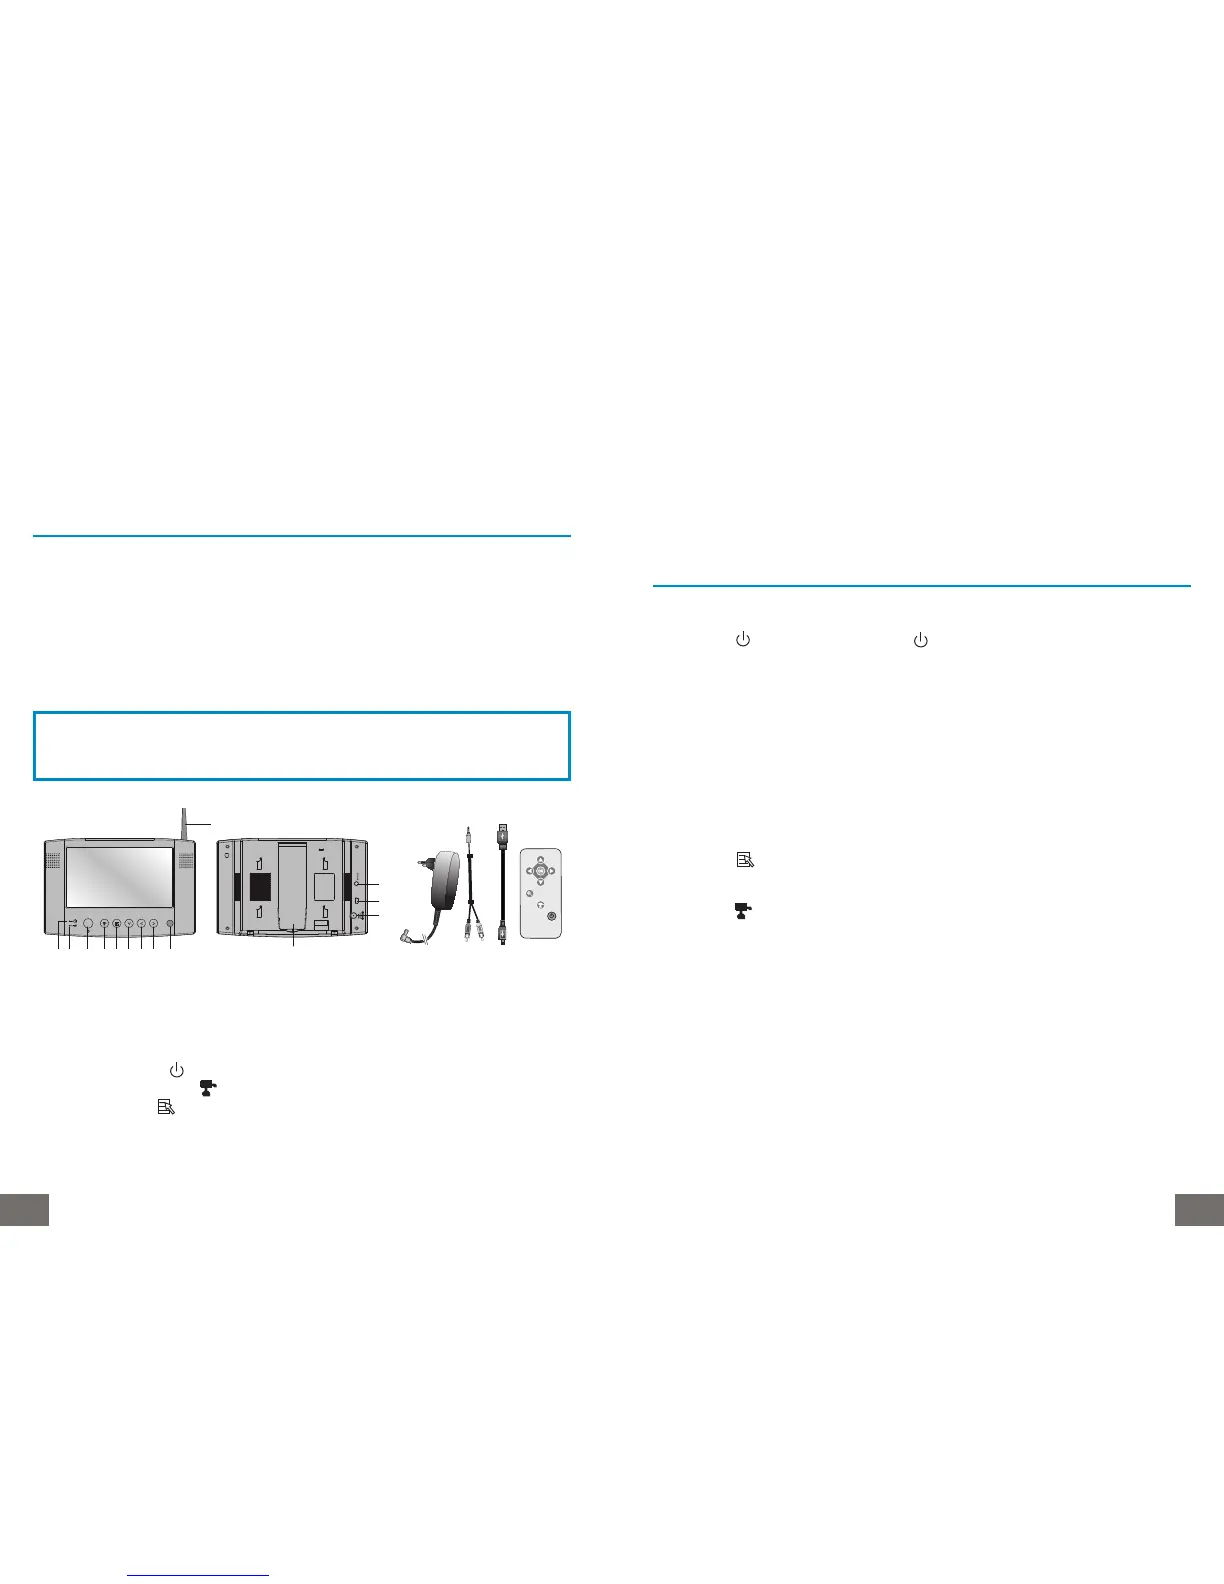
1. Antenna.
2. Pairing light indicator.
3. Video connection light indicator.
4. On/off push button.
5. Selection of the cameras.
6. Display of settings.
7. Vertical cursor T
8. Left cursor and setting volume - W
9. Right cursor and setting volume + X
10. Infra-red receiver for remote control
CAUTION
Only place the monitor on stable and hard surfaces.
15 16 17
1
23 4 56789 10
11
14
12
13
USB
18
11. Audio/Video output on Jack.
12. USB plug.
13. 5VDC power supply input.
14. Stand
15. 5 VDC Adaptor (angle plug)
16. Audio/Video cable
17. USB cord
18. Remote control unit
6. FUNCTION AND USE OF THE KIT
a. Commissioning
Press the key of the monitor or the key of the remote control unit (use these same
keys to switch the monitor off).
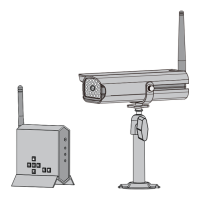
b. Connecting the cameras
1- Connect the cord of the 5VDC adaptor to the “Power supply” input of the camera.
2- Plug the adaptor into a mains socket.
c. Associate the camera to the monitor
For the first use, the camera included in the kit is already paired. If not or to add another
camera, proceed as follows:
Press the key of the monitor and go to the “PAIR CAM” menu of the monitor with the
key T.
Choose a free channel between 1, 2, 3 and 4 with the keys W and X .
Press the key to start saving.
You have 60 seconds to pair the camera.
Open the cover located at the back of the camera and then press the button “Pairing key”
with a sharp object (for example a paper clip).
Only one channel per camera can be activated on the monitor.
In the case of several cameras, you should choose 1 different channel for each camera.
 Loading...