CFI EXTEL WESV 82500 - 12/2011 - V1
*%
CFI EXTEL WESV 82500 - 12/2011 - V1
*%
5. Camera bracket.
6. Microphone (in the empty part of the housing).
7. Plug to connect the adaptor.
8. Cell to activate the IR diodes, in the darkness.
9. Infrared diode (non visible lighting system)
10. Red light indicator, confirming the power supply of the camera.
11. Green light indicator, indicates that the camera is displayed on the monitor.
12. Fixing screw for the U-bolt
13. Button to associate the camera with its monitor: “pairing key”.
(See procedure chap. 6)
14. 5 VDC Adaptor (angle plug).
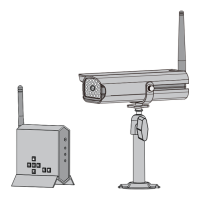
b. Installing the camera
Choose a suitable location to install the camera.
As far as possible your system must be installed in a dust-free place with weak vibrations and
a good circulation of air and must be equipped with a wall socket for the 5 VDC adaptor.
When installing the camera, check the good reception of the images on the monitor before
the final installation. For example ask another person to hold the camera in the area to
control.
Ask another person to move the monitor to different places in the house to check the good
reception.
If you find some interference or other problems, please refer to the chapter
“Maintenance”.
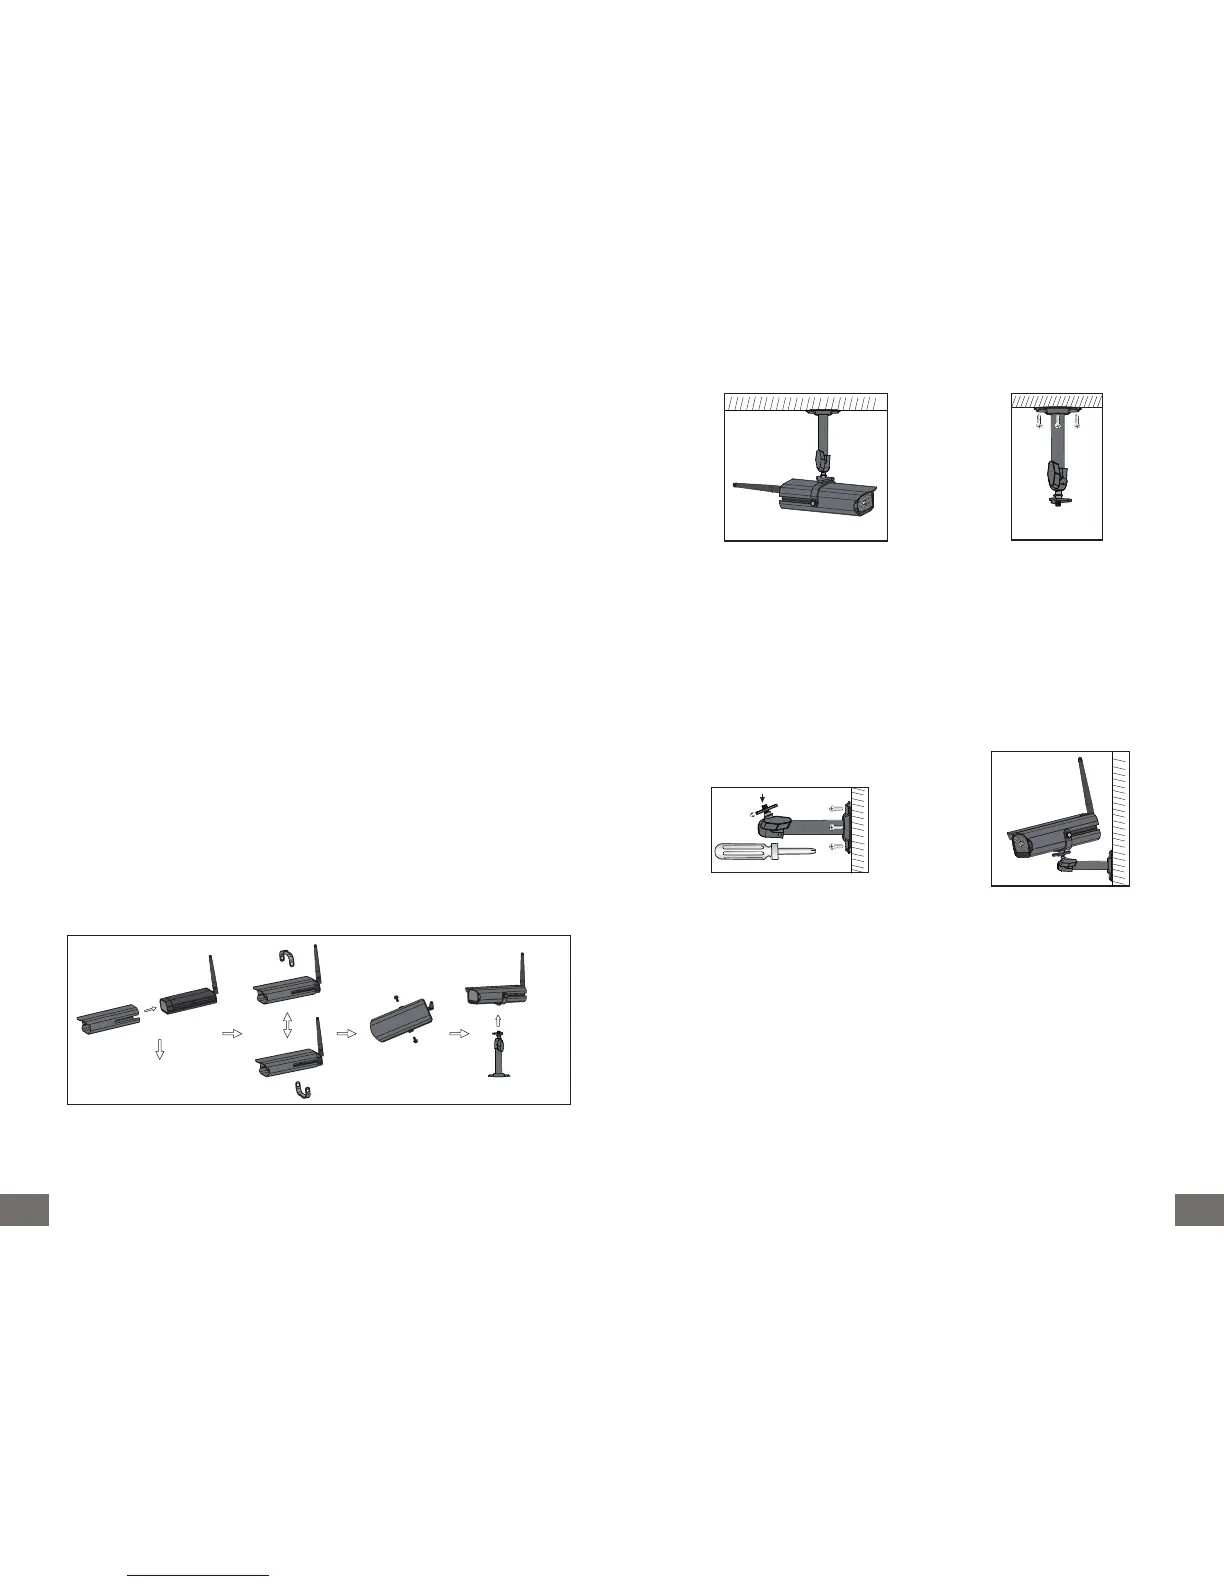
Assembly of the different elements composing the camera (A), you have the possibility to
move the U-bolt of the camera (B) if you have to position the adjustable bracket to the
ceiling (C).
A
B C
c. Fixing the camera bracket
• Make sure that no element interferes with the installation.
• Search for a suitable place to fix the bracket.
• Screw the wall part with the supplied screws. (Use bushings if necessary).
• Screw the camera on the bracket.
• Aim the camera at the desired direction and tighten the side retaining screw.
d. Connecting the camera
1. Connect the cord of the 5VDC adaptor to the “Power supply” plug of the camera.
2. Plug the adaptor into a 230 VAC outlet (the red indicator lights up).
e. Infrared lighting system
The infrared diodes do not produce light visible to the naked eye.
The infrared lighting system activates automatically in the darkness.
f. Additional cameras
You have the possibility to complete your installation with additional cameras (the monitor
accepts up to 4 cameras).