FUNCTIONING CYCLE
15
ENGLISH
FUNCTIONING CYCLE9.
BASIC INSTRUCTIONS9.1.
The following recommendations must be followed the rst times
the stove is ignited:
It is possible that slight odours are produced due to the
drying of the paints and silicones used. Do not remain in the
environment for long periods.
Do not touch the surfaces as they could still be unstable.
Air the room well several times.
The hardening of the surfaces is terminated after several
heating processes.
This appliance must not be used to burn waste.
IGNITION9.2.
ATTENTION!
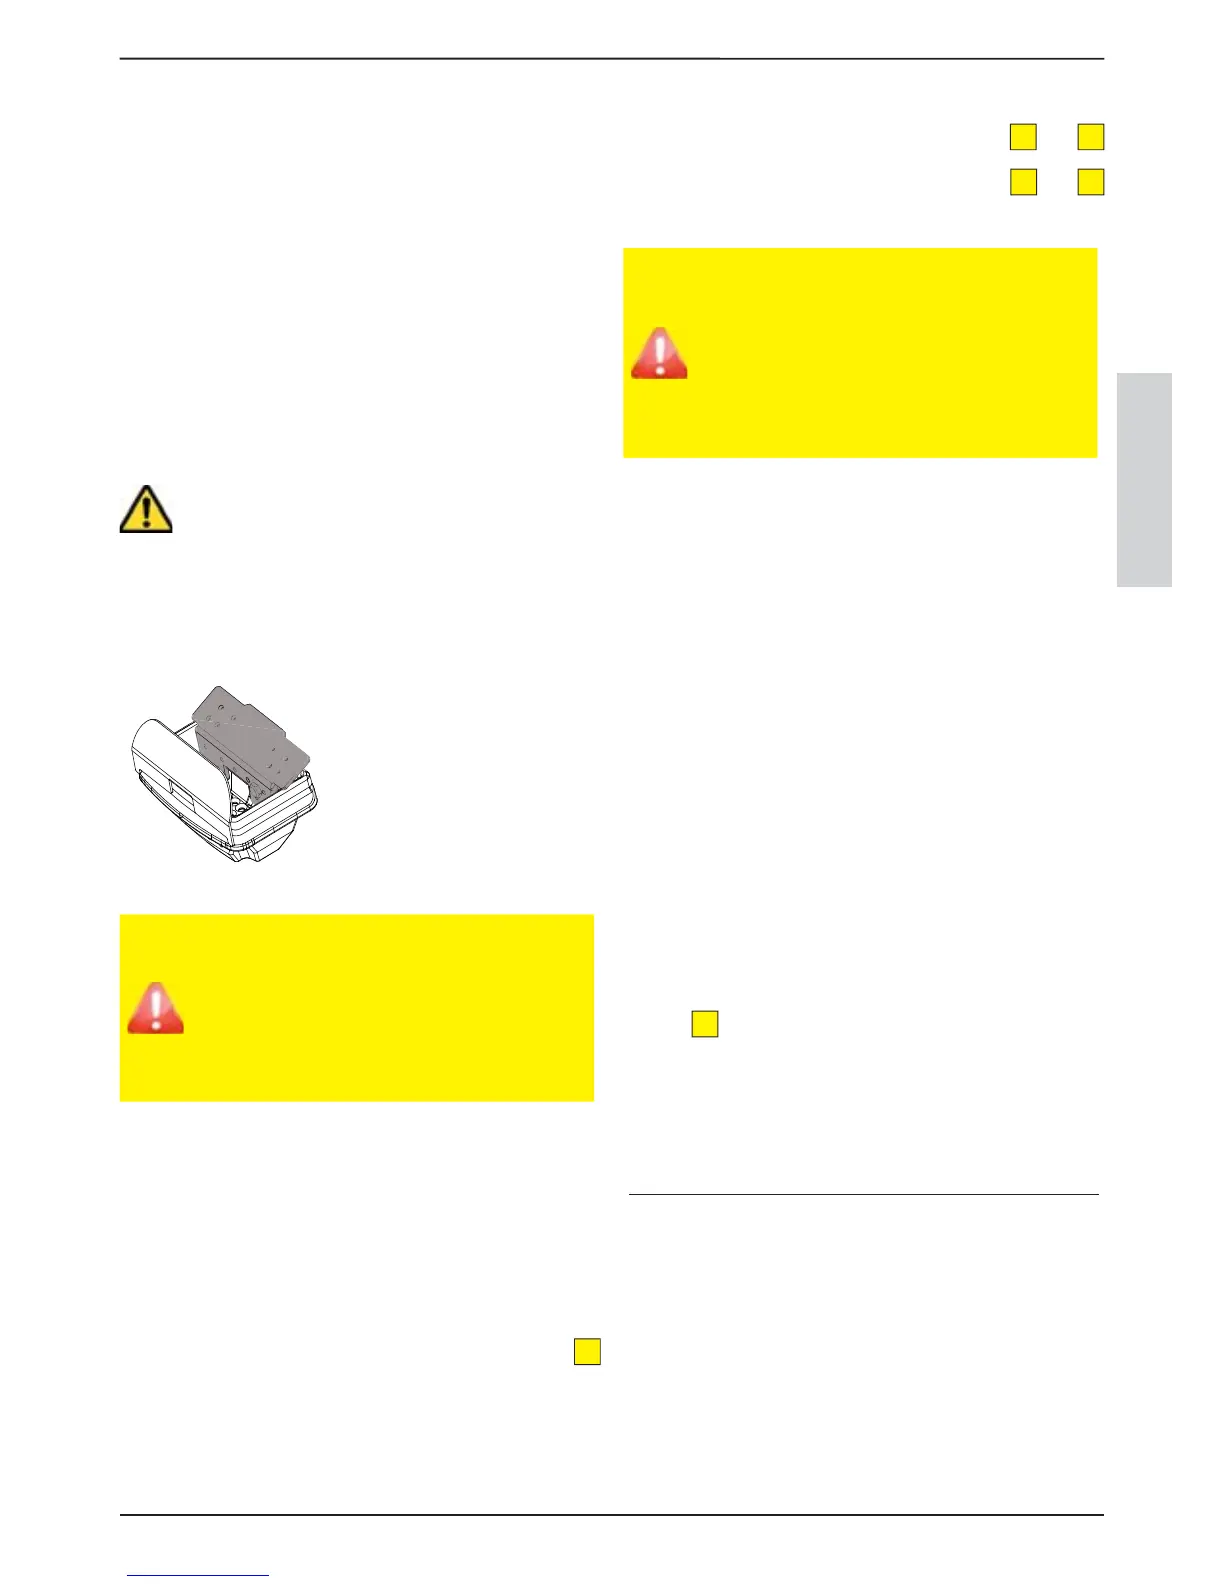
Removal of the divider jeopardises the safety of the product
and leads to the immediate voiding of the warranty period.
In the event of wear or deterioration request after-sales
assistance for replacement of the part (replacement that is not
under guarantee as the component is subject to wear).
gure 40
ATTENTION!!!
DO NOT USE ANY INFLAMMABLE LIQUIDS FOR
IGNITION
DO NOT ALLOW THE BAG OF PELLETS TO COME INTO
CONTACT WITH THE BOILING HOT STOVE DURING
THE FILLING PHASE
IN THE CASE OF CONTINUOUS NO IGNITION,
CONTACT AN AUTHORISED TECHNICIAN
Before lighting the stove, the following points must be veri ed:
the feed-box must be full of pellets
the combustion chamber must be clean
the burn pot must be completely free and clean
check the hermetic closure of the re door and the ash
drawer
make sure the power supply cable is connected correctly
the bipolar switch in the rear right part must be positioned
on 1
Once the points listed above have been checked, press the
P1
key for three seconds to ignite the stove.
Once the stove has been ignited, it will pass to start-up in order to
go to normal conditions and then normal functioning.
WORK9.3.
Once the machine has been ignited, the machine starts to work.
Regulate the desired room temperature using the
P2
and
P3
keys.
Set the functioning power (from 1 to 5) using the
P4
and
P5
keys.
ATTENTION!!!
The lid of the pellet container must always be closed. It
must only be opened during the fuel feeding phase.
The bags of pellets must be kept at least 1.5 metres
from the stove.
It is recommended that the feed-box is always half
full.
Make sure the appliance is o before lling the pellet
tank.
The appliance can control the room temperature using a digital
thermostat as per standard (installed in the factory), which can
lower the heating power to minimum when a pre-set temperature
is reached.
Attention: if the temperature setting is “low” (set below the
threshold of 7°C) the stove will always function at minimum. If the
setting is at “hot” (set higher than the threshold of 40°C) the stove
will not modulate, functioning always and only at the power set.
Regarding the ventilation of hot air the stove adjusts itself
automatically. There are two stove functioning modes, which
are di erent on the basis of the Stand- by function. See “Stand
- by” chapter.
The functioning of models with ductable air is the same as
functioning of other models with the addition of a second motor
for ducting. During normal stove functioning, the second fan will
follow the trend of the rst fan. (For management of the second
motor, see the “Additional thermostat functioning for ducting motor
control” chapter.
Stove functioning can also be set with the Stand- by function. See
“Stand - by” chapter.
SWITCHOFF
Press the
P1
key for 3 seconds:
When the operation has been performed, the appliance
automatically enters the switch- o phase, blocking the supply of
pellets.
The ue exhaust motor and the hot air ventilation motor will
remain on until the temperature of the stove has dropped
below the factory parameters.
 Loading...