THE REMOTE CONTROL
18
SET CLOCK
day Mon, Tue, Wed, ...Sun
hours 0...23
minutes 00...59
date 1...31
month 1...12
year 00...99
To go back to selection of the hours, press button
P4
again or
escape and con rm using button
P1
.
CHRONO12.2.
The chrono allows to program 4 time spans within a day to use
every day of the week. The switch-on and switch-o time can be set
in every time span. along with the days of use of the programmed
time span and the desired temperature.
RECOMMENDATIONS12.2.1.
The ignition and switch-o times must be within the arc of
one day, from 0 to 24 and not over several days:
E.g. ignition time 07:00
switch-o time 18:00 OK
switch-on time 22:00
switch-o time 05:00 ERROR
before using the chrono function, set the current day and
time, therefore check that the points listed in the “Set clock” sub-
chapter have been followed.
to make the chrono function work, it must be activated as
well as programmed.
PROGRAMMING EXAMPLE12.2.2.
Let's suppose that the weekly programmer function is to be used
and 3 time periods are to be used in the following way:
1st time span: from 08:00 to 12:00 every day of the week, with
room temperature at 19°C, excluding Saturday and Sunday
2nd time span: from 15:00 to 22:00 only Saturday and Sunday
with room temperature at 21°C
3rd time span: not used
4th time span: not used
Let's set the weekly programmer as per example.
ACTIVATION OF THE CHRONO
Press the
P5
key for three seconds, SET CLOCK will
appear
Press the
P3
key once, SET CHRONO scrolling text will
appear
Press the
P5
key once, ENABLE CHRONO and OFF
scrolling text will appear
Press the
P3
key once, ENABLE CHRONO and ON
scrolling text will appear
Nota bene: When the weekly programmer is active, the LED of
the relative icon will switch-on on the control board.
At this point, press the
P5
to con rm and continue programming.
TheSTART PRG1 OFF scrolling text will appear.
Let's set the time spans as per example:
SETTING FIRST TIME SPAN SWITCH-ON TIME
Use the
P2
or
P3
buttons to set the time “08:00”, which
corresponds to the switch-on time of the 1st time span. The
START PRG1 scrolling text will appear followed by the time
set
To con rm and continue programming, press the
P5
button.
Press the
P4
button to go back to the previous parameter.
SETTING FIRST TIME SPAN SWITCH-OFF TIME
Use the
P2
or
P3
buttons to set the time “12:00”, which
corresponds to the switch-o time of the 1st time span. The
STOP PRG1 text will appear followed by the time set
To con rm and continue programming, press the
P5
button.
Press the
P4
button to go back to the previous parameter.
ACTIVATION OF THE TIME SPAN FOR SELECTED DAYS AS PER
EXAMPLE
Activate the rst time span for every day of the week except
Saturday and Sunday. To do this use the
P2
,
P3
and
P5
keys
in the following way:
P5
key - scrolls the various days, the scrolling text will appear
with the day of the week, followed by OFF
P2
and
P3
key- enables/disables (ON/OFF) the 1st time
period for that day
to change day, press the
P5
key
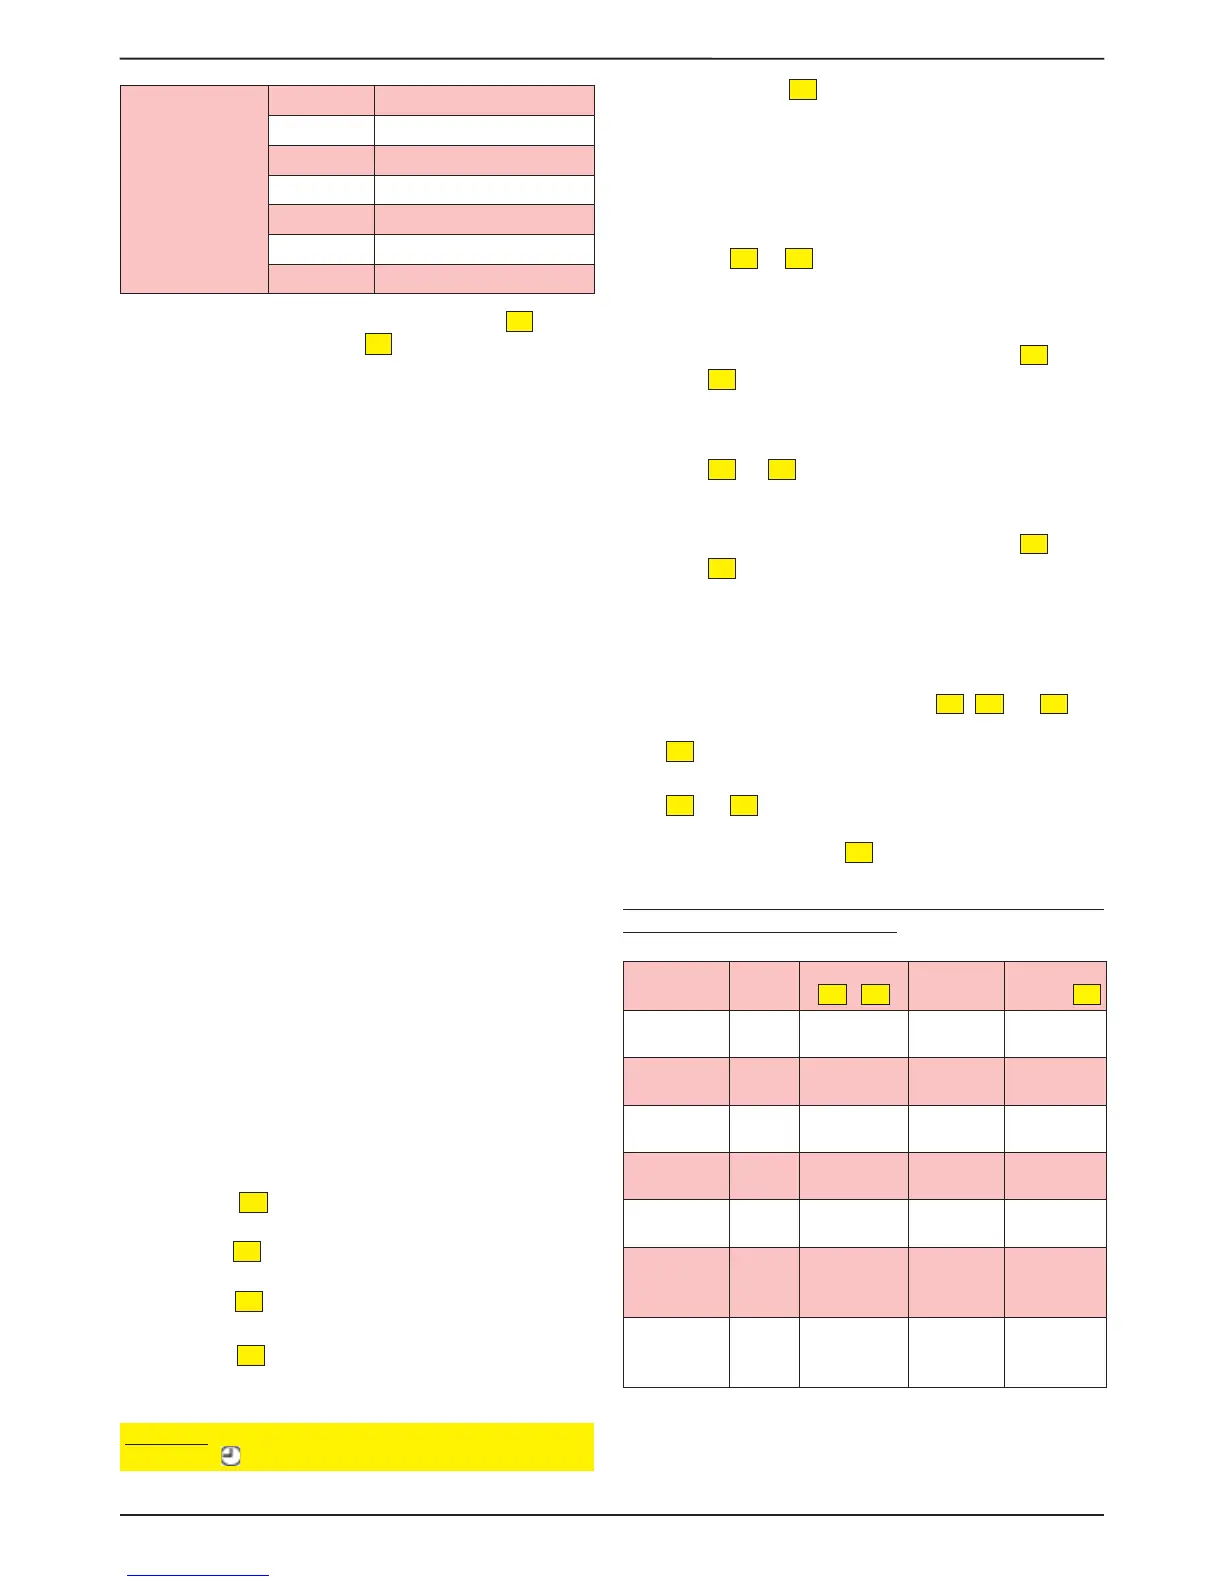
The table below indicates the activations and deactivations
of the week for the rst time span
Day
Initial
value
Key function
P2
o
P3
Final
value
Key
function
P5
MONDAY OFF OFF to ON
and vice versa
ON (active
time span)
Go to next
day
TUESDAY OFF OFF to ON
and vice versa
ON (active
time span)
Go to next
day
WEDNESDAY OFF OFF to ON
and vice versa
ON (active
time span)
Go to next
day
THURSDAY OFF OFF to ON
and vice versa
ON (active
time span)
Go to next
day
FRIDAY OFF OFF to ON
and vice versa
ON (active
time span)
Go to next
day
SATURDAY OFF OFF to ON
and vice versa
OFF (time
span
deactivated)
Go to next
day
SUNDAY OFF OFF to ON
and vice versa
OFF (time
span
deactivated)
Go to next
day
 Loading...