20
Adjusting saddle position and tilt
Patent clamping with one bolt or two parallel bolts
With so called patent seat posts one or two bolts secure the clamping mechanism,
which controls the tilt and the horizontal position of the saddle.
Release one or both bolts at the top of the seat post. Undo the bolt(s) two to three
turns anticlockwise at the most, otherwise the whole assembly can come apart.
Move the saddle forward or backward as desired. You may have to give the saddle
a light tap to move it.
Make sure the seat of the saddle remains horizontal as you tighten the bolt(s). The
bike should also stand on level ground while you adjust the saddle.
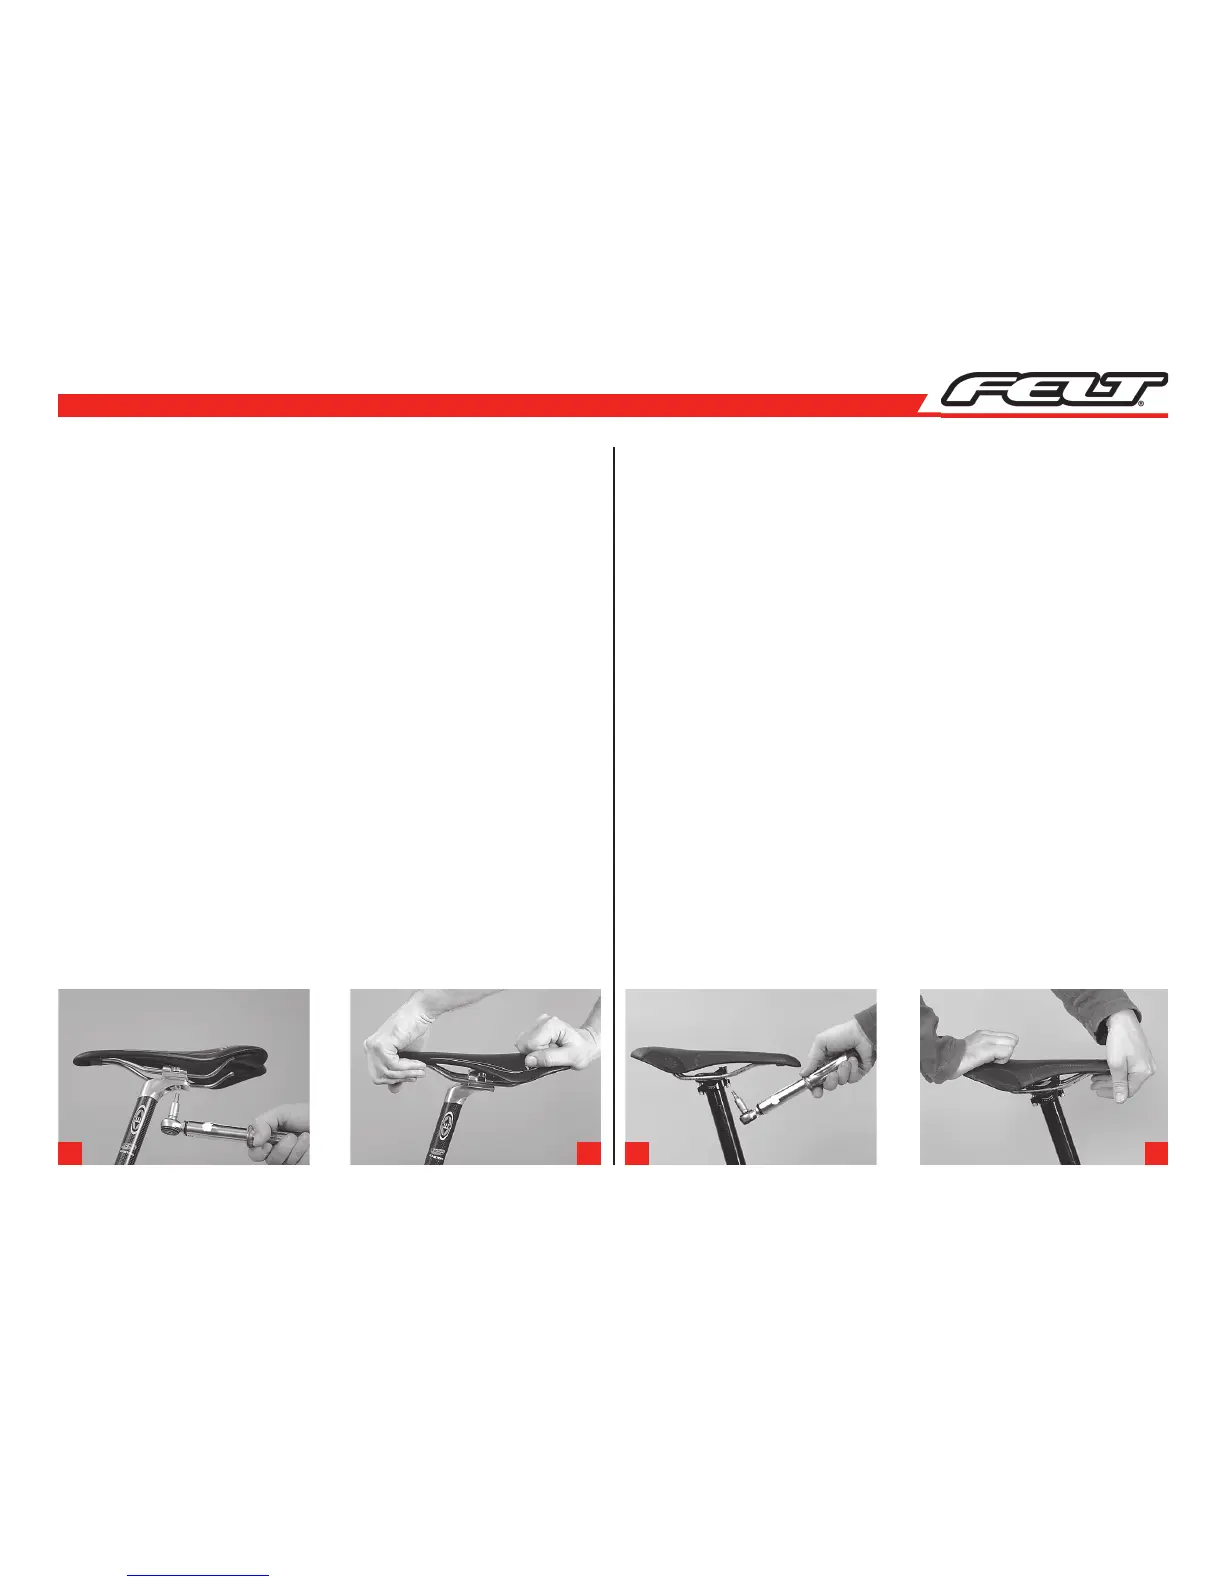
Retighten the bolt(s) with a torque wrench according to the instructions of the
manufacturer (a).
After fastening the saddle, check whether it resists tilting by bringing your weight to
bear on it once with your hands at either end of the saddle (b).
Clamping with two bolts in line
Release both bolts at the top of the seat post. Turn the bolts two to three turns
anticlockwise at the most, otherwise the whole assembly can come apart. Move
the saddle forward or backward as desired to adjust the horizontal position.
Tighten both bolts equally so the saddle remains at the same angle.
If you wish to lower the nose of the saddle a little, tighten the front bolt more. You
might have to loosen the rear bolt a little as well.
To lower the rear part of the saddle, the rear bolt has to be tightened more. You
might have to loosen the front bolt a little as well.
Having found your preferred position, make sure both clamps are correctly aligned
with the saddle rails before tightening the bolt(s) to the correct torque setting as
prescribed by the manufacturer (c).
After fastening the saddle, check whether it resists tilting by bringing your weight to
bear on it once with your hands on the tip and once at the rear end (d).
a b c d