-3-
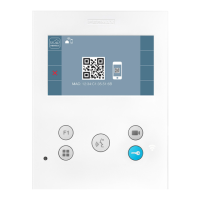
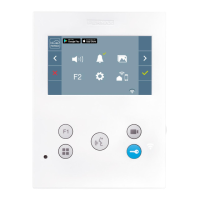
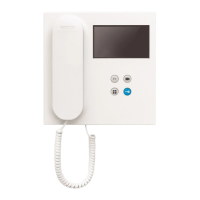
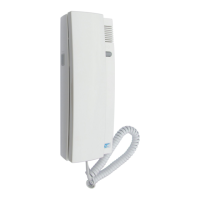
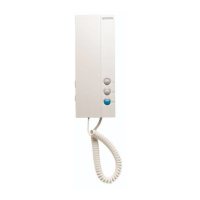
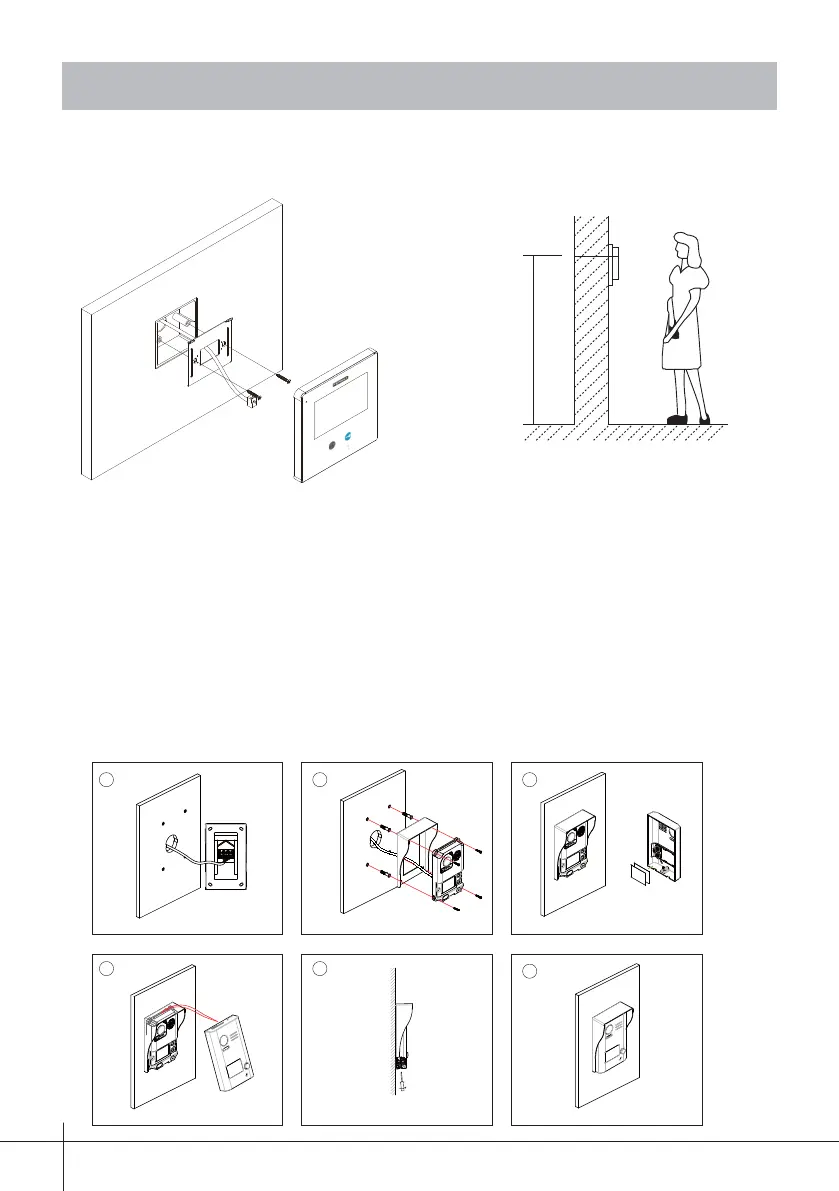
3.1 Instalación Monitor
145~160 cm
1. Utilice los tornillos para fijar el soporte de montaje en la caja de montaje,
(accesorios incluidos en el soporte). Se necesitan dos tornillos para la fi jación de
dicho soporte. Conectar los conectores para la conexión del bus.
2. Abrochar el bus (cable) al monitor, (ver en capítulo 12. Esquemas de Instalación)
y colgar el monitor en el soporte de montaje con fi rmeza.
3. Instalación
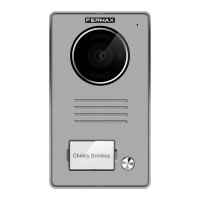
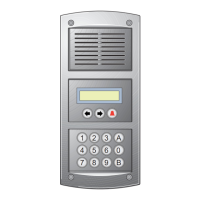
3.2 Instalación Placa
The base unit is installed
on the wall.
Connect the cable correctly.
Placing name label.
The front cover is installed
onto the base unit.
Use the screw to fix the front cover.
Installation is complete.
Instalación con Visera
Conectar el cable correctamente. Instalar la unidad base en la pared.
Situar la etiqueta en el tarjetero.
La cubierta frontal se
instala sobre la unidad
base.
Usar el tornillo para fi jar la tapa frontal.
Instalación fi nalizada.