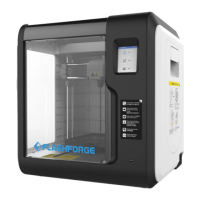
Extruder Calibration:
Click on [calibration] to start pre-calibration. The first point to calibrate the initial distance
between the extruder and the platform [see z-axis deviation value]. Click on the up and
down arrows to adjust the Z-axis deviation value. You can also feel if there is slight
resistance by pulling A4 paper or leveling card between them to decide the appropriate
distance.
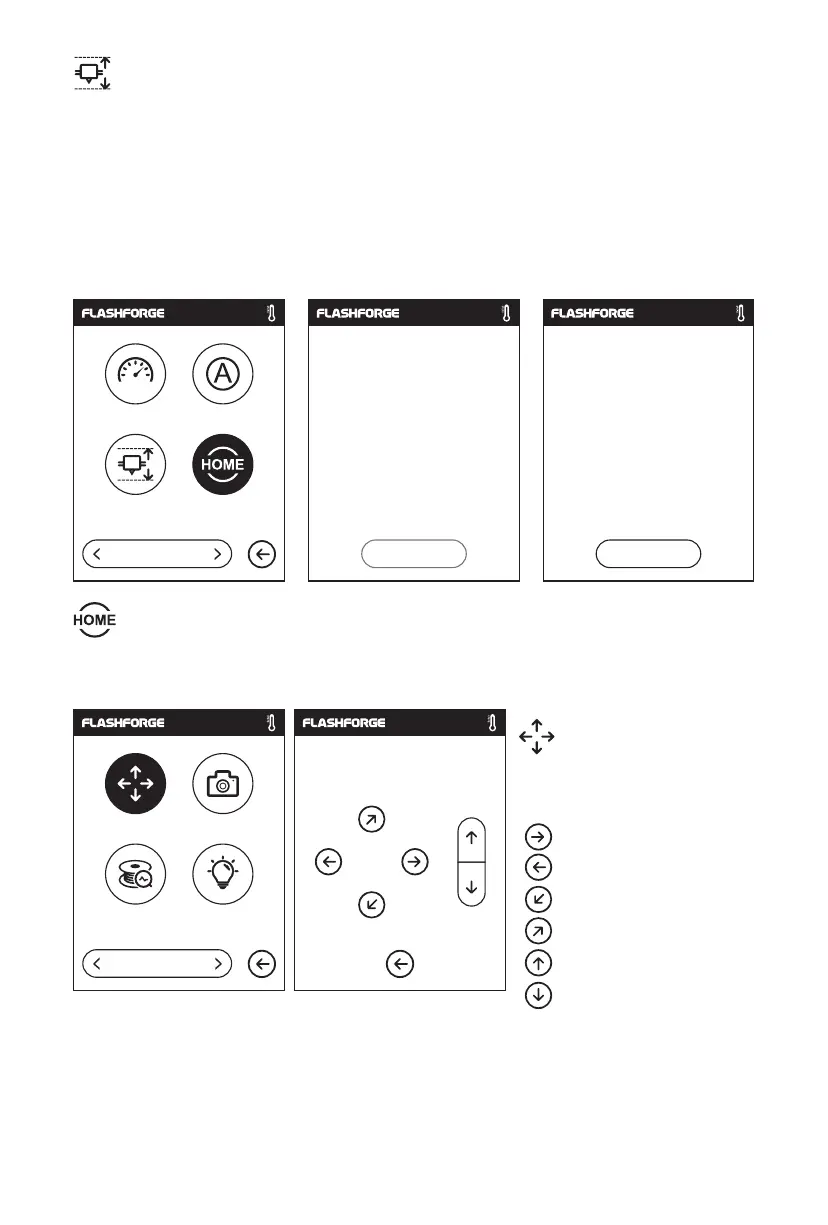
Calibration:
To manually adjust the
positions of the extruder and
build plate.
Extruder moves to the right;
Extruder moves to the left;
Build plate moves to the front;
Build plate moves to the back;
Extruder moves upward;
Extruder moves downward;
Move Camera
Filament Check Led
2/4
X: 20.00 Y: 45.00 Z: 36.00
X
Y
Z
Manual:
To make the X, Y and Z axes back to the mechanical zero point.
Status Language
Calibration
Homing, please wait... Homing completed
Yes Yes
Homing
1/4
Homing
19